
To set up the ultimate vintage listening room, choose high-quality, well-maintained gear that matches your sound preferences, like tube or solid-state amps. Position your speakers at ear level and form an equilateral triangle with your seating, adding acoustic treatments to enhance sound. Decorate with vintage furniture, posters, and nostalgic touches for ambiance. Regular maintenance keeps your equipment performing flawlessly. Keep exploring to learn more tips on creating an authentic, immersive vintage audio space.
Key Takeaways
- Position speakers at ear level and form an equilateral triangle with your seating area for optimal sound.
- Use acoustic treatments like rugs, curtains, and panels to minimize reflections and enhance sound quality.
- Select vintage furniture and decor that complement your gear, creating a nostalgic and inviting atmosphere.
- Prioritize proper maintenance of your vintage equipment, ensuring cleanliness and functionality for the best performance.
- Personalize the space with curated playlists, posters, and memorabilia to reflect your style and enhance the listening experience.

Oldchen EL34 Single-Ended Class A Tube Amplifier, Hand-Wired Point-to-Point HiFi Integrated Amplifier for Home Audio, Home Theatre Vacuum Tube Power Amplifier 10W, Black
AUTHENTIC SINGLE-ENDED CLASS A TUBE SOUND: Immerse yourself in the warm, rich, and incredibly detailed sound that only…
As an affiliate, we earn on qualifying purchases.
As an affiliate, we earn on qualifying purchases.
Choosing the Perfect Vintage Audio Equipment
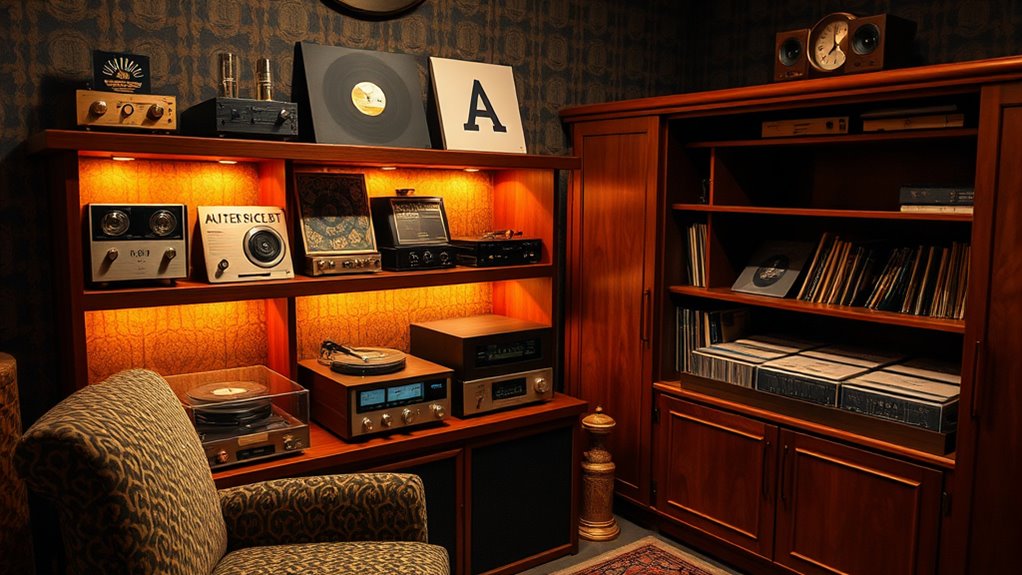
When selecting vintage audio equipment for your listening room, it’s important to prioritize both sound quality and condition. Vintage amplification plays a key role in shaping your audio experience. You’ll need to decide between tube and solid state amplifiers. Tube amps often deliver warm, rich sound with natural harmonic distortion, ideal for a relaxed listening vibe. Solid state amplifiers, on the other hand, provide more power, reliability, and cleaner sound with less maintenance. Consider your preferred sound signature and usage needs when choosing between them. Check the condition of the equipment carefully, ensuring tubes are functional and the circuitry is intact. Additionally, understanding the differences in amplifier types can help you make a more informed choice. Balancing these factors will help you select vintage amplification that enhances your listening environment and delivers timeless audio quality.

Focusound 52 Pack Acoustic Foam Panels 1" x 12" x 12" Sound Proof Foam Panles Soundproofing Noise Cancelling Wedge Panels for Home Office Recoding Studio with 300PCS Double-Side Adhesive
Soundproofing – Acoustic foam panels triangular grooves structure for better noise absorption, helps to reduce and absorb unwanted…
As an affiliate, we earn on qualifying purchases.
As an affiliate, we earn on qualifying purchases.
Optimizing Room Layout and Acoustics
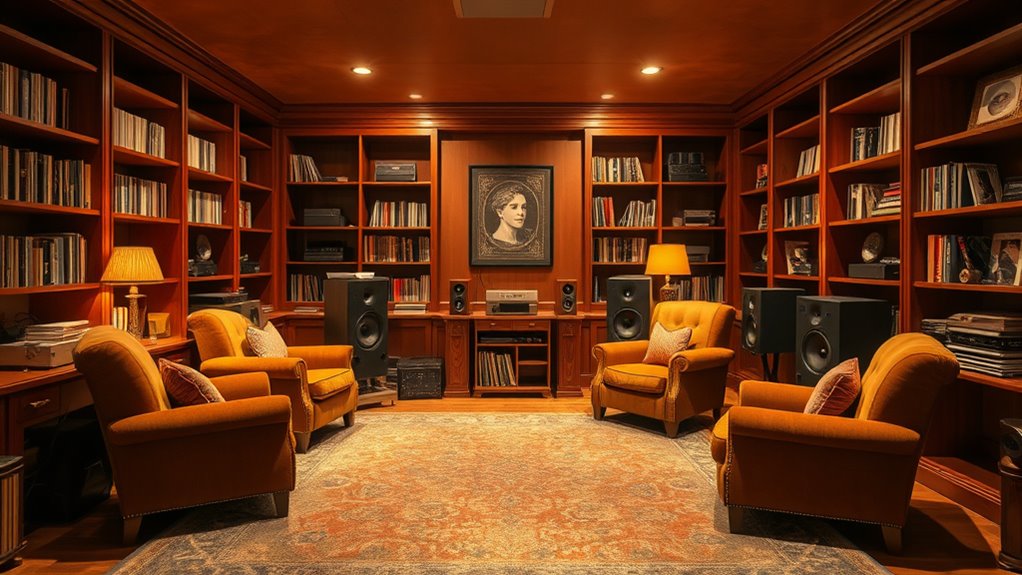
To create an ideal listening environment, you need to carefully arrange your room layout and improve its acoustics. Start by placing your speakers at ear level and equidistant from your main listening position to ensure balanced sound. Avoid putting speakers directly against walls; instead, leave some space to reduce reflections. Acoustic treatment is essential—adding bass traps, diffusers, and absorptive panels helps manage sound reflections and minimize echo. Position these treatments strategically around the room, focusing on first reflection points on walls and ceilings. Keep furniture and decor minimal in the critical listening area to prevent sound disruptions. Proper speaker placement combined with effective acoustic treatment creates a clean, immersive soundstage, allowing your vintage gear to perform at its best. Additionally, understanding the room’s acoustic properties can help you tailor your setup for optimal sound quality and minimize unwanted sound distortions. Recognizing the room’s size and shape is also crucial in optimizing overall acoustics and achieving a balanced sound environment, especially when considering how the room’s sound absorption influences clarity and resonance. Being aware of the room’s reflective surfaces can further guide your placement of acoustic treatments to enhance sound clarity and reduce problematic echoes. Incorporating knowledge of room acoustics can also lead to more precise adjustments that improve overall listening experience.
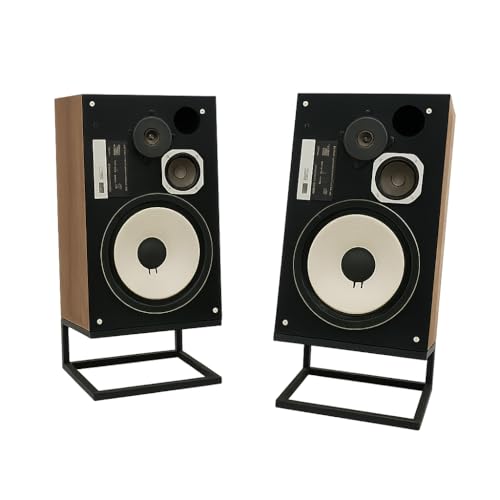
Handmade Steel Speaker Stand | Form Padded | tilt Angel
Suitable for JBL L100
As an affiliate, we earn on qualifying purchases.
As an affiliate, we earn on qualifying purchases.
Selecting and Arranging Vintage Furniture and Decor
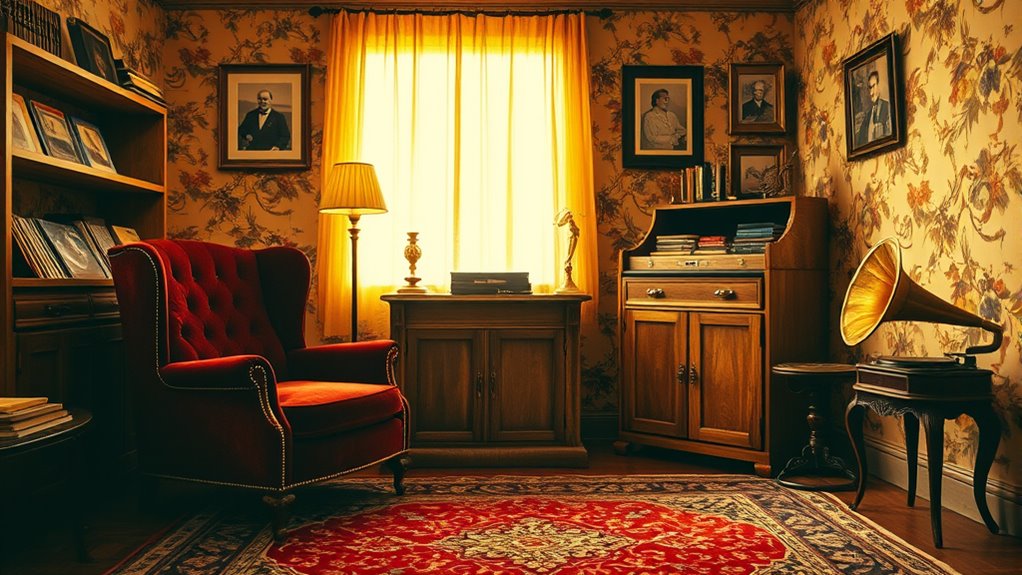
How can you enhance your vintage listening room’s atmosphere? Focus on selecting and arranging vintage furniture and decor that evoke a nostalgic feel. Incorporate antique lighting, such as vintage lamps or chandeliers, to create a warm, inviting glow that complements the room’s character. Use vintage textiles like plush rugs, patterned curtains, and throw pillows to add texture and comfort, reinforcing the retro vibe. Choose furniture pieces with authentic finishes and classic lines that suit your style, then arrange them to foster intimacy and ease of listening. Avoid clutter; instead, let each piece serve as both decor and a functional element. Thoughtful placement of these vintage touches will transform your space into an immersive haven that celebrates the charm of bygone eras. Additionally, paying attention to cultural influences can help you incorporate unique accents that resonate with your personal style and enhance the overall ambiance. Incorporating period-specific accessories can further deepen the nostalgic atmosphere and reflect your unique interpretation of vintage style. Small details like vintage hardware can make a significant difference in authenticity and overall aesthetic. Integrating arcade game elements, such as a classic Galaga machine, can also add a fun, retro touch that complements your vintage theme and invites social interaction. Moreover, understanding the IRA investment strategy can help you plan financially for your future, ensuring your vintage space remains a cherished retreat.

8 Pack – Bass Traps Acoustic Foam Corner, 8''x8''x12'' Black Bass Traps Corner Studio Foam, High Density and Fire-Proof Acoustic Panels Recording Studio Acoustical Treatments
Acoustic Principle- Bass Trap is a kind of sound absorbing structure specially used to absorb specific low-frequency standing…
As an affiliate, we earn on qualifying purchases.
As an affiliate, we earn on qualifying purchases.
Enhancing Sound Quality With Proper Placement
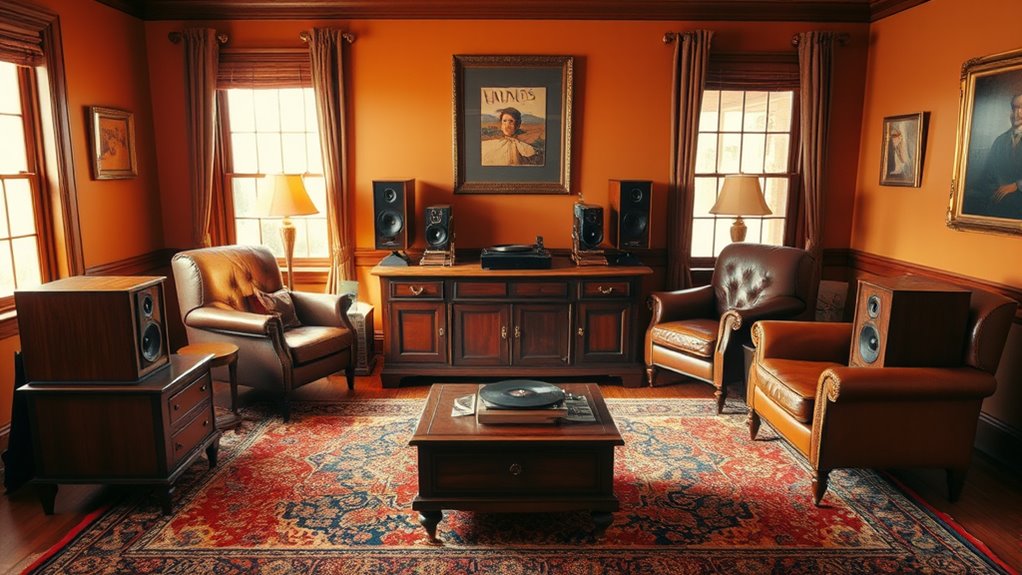
Proper placement of your speakers and listening furniture is essential for achieving ideal sound quality in your vintage listening room. Start by positioning your speakers at ear level and forming an equilateral triangle with your seating area. This ensures balanced speaker positioning and best sound dispersion. Avoid placing speakers directly against walls; instead, give them some space to reduce unwanted reflections. Incorporate acoustic treatment, like rugs, curtains, or acoustic panels, to absorb excess sound reflections and improve clarity. Experiment with speaker angles and seating placement to find the sweet spot where sound is most focused and vibrant. Proper speaker positioning combined with effective acoustic treatment enhances the room’s acoustics, delivering a richer, more authentic vintage listening experience. Additionally, understanding the acoustic properties of your room can help you make more informed adjustments for optimal sound. Recognizing how room dimensions and materials influence sound behavior can further refine your setup for the best possible audio experience. Paying attention to room acoustics can help you fine-tune your setup and achieve truly immersive sound quality, especially when considering how sound reflections impact overall clarity.
Incorporating Personal Touches and Nostalgic Elements
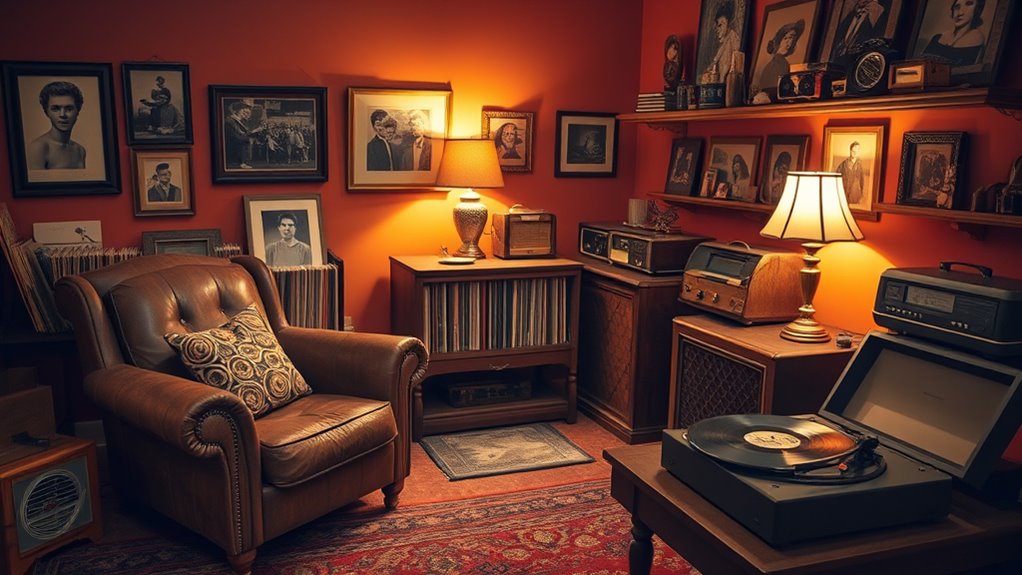
Once you’ve optimized your speaker placement and acoustic treatments, adding personal touches can transform your vintage listening room into a warm, inviting space that reflects your unique style. Start by curating a custom playlist that blends your favorite genres and era-specific tracks, creating an authentic atmosphere. Incorporate vintage poster framing to display artwork or memorabilia that evoke nostalgia and spark conversations. These elements personalize your space, making it more than just a listening room—they become a reflection of your passions and memories. Consider adding vintage record covers, antique furniture, or nostalgic lighting to enhance the ambiance. These touches make your room feel cozy and genuine, deepening your connection to the music and the era it represents. Enhancing the room’s aesthetic appeal with thoughtfully chosen decor can further elevate the nostalgic vibe and make your listening experience even more immersive. Incorporating nostalgic elements can also provide a visual connection to the music’s era, enriching the overall experience. Integrating vintage accessories not only boosts the ambiance but also creates a cohesive environment that celebrates your musical journey. Additionally, incorporating personal memorabilia can add a meaningful touch, making the space uniquely yours. To further elevate the authenticity, consider including period-appropriate decor that complements your chosen era and enhances the overall aesthetic.
Maintaining and Caring for Your Vintage Gear

Keeping your vintage gear in top shape requires regular cleaning to prevent dust and dirt buildup. You should also store your equipment in ideal conditions, avoiding extreme temperatures and humidity that can cause damage. Proper care guarantees your cherished pieces stay functional and sound great for years to come. Additionally, understanding the importance of Merkle trees in blockchain technology highlights the significance of data integrity and security, which parallels the need for meticulous maintenance of your vintage audio equipment to ensure their longevity.
Regular Cleaning Techniques
Regular cleaning is essential to keep your vintage listening gear in top condition and guarantee it continues to perform at its best. Establishing consistent dusting schedules prevents dirt from accumulating and damaging delicate components. Use appropriate cleaning supplies, such as soft microfiber cloths and gentle brushes, to avoid scratches and preserve finishes. When dusting, focus on ventilation grilles, knobs, and surface areas, ensuring no debris settles into sensitive parts. Avoid harsh chemicals that could harm vintage materials; instead, opt for mild cleaners designed for electronics. Regular maintenance not only maintains the aesthetic appeal but also extends the lifespan of your gear. By staying vigilant with your cleaning routine, you’ll ensure your vintage equipment remains in pristine condition for years to come.
Optimal Storage Conditions
Proper storage is essential to preserving your vintage listening gear’s performance and appearance. Climate control and humidity regulation are key to preventing damage. To optimize storage conditions, consider these steps:
- Keep your gear in a climate-controlled room, avoiding extreme temperatures.
- Use a dehumidifier or humidifier to maintain stable humidity levels, ideally around 40-50%.
- Store equipment away from direct sunlight, which can degrade materials over time.
- Use protective covers or cases to shield components from dust and environmental fluctuations.
Frequently Asked Questions
How Do I Ensure Safety When Using Vintage Audio Equipment?
You should guarantee safety by properly managing cables to prevent tripping hazards and electrical issues. Use cable management tools like clips and sleeves to keep cords organized and away from foot traffic. Additionally, pay attention to speaker placement; keep speakers stable and away from water or heat sources. Always unplug equipment before maintenance, avoid overloading outlets, and inspect vintage gear for frayed wires or damage to prevent electrical risks.
What Are Common Troubleshooting Tips for Vintage Audio Gear?
You should start troubleshooting vintage audio gear by checking cable management; loose or damaged cables often cause issues. Ensure your speaker positioning is ideal—too close or too far can affect sound quality. Use a multimeter to test connections and look for corrosion or wear. Power off equipment before inspecting, and consider cleaning contacts. These steps help identify and resolve common problems, keeping your vintage setup sounding its best.
How Can I Improve Sound Isolation in My Listening Room?
Imagine your room as a fortress for sound. To improve sound isolation, you can add acoustic treatments like thick curtains, rugs, and wall panels that absorb vibrations. Soundproofing techniques, such as sealing gaps around doors and windows, help block external noise. These steps create a sanctuary where your vintage tunes resonate clearly, allowing you to enjoy every detail without outside interruptions. Your listening experience becomes truly immersive and undisturbed.
What Lighting Options Enhance the Vintage Ambiance?
To enhance the vintage ambiance, opt for warm lighting options like incandescent bulbs, which cast a cozy, nostalgic glow. You can also incorporate warm toned LEDs that mimic this classic warmth while offering energy efficiency. Use dimmable fixtures to adjust the mood and highlight your vintage decor. Combining these lighting choices creates an inviting, authentic atmosphere that complements your vintage listening room perfectly.
How Do I Upgrade or Restore Vintage Components Safely?
Did you know that proper circuit restoration can extend the lifespan of vintage components by up to 30%? To upgrade or restore your vintage gear safely, start by carefully inspecting the hardware for damage. Use gentle cleaning methods, then perform circuit restoration and hardware calibration with precision tools. If you’re unsure, consult a professional to avoid damaging delicate parts. This way, your treasured pieces stay authentic and sound great.
Conclusion
Creating the ultimate vintage listening room is all about thoughtful choices and personal touches. Did you know that a well-optimized space can improve sound quality by up to 30%? By carefully selecting equipment, arranging furniture, and adding nostalgic decor, you’ll craft a cozy haven that celebrates your love for classic sound. Keep your gear well-maintained, and your vintage room will bring joy for years to come. Happy listening!