Creating a DIY tube amp kit is an exciting project where you carefully choose quality components, plan your layout, and follow a clear schematic. Focus on selecting reliable tubes, transformers, and high-quality resistors and capacitors to shape your desired sound. Pay attention to wiring and connections to minimize noise, and take your time during assembly for the best results. If you keep exploring these steps, you’ll discover even more tips to craft a great-sounding amp.
Key Takeaways
- Start with a proven schematic and carefully plan your signal flow before selecting components.
- Use high-quality, compatible parts like metal film resistors and film capacitors for reliable tone.
- Double-check all connections and solder joints to prevent noise and ensure safety during assembly.
- Choose appropriate transformers and chassis to match your desired sound and build durability.
- Take your time, follow detailed guides, and prioritize safety for a successful DIY tube amp experience.
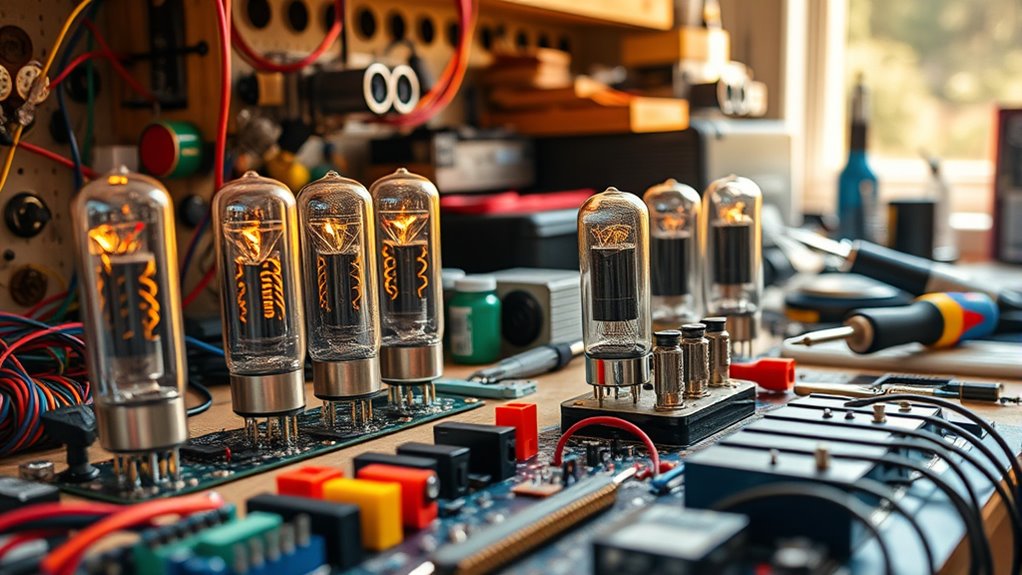
Ever wondered how to build your own high-quality guitar or audio amplifier? If you’re diving into the world of DIY tube amps, understanding the basics of circuit design and component selection is essential. These two elements form the backbone of a successful build, guaranteeing your amp not only sounds great but is also reliable and safe to operate. When approaching circuit design, you need to determine the overall layout—how the signal flows from input to output—and decide on the tube types and configurations that will shape your tone. A good starting point is studying existing schematics, which offer valuable insights into how different stages connect and work together. Keep in mind that a clear, logical circuit design minimizes noise, distortion, and potential issues down the line. Additionally, considering European cloud innovation and sustainable practices in your build process can contribute to environmentally responsible DIY projects.
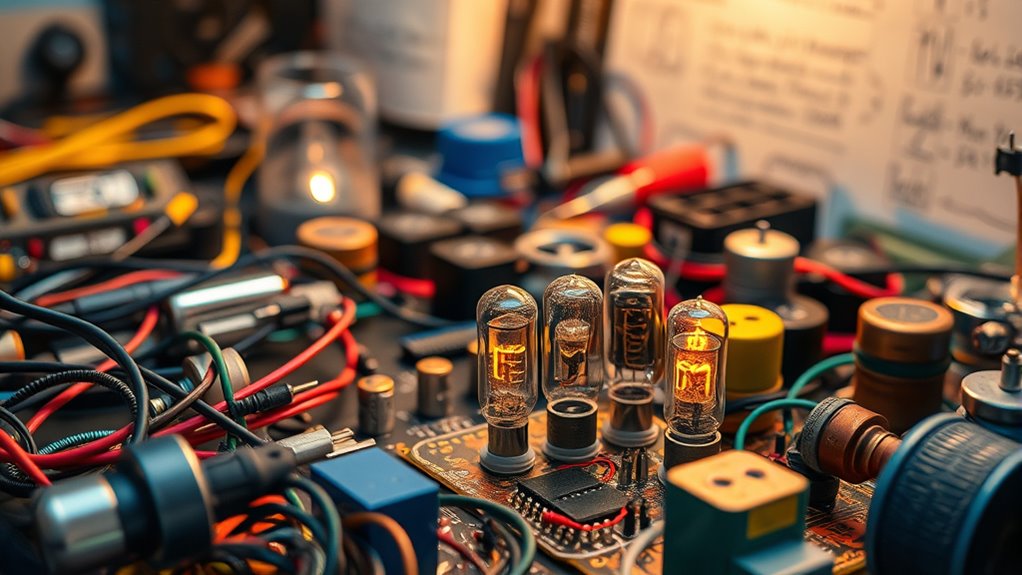
Component selection is just as critical. You want to choose high-quality, compatible parts that match your design goals. For resistors, opt for metal film types—they’re more stable and produce less noise than carbon film variants. When selecting capacitors, film capacitors are preferable for audio fidelity, especially in signal paths, while electrolytic capacitors are suitable for power supply filtering. The tubes themselves are the soul of your amp, so pick reputable brands known for consistency and durability. Pay attention to the voltage and current ratings to prevent overstressing your components. The chassis, transformers, and sockets also matter because they impact both the durability and the sound quality of your amp. Use a power transformer with appropriate voltage ratings, and select output transformers that match your desired speaker impedance.
As you assemble, keep your focus on quality and compatibility. Double-check your circuit design to ensure all connections are correct before powering up. Use high-quality solder and tools to make clean, reliable joints that won’t introduce noise or cause failures. During component selection, avoid cheap, generic parts that can compromise the tone or longevity of your amp. Instead, invest in well-reviewed components that suit your specific build. Remember, the devil’s in the details—small choices in components and careful circuit design can considerably influence your final result. Building a DIY tube amp is rewarding, but it demands patience and precision. By paying close attention to how you design your circuit and select your parts, you’ll set a solid foundation for a high-performing, great-sounding amp that you built yourself.
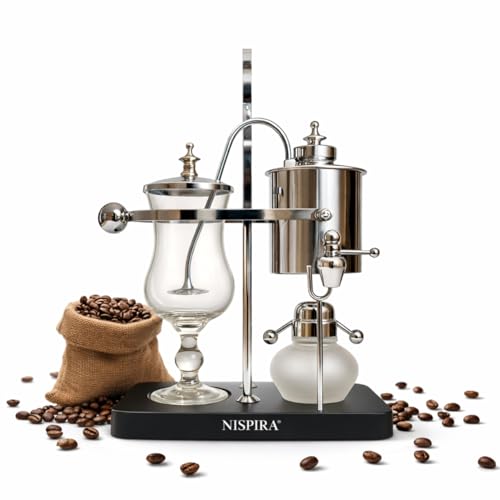
Nispira Belgian Balance Syphon Vacuum Coffee Maker, 500 ml Vintage Gravity Brewing System, Silver Finish, Manual Tabletop Coffee Brewer
Authentic Belgian Balance Syphon Brewing This manual vacuum coffee maker uses a classic balance syphon design, where heated...
As an affiliate, we earn on qualifying purchases.
Frequently Asked Questions
What Safety Precautions Should I Take During Assembly?
You should wear safety gear like gloves and goggles to protect yourself from electrical hazards. Always unplug the amp and discharge capacitors before working on it. Use insulated tools and work in a dry, well-lit area to minimize risks. Double-check wiring connections and avoid rushing. If you’re unsure about any step, consult a knowledgeable source. Prioritizing safety guarantees your DIY experience stays fun and accident-free.
Can I Upgrade Components Later On?
Yes, you can definitely upgrade components later on. As you gain experience, you’ll find opportunities for component upgrades and future modifications that can improve your amp’s performance or tailor its sound. Keep your initial design flexible, and choose upgradeable parts. This way, you’ll enjoy the process of evolving your DIY tube amp, making each modification satisfying as you customize your gear and learn more about amplifier circuitry.
How Long Does It Typically Take to Complete?
It usually takes about 10 to 20 hours to complete your DIY tube amp kit, depending on your experience and the assembly timeline. If you enjoy component customization, you might spend extra time selecting and installing upgraded parts. Rushing can lead to mistakes, so take your time, follow instructions carefully, and enjoy the process. Patience guarantees a quality build and a great-sounding amp in the end.
What Tools Are Essential for the Build?
Think of building your amp like assembling a puzzle—you need the right tools. You’ll want a soldering iron with fine tips for precise soldering, wire strippers, and a multimeter for testing. Accurate component identification is vital; use a good schematic. I once struggled until I labeled each part—now it’s smooth sailing. Essentials include screwdrivers, pliers, and safety gear. These tools help you master soldering techniques and guarantee your build is solid.
Is Prior Electronics Experience Necessary?
You don’t need extensive electronics basics or advanced soldering techniques to start your DIY tube amp kit. Basic knowledge of circuitry and soldering will help you follow instructions and troubleshoot minor issues. If you’re a beginner, take some time to learn simple soldering techniques and understand circuit diagrams. With patience and practice, you’ll gain confidence and successfully assemble your amp, making the process both rewarding and educational.

Nostalgia Retro 12-Cup Programmable Coffee Maker With LED Display, Automatic Shut-Off & Keep Warm, Pause-And-Serve Function, Aqua
12-CUP CAPACITY: Brews up to 12-cups of coffee at a time, making it ideal for everyday use and...
As an affiliate, we earn on qualifying purchases.
Conclusion
Building your DIY tube amp kit is like planting a seed—patience and care nurture a powerful sound that grows with you. Each soldered connection and solder joint symbolizes your dedication, shaping not just your amp but your skills and confidence. As you power it on for the first time, remember you’re awakening a spirit of creativity and craftsmanship within. Your journey with this amp reflects your passion—an enduring melody crafted by your own hands.

Primula Classic Stovetop Espresso and Coffee Maker, Moka Pot for Italian and Cuban Café Brewing, Greca Coffee Maker, Cafeteras, 6 Espresso Cups, Silver
CRAFT COFFEE AT HOME: Produces six demitasse/espresso servings of rich, smooth espresso coffee in minutes. Craft your own...
As an affiliate, we earn on qualifying purchases.

Nostalgia Classic Retro 10 Cup Coffee Maker - One-Touch Drip Brew, Reusable Filter - Anti-Drip, Auto Shutoff, & Time Display - Dishwasher Safe 50 oz Carafe - Cream
10 CUP CAPCITY: 10 five-ounce cup (50 ounces total) give you the perfect caffeine boost to fuel you...
As an affiliate, we earn on qualifying purchases.