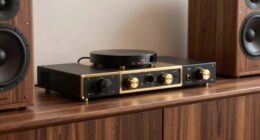

If your vintage turntable has sound issues or uneven playback, check the cartridge alignment first to guarantee proper tracking and avoid record wear. Look for mechanical problems like platter wobbling, noise, or uneven spinning caused by dust, worn belts, or unlevel surfaces. Adjust tracking force and anti-skate settings to prevent skipping and distortion. Regular maintenance, such as cleaning bearings and replacing worn parts, helps keep things running smoothly. Keep exploring for more tips to resolve common vintage turntable troubles effectively.
Key Takeaways
- Check and adjust cartridge alignment to prevent distorted sound and record damage.
- Inspect and clean the bearing and platter to eliminate grinding, clicking, or humming noises.
- Ensure the platter is level with a leveling tool for stable rotation and optimal sound quality.
- Set the correct tracking force and anti-skate to prevent skipping and uneven record wear.
- Regularly clean components and replace worn belts or mats to maintain smooth operation.

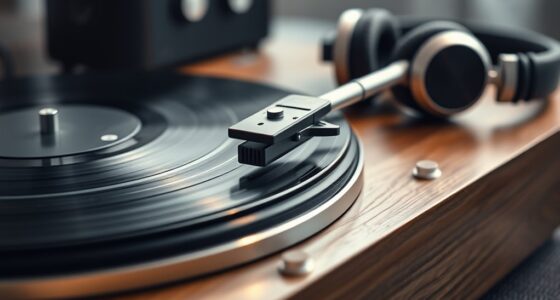
Are you experiencing issues with your turntable not spinning properly or producing poor sound quality? If so, the problem could stem from a few common causes that are easy to troubleshoot. One frequent culprit is cartridge alignment. When your cartridge isn’t properly aligned, you might notice distorted sound, uneven tracking, or increased wear on your vinyl records. Ensuring your cartridge is correctly aligned involves carefully adjusting its positioning so that the stylus sits at the proper angle and height relative to the record’s grooves. Misalignment can cause uneven contact, leading to poor sound reproduction and even damage to your records over time.
Proper cartridge alignment ensures optimal sound quality and record safety.
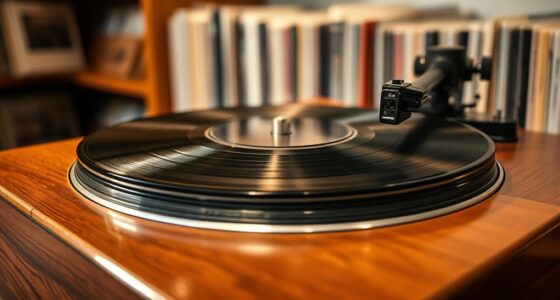
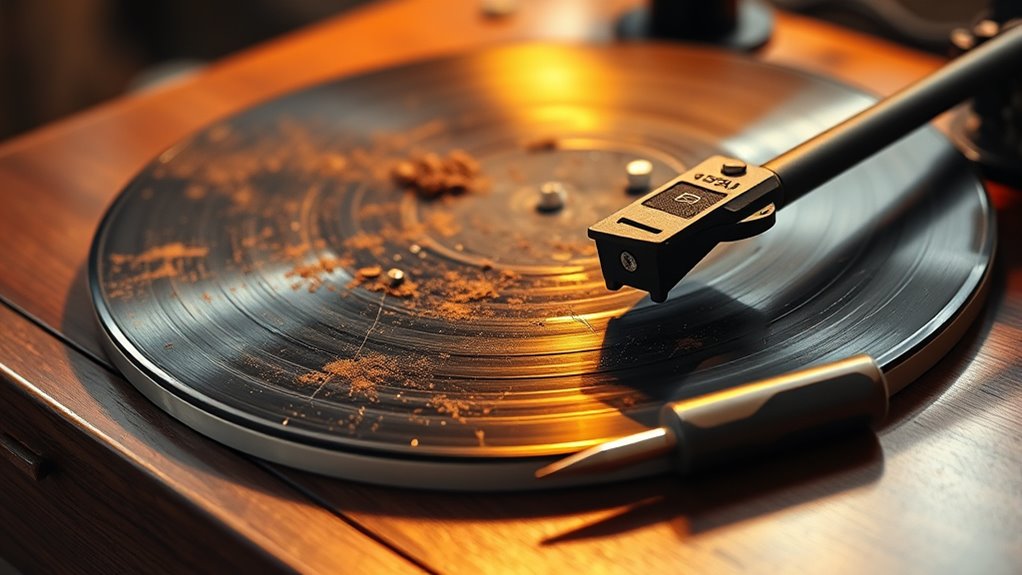
Another issue to consider is platter noise, which can be a sign of mechanical problems or misalignment. If your turntable’s platter makes grinding, clicking, or humming noises, it’s worth inspecting the bearing and belt (if applicable). Dust or debris lodged in the bearing area can cause irregular rotation or noise, affecting playback quality. Sometimes, platter noise results from an unbalanced platter—if it’s not sitting perfectly level, you’ll notice wobbling or uneven sound. Using a level tool to check the platter’s position and making adjustments can often resolve these issues. Additionally, if your turntable has a belt drive system, a worn or slipping belt might cause inconsistent spinning and noise. Replacing the belt can restore smooth operation.
Proper cartridge alignment also impacts the tonearm’s tracking force and anti-skate settings. When these are off, you might experience skipping or distorted audio. Use a tracking force gauge to set the correct weight, as specified by your cartridge manufacturer. Anti-skate adjustment helps keep the stylus centered in the record groove, preventing uneven wear and improving sound fidelity. If you’re unfamiliar with these adjustments, consult your turntable’s manual or seek guidance from a professional to avoid causing further issues. Regular maintenance also plays a crucial role in minimizing platter noise and ensuring the best cartridge alignment. Keep the platter and bearing clean, free of dust and debris, and periodically check all mechanical connections. If your turntable has a removable mat, clean or replace it if it’s worn out or dirty. These small steps can markedly improve sound quality and prolong the life of your equipment. Additionally, paying attention to cartridge quality can enhance overall listening experience and reduce troubleshooting needs. Troubleshooting turntable problems often involves a combination of careful inspection, proper adjustments, and routine cleaning, but addressing these common issues can make your vinyl listening experience much more enjoyable.
Top picks for "turntable troubleshoot common"
Open Amazon search results for this keyword.
As an affiliate, we earn on qualifying purchases.
Frequently Asked Questions
How Can I Improve Sound Quality on My Vintage Turntable?
To improve sound quality on your vintage turntable, start by properly cleaning the stylus and platter to remove dust and debris. Consider upgrading your cartridge for better audio clarity and tracking. Make sure the turntable is level and the tonearm is balanced correctly. Regular maintenance, like tightening loose parts and checking connections, also helps. These steps guarantee your vintage player delivers richer, clearer sound every time you listen.
What Is the Average Lifespan of Turntable Components?
On average, turntable components last about 10 to 20 years, but this varies based on usage and maintenance. You should know that stylus tips often wear out in 500-1000 hours, while belts typically last 5-10 years. Proper care can extend component durability, so regular cleaning and timely replacements are key. Estimating lifespan depends on how often you use your turntable and how well you maintain it.
How Often Should I Replace the Stylus or Cartridge?
You should replace your stylus every 500 to 1,000 hours of play or when you notice a decline in sound quality. For the cartridge, its lifespan varies but generally lasts around 1,000 to 2,000 hours of use. Regular stylus replacement guarantees peak sound and prevents record damage, while monitoring your cartridge’s condition helps maintain your vintage turntable’s performance. Keep an eye on these to enjoy the best listening experience.
Can I Repair a Broken Tonearm Myself?
Yes, you can attempt a DIY repair on a broken tonearm if you’re confident in your skills, but be cautious. Carefully follow guides and tutorials, making sure you understand the mechanics. However, for complex issues or delicate parts, it’s best to seek professional servicing to avoid further damage. Balancing DIY repairs with professional help ensures your vintage turntable stays in top condition and performs at its best.
What Are Signs of a Failing Motor in a Turntable?
Motor misbehavior might manifest as inconsistent spinning, strange noises, or abrupt stops. You’ll notice motor issues if your turntable’s platter struggles to spin smoothly or if there’s excessive bearing wear causing wobbling. These signs point to a failing motor, signaling it’s time to inspect or replace components. Regular maintenance can prevent these problems, but if you detect these symptoms, act quickly to avoid further damage and preserve your vintage player’s pristine performance.
Conclusion
So, don’t let a faulty turntable silence your musical journey. Think of these issues as bumps in the road—part of the adventure, not the end of the ride. With patience and a keen ear, you’ll bring your vintage player back to life, filling your space with rich, warm melodies. Embrace the process like tuning a fine instrument, and soon, your records will sing again, turning every spin into a heartfelt symphony.