
Building a budget vintage sound system is easy when you focus on affordable, quality components that capture classic style, like refurbished amps or secondhand turntables. Customize and restore your gear with simple DIY tweaks, such as painting cabinets or replacing knobs. Proper speaker placement and room setup matter too, so experiment with spacing and angles for the best sound. With the right care and smart connections, you’ll enjoy authentic retro sound—more tips await to help you get it just right.
Key Takeaways
- Choose affordable, vintage-inspired components like tube amplifiers and retro turntables through thrift stores or online marketplaces.
- DIY restore and customize modern devices with paint, refinishing, and simple modifications for authentic vintage appeal.
- Properly position speakers at ear level, spaced 1.5-2 meters apart, and optimize room acoustics with soft furnishings.
- Use quality, rated adapters and inspect connections regularly to ensure safe, reliable integration of modern devices.
- Maintain the system by regular cleaning, cable management, and adjusting speaker placement for optimal sound quality.

Oldchen EL34 Single-Ended Class A Tube Amplifier, Hand-Wired Point-to-Point HiFi Integrated Amplifier for Home Audio, Home Theatre Vacuum Tube Power Amplifier 10W, Black
AUTHENTIC SINGLE-ENDED CLASS A TUBE SOUND: Immerse yourself in the warm, rich, and incredibly detailed sound that only…
As an affiliate, we earn on qualifying purchases.
As an affiliate, we earn on qualifying purchases.
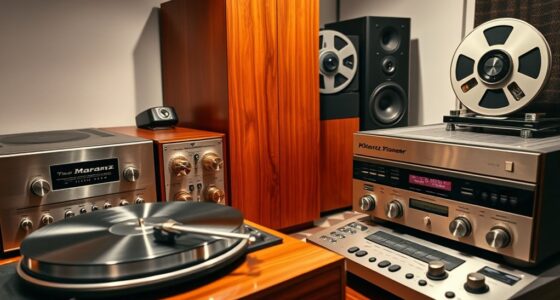
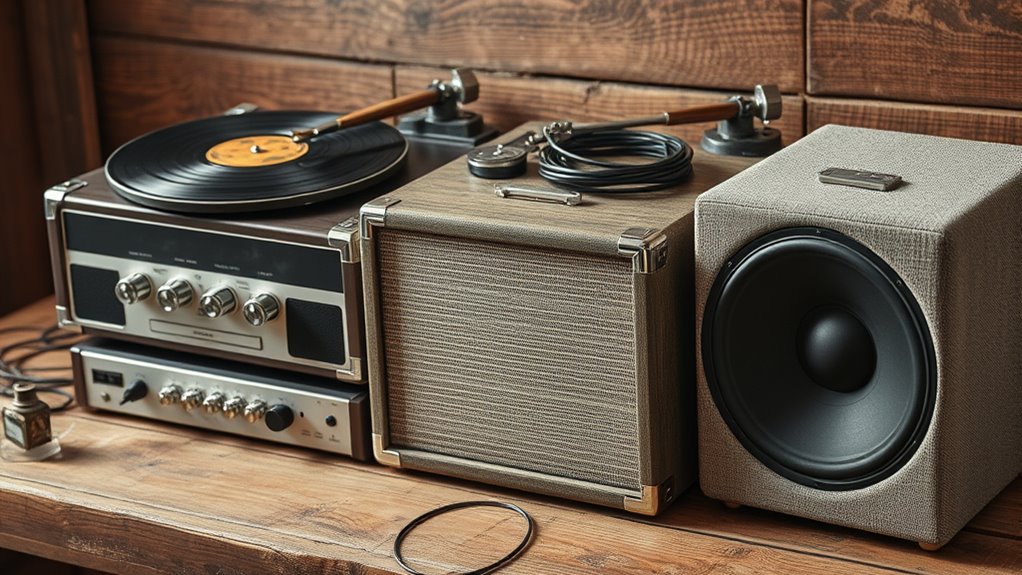
Choosing the Right Vintage-Inspired Components on a Budget

Even on a tight budget, you can craft a vintage-inspired sound system by carefully selecting affordable yet high-quality components. Focus on pieces that capture the vintage aesthetics you crave without overspending. Look for models with classic designs or retro finishes that evoke the look of old-school equipment. Keep your budget constraints in mind by researching reliable brands known for durability and sound quality at lower prices. Prioritize essential components like amplifiers and speakers that deliver authentic vintage sound, even if they’re not brand new. You might find great deals on refurbished or secondhand items that still fit your style and budget. Additionally, understanding Eye Patch Benefits can help you select components that seamlessly complement your overall aesthetic. With patience and attention to detail, you can assemble a vintage-inspired system that looks the part and sounds fantastic without breaking the bank.

Vinyl Record Player Turntable with Built-in Bluetooth Receiver & 2 Stereo Speakers, 3 Speed 3 Size Portable Retro Record Player for Entertainment and Home Decoration
【Vintage Record Player】Bluetooth Input & AUX Audio input & RCA line-out & Headphone jack. 2 Built in stereo…
As an affiliate, we earn on qualifying purchases.
As an affiliate, we earn on qualifying purchases.
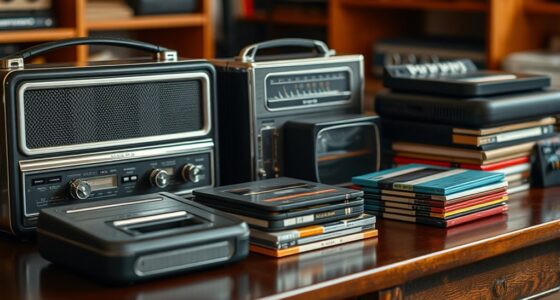
Scoring Affordable Classic Audio Equipment
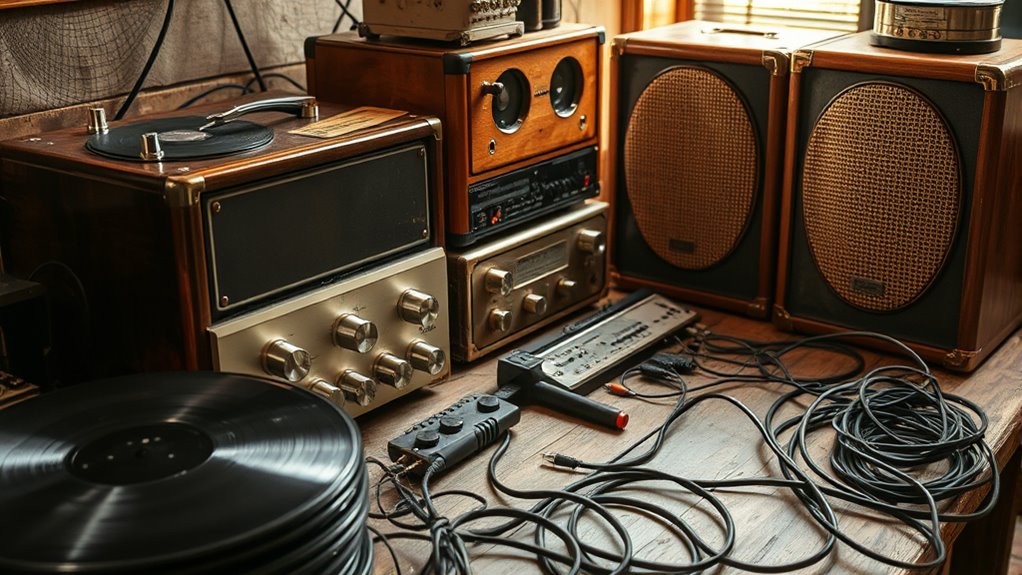
Finding affordable classic audio equipment is easier than you might think if you know where to look. Thrift stores, online marketplaces, and vintage audio shops can yield hidden gems at a fraction of the cost. Focus on pieces that support authentic recording techniques, like tube amplifiers or vintage turntables, which add character to your system. Don’t overlook the potential of digital integration; many vintage units now offer modern inputs or adapters, making it easier to connect with contemporary devices. Be patient and persistent—collecting quality gear takes time. Research model histories and common issues to avoid costly repairs later. Understanding market trends can help you identify the most desirable and affordable vintage audio components. With a bit of effort, you can build a budget-friendly, authentic vintage sound system that delivers warmth and character without breaking the bank.
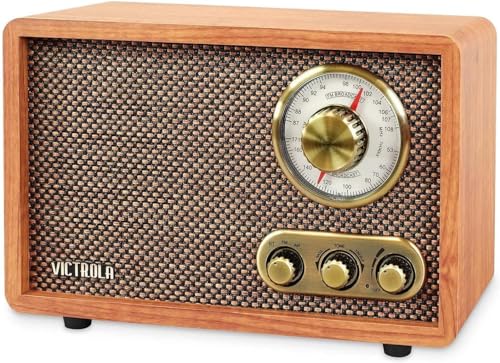
Victrola Willow – Retro Wood Bluetooth Radio with Built-in Speakers: Elegant & Vintage Design, Rotary AM/FM Tuning Dial, Bass & Treble Control, Wireless Streaming (Walnut)
MORE THAN A RADIO – Victrola's Retro Radio with Bluetooth lets you to listen to music not just…
As an affiliate, we earn on qualifying purchases.
As an affiliate, we earn on qualifying purchases.
DIY Restoration and Customization for Authentic Appeal
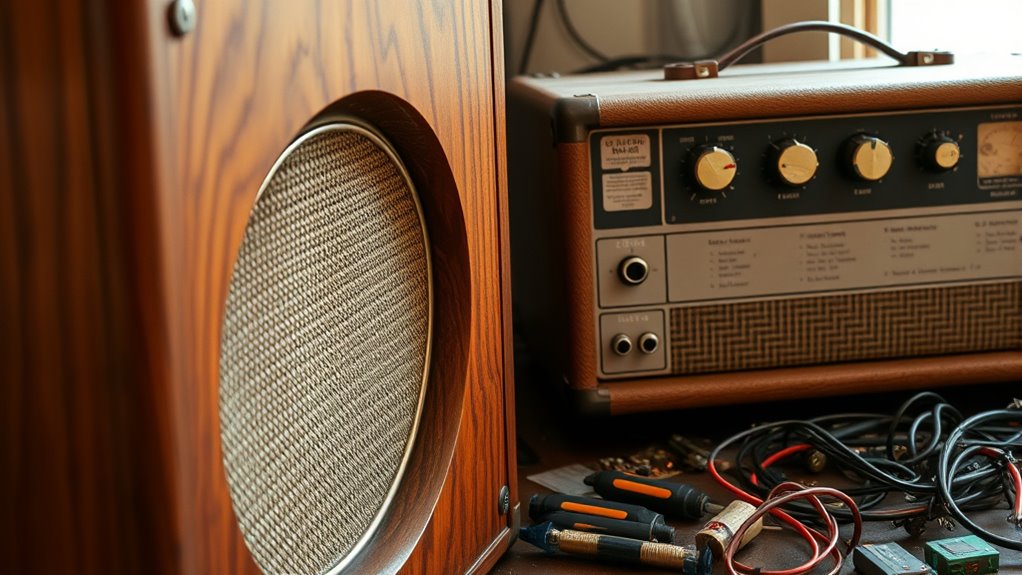
Restoring and customizing your vintage audio gear allows you to enhance its authentic appeal while saving money. You can achieve this through simple DIY projects like custom paint jobs and cabinet modifications. A fresh coat of paint can transform an old receiver, giving it a unique look that matches your style. Cabinet modifications, such as sanding or adding new panels, improve both appearance and acoustics. Before starting, plan your design and gather necessary tools. Be patient and precise to avoid damage. Here’s a quick guide:
| Customization Tip | Purpose |
|---|---|
| Custom paint | Personalizes and refreshes |
| Cabinet modifications | Improves aesthetics and sound |
| Replace knobs | Enhances style |
| Add ventilation vents | Improves heat dissipation |
| Refinish wood surfaces | Restores vintage charm |
These simple steps make your system stand out without breaking the bank.

GOOACC 5PCS Auto Trim Removal Tool Kit No-Scratch Removal Tool Kit for Car Audio Dash Panel Window Molding Fastener Remover Tool Kit-Green
【Save Time,Frustration and Money】- There are 5 pcs different kinds of trim tools, including 4 pcs car panel…
As an affiliate, we earn on qualifying purchases.
As an affiliate, we earn on qualifying purchases.
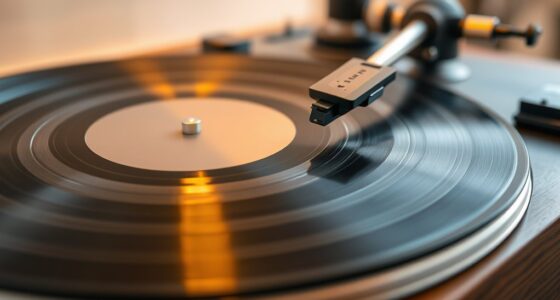
Tips for Optimal Speaker Setup and Placement

Getting your speakers positioned correctly makes a big difference in sound quality. You should align their height for balanced audio and adapt for your room’s acoustics. Proper spacing between speakers also ensures you get a rich, immersive listening experience. Experimenting with speaker placement can help you find the optimal soundstage for your space. Additionally, utilizing best airless paint sprayers can assist in maintaining your equipment clean and in good condition, ensuring consistent performance during setup and adjustment. Regularly inspecting and cleaning your equipment maintenance items helps prevent buildup of dust and debris that can affect sound clarity. Implementing automation technologies into your setup process can further streamline adjustments and optimize sound performance.
Speaker Height Alignment
Proper speaker height alignment is essential for achieving the best sound quality from your vintage system. You want your speakers at ear level when seated to guarantee accurate sound reproduction. You can use sturdy stands or blocks if needed to elevate or lower your speakers, which helps achieve optimal height. Adjust the speaker height so that the tweeters are roughly aligned with your ears, as this directs high-frequency sounds directly toward you. Proper speaker placement also influences height; placing speakers too high or low can distort soundstage and clarity. Keep in mind that even slight adjustments can considerably improve your listening experience. Experiment with different heights until the sound feels natural and balanced. Ensuring the speakers are at the right speaker height can significantly enhance your overall audio experience. Additionally, considering the acoustic environment of your space can help refine the placement for the best sound quality. Regional differences in acoustic properties can further influence optimal setup and should be taken into account. By focusing on speaker height and placement, you’ll optimize your vintage setup for rich, clear audio.
Room Acoustic Adjustments
To achieve the best sound from your vintage system, paying attention to room acoustics is essential. Start with soundproofing techniques like adding heavy curtains, rugs, or wall panels to reduce unwanted echoes and external noise. These room decoration ideas not only improve sound quality but also enhance the aesthetic of your space. Position your speakers away from walls and corners to prevent bass booms and muddiness. Use soft furnishings and textured decor to absorb sound reflections, creating a clearer, more balanced audio environment. Keep the room clutter-free to avoid sound distortions. Incorporating sound absorption techniques can help you stay focused and make more informed adjustments. Additionally, staying aware of AI security developments can inform you of innovative solutions for optimizing your setup and protecting your audio equipment from digital threats. Considering the placement of your vintage components in relation to speaker positioning can further improve overall sound clarity. Proper room layout also plays a crucial role in achieving optimal sound quality by ensuring that your setup supports balanced acoustics. By making these room acoustic adjustments, you’ll enjoy a richer, more immersive listening experience without breaking the bank. Small changes can make a significant difference in how your vintage system sounds.
Optimal Speaker Spacing
Achieving the best sound from your vintage system depends heavily on how you position your speakers. Proper speaker separation is key to creating a balanced soundstage width. Keep your speakers about 2 to 3 feet apart, ensuring they form an equilateral triangle with your listening position. Too close, and the soundstage narrows; too far apart, and it becomes disjointed. Experiment with slight adjustments to find the sweet spot that offers clarity and depth. Make sure the speakers are ear level when seated, and aim for a direct, unobstructed path to your ears. This setup enhances stereo imaging and ensures you experience a rich, immersive sound. Small tweaks in speaker spacing can make a significant difference in your vintage system’s overall performance.
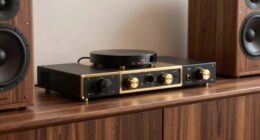
Connecting Modern Devices to Vintage Gear

Connecting your modern devices to vintage gear requires understanding compatible input options and signal levels. You need to choose the right adapters and ensure the signals match to prevent damage. Using adapters safely is vital to keep your equipment working properly and sounding great.
Compatible Input Options
Modern devices often have digital or line-level outputs that don’t directly match the vintage gear’s input requirements. To connect these devices, you’ll need compatible input options. Wireless connectivity solutions, like Bluetooth adapters, make streaming music effortless without extra cables. For digital input options, consider using a digital-to-analog converter (DAC), which converts digital signals into analog signals your vintage gear can handle. Many affordable DACs connect via USB or optical inputs and provide RCA outputs suitable for vintage amplifiers. If you’re working with smartphones or computers, these digital input options offer a clean, straightforward way to integrate modern tech into your vintage setup. This approach preserves sound quality and guarantees compatibility without breaking the budget.
Signal Level Compatibility
How do you guarantee your modern devices deliver the correct signal level to your vintage gear? First, check the output levels of your modern equipment—some devices have high line levels that can overload vintage amps or speakers. To prevent this, use appropriate cables with the right gauge; thicker cables can help reduce signal loss over longer runs. Impedance matching is also essential—matching the device’s output impedance to your vintage gear’s input ensures ideal transfer and prevents distortion. If the levels or impedance don’t align, consider using a passive attenuator or a dedicated match box. These tools help maintain proper signal strength without sacrificing sound quality. Ensuring compatibility avoids damage and guarantees your vintage system sounds its best with your modern devices.
Using Adapters Safely
Using adapters is a practical way to bridge the gap between your modern devices and vintage gear, but doing so safely requires careful attention. First, prioritize adapter safety by choosing high-quality, properly rated adapters designed for audio equipment. Always check electrical compatibility to ensure the voltage and impedance match between your device and vintage gear; mismatched levels can cause damage or noise. Avoid makeshift solutions and stick to trusted brands to prevent shorts or electrical faults. Before connecting, inspect adapters for any damage or wear. When in doubt, consult the equipment’s manuals or a professional. Properly rated adapters protect your gear and guarantee ideal sound quality. With these precautions, you’ll safely integrate modern devices without risking your vintage setup.
Maintaining and Caring for Your Vintage Sound System
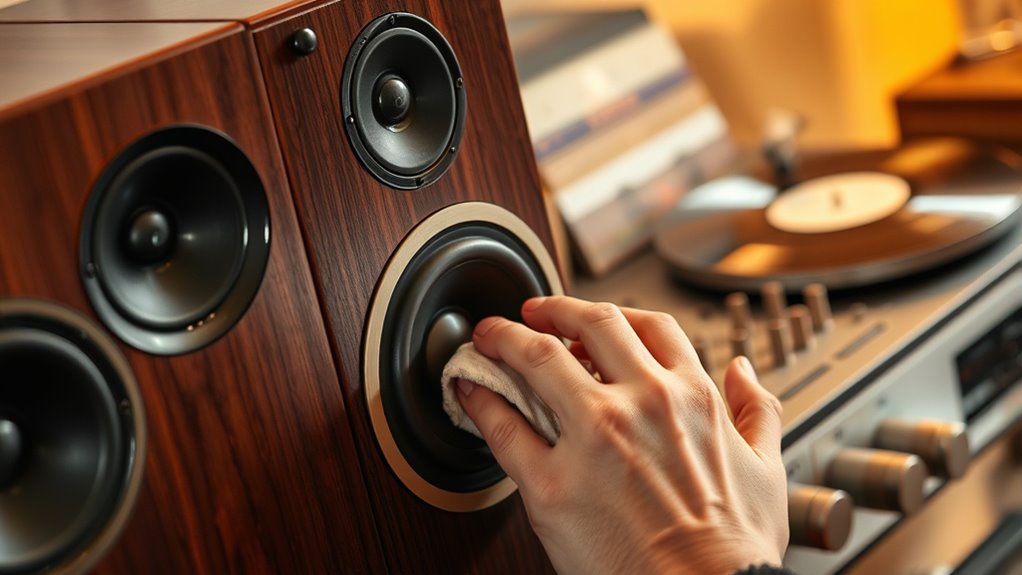
To keep your vintage sound system performing at its best, regular maintenance and proper care are essential. Focus on cable management to prevent tangling and accidental disconnections, which can cause sound issues. Dust prevention is equally important; dust can damage delicate components and reduce audio quality. Keep your system in a clean, dry environment and use compressed air or a soft brush to remove dust from vents and connectors. Periodically inspect your equipment for corrosion or loose connections. Also, check speaker wires and replace any worn-out cables promptly. Protect your investment by handling components carefully and avoiding excessive heat or humidity. Proper maintenance ensures your vintage sound system continues to deliver warm, rich sound for years to come.
Frequently Asked Questions
How Can I Identify Authentic Vintage Audio Components From Replicas?
To identify authentic vintage audio components, examine collector markings and labels for originality. Check the material aging—authentic pieces show natural wear, patina, or oxidation, while replicas often lack these signs. Feel the weight and quality of construction; genuine vintage gear tends to be solid and well-made. Compare details like knobs, logos, and serial numbers with trusted sources or reference images to spot inconsistencies.
What Safety Precautions Should I Take When Restoring Vintage Equipment?
When restoring vintage equipment, you should always handle electrical components with care, unplugging devices before working on them. Wear insulated gloves and use insulated tools to prevent shocks. Keep a fire extinguisher nearby in case of electrical fires. Make certain proper ventilation to avoid fumes, and avoid working near water or damp surfaces. These precautions help protect you from electrical hazards and maintain fire safety during the restoration process.
Are There Budget-Friendly Ways to Upgrade Vintage Sound Quality?
Imagine turning your vintage sound system into a concert hall without breaking the bank. You can achieve this with affordable upgrades like replacing old tubes, adding a modern DAC, or upgrading internal wiring for better sound enhancement. These budget-friendly tweaks breathe new life into your gear, delivering richer bass, clearer highs, and an overall more immersive experience. With some DIY effort, your vintage setup will sound as good as new, without overspending.
How Do I Troubleshoot Common Connectivity Issues With Modern Devices?
To troubleshoot common connectivity issues with modern devices, start by checking Bluetooth pairing—make sure your device is discoverable and within range. For Wi-Fi connectivity, restart your router and verify your device is connected to the correct network. Update your device’s software, and reset Bluetooth or Wi-Fi settings if needed. These simple steps often resolve issues, restoring seamless connection and audio quality for your vintage sound system.
What Are the Signs of Wear Indicating a Vintage System Needs Professional Repair?
Imagine your vintage speakers suddenly crackle or sound distorted—that’s a clear sign of deterioration. You notice corrosion signs on terminals or speaker cones, indicating internal damage. If you experience inconsistent sound or warmth from your system, it’s time to seek professional repair. These signs point to speaker deterioration or corrosion, which can’t be remedied with simple cleaning. Addressing these issues early ensures your vintage system stays in top shape.
Conclusion
Building a budget vintage sound system is totally doable with patience and smart choices. For example, imagine finding a vintage receiver at a garage sale and restoring it yourself—saving money while creating authentic sound. Proper speaker placement and connecting your modern devices seamlessly will enhance your listening experience. With a little effort, you can enjoy rich, classic tones without breaking the bank, turning your space into a stylish, musical haven.