
When upgrading vintage appliances with modern internals, start by inspecting and safely disconnect them from power sources. Replace old wiring with insulated, high-quality cables and update control components for improved safety and efficiency. Carefully choose compatible modern parts that preserve the original look while meeting current safety standards. Test thoroughly before using. If you keep exploring, you’ll discover detailed steps to ensure your upgrade maintains both functionality and vintage charm.
Key Takeaways
- Disconnect the appliance from power and inspect for damage before starting upgrades.
- Replace old wiring with modern, insulated cables to ensure safety and reliability.
- Use compatible, high-quality modern components that maintain vintage aesthetics.
- Follow electrical codes and safety standards during rewiring and component installation.
- Thoroughly test the appliance after upgrades to confirm safety, functionality, and preservation of vintage charm.

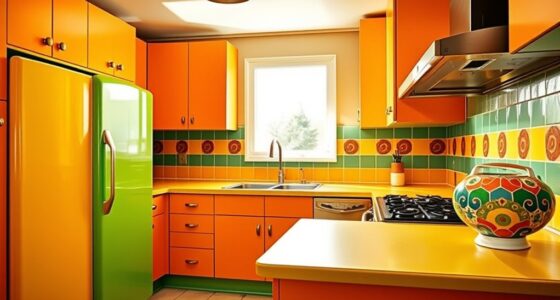
Vintage appliances add character and charm to any kitchen, but they often lack modern efficiency and safety features. If you’re considering upgrading these timeless pieces with modern internals, you’ll want to approach the project thoughtfully. It’s not just about making the appliance work better; it’s about preserving its aesthetic while enhancing safety and performance. To do this effectively, you need to understand proper restoration techniques and prioritize safety considerations.
Start by carefully inspecting your vintage appliance. Look for signs of damage, corrosion, or worn wiring that could pose safety risks. Before diving into any upgrade, disconnect the appliance from power sources completely. This step is *vital* to avoid electrical shocks or accidents during the process. Once you’ve secured safety, research the original specifications and components. This helps you identify what can be modernized without compromising the vintage look. For example, replacing old wiring with modern, insulated cables can *substantially* improve safety and reliability.
Inspect for damage and wear, then disconnect power completely before upgrading vintage appliances safely.
Restoration techniques involve more than just replacing parts. You’ll want to clean and restore original surfaces, ensuring they’re free from rust and grime. Use gentle cleaning agents suitable for vintage finishes to avoid damaging delicate surfaces. When replacing internal components, opt for high-quality, compatible modern parts. For example, updating the thermostat or control system with contemporary equivalents can boost efficiency and safety. Make sure these new parts meet current safety standards and are suitable for vintage appliances.
Safety considerations are paramount. Modern electric components often have safety features that vintage parts lack, such as automatic shut-offs or over-temperature protection. Installing these features can prevent overheating and electrical failures. When rewiring or replacing internal parts, follow electrical codes diligently. If you’re unsure about handling electrical components, don’t hesitate to consult a professional. Keep in mind that some vintage appliances may contain hazardous materials like asbestos or old insulation, which require special handling and disposal. Additionally, understanding nanotechnology advancements can help inform safer, more efficient upgrades by enabling the integration of miniature, high-performance components.
Finally, test the appliance thoroughly before putting it back into service. Check all connections, ensure safety features are functioning correctly, and verify that the appliance operates smoothly. This step confirms that your upgrades are successful and that the appliance is safe for regular use. Upgrading vintage appliances with modern internals isn’t just about functionality; it’s about respecting their history while making them safer and more efficient for everyday use. With careful restoration techniques and a keen eye on safety considerations, you can enjoy the best of both worlds—timeless charm and modern reliability.
Top picks for "upgrad vintage applianc"
Open Amazon search results for this keyword.
As an affiliate, we earn on qualifying purchases.
Frequently Asked Questions
What Safety Precautions Are Necessary During Internal Upgrades?
You should always disconnect the appliance from power before starting any internal upgrades to guarantee electrical safety. Wear insulated gloves and use tools with rubber handles to prevent shocks. Work in a well-ventilated area and keep a fire extinguisher nearby to prevent fire hazards. Double-check all wiring connections and follow safety guidelines to avoid electrical issues, and always consult a professional if you’re unsure about any step.
How Do I Ensure Compatibility of Modern Parts With Vintage Models?
To make certain of compatibility of modern parts with vintage models, start with thorough compatibility testing by comparing specifications and dimensions. You should source parts from reputable suppliers who specialize in vintage appliance upgrades to guarantee quality and fit. Always double-check electrical requirements and mounting points. If you’re unsure, consult a professional or reference detailed manuals to avoid mismatched components that could cause damage or safety issues.
What Is the Average Cost for Upgrading a Vintage Appliance?
The cost estimate for upgrading a vintage appliance varies, but you should plan on spending between $200 and $1,000 depending on the complexity of the upgrade and parts needed. To stay on track, set an upgrade budget that includes labor, parts, and potential customization. Keep in mind that high-end modern components and professional installation can increase costs, so research and compare quotes to make the best investment.
Can I Upgrade Appliances Myself or Should I Hire a Professional?
Thinking of upgrading your vintage appliance? You can try a DIY approach, but beware of the challenges—like wiring and compatibility issues—that can turn into a maze. While DIY might seem tempting, hiring a professional offers benefits like expert safety, proper installation, and peace of mind. So, weigh your skills carefully; sometimes, trusting a pro is the smarter, safer choice for modernizing your beloved vintage piece.
How Long Do Upgraded Appliances Typically Last Before Needing Further Repairs?
Your upgraded appliance typically lasts around 10 to 15 years, but this depends on how well you maintain it. With modern internals, the appliance lifespan usually extends, and you might see a decrease in repair frequency early on. However, over time, parts may wear out, requiring repairs. Regular upkeep and timely repairs help maximize the lifespan, ensuring your vintage upgrade continues to serve you well for years to come.
Conclusion
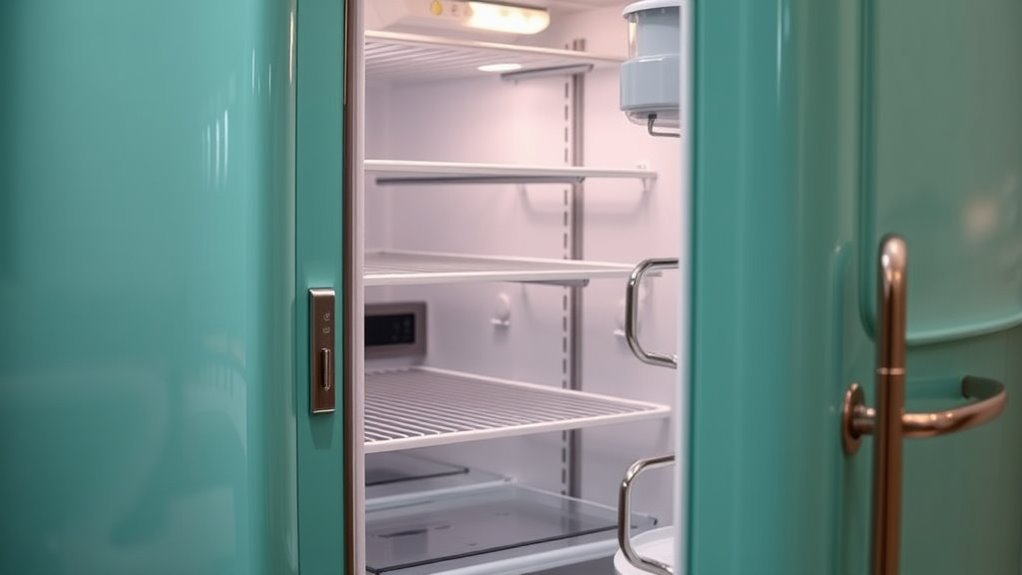
Upgrading vintage appliances with modern internals not only preserves their charm but also boosts functionality. Imagine restoring a classic fridge by replacing its outdated compressor with a sleek, energy-efficient model—you get the vintage look plus modern performance. This way, you enjoy the best of both worlds: nostalgia and efficiency. So, whether you’re revamping a stove or a mixer, blending old-school style with new tech keeps your kitchen both beautiful and practical.