
To calibrate your turntable for perfect sound, start by aligning the stylus with a protractor to make certain it’s centered properly. Adjust the anti skate to match the tracking force, which you should set with a stylus gauge—too little causes skipping, too much can damage records. Fine-tuning these settings improves sound clarity and prolongs record life. If you want to master all the detailed steps, keep exploring the full calibration process.
Key Takeaways
- Use a protractor to properly align the stylus with the cartridge for optimal sound quality.
- Adjust the anti skate control to match the tracking force, preventing uneven groove wear.
- Calibrate the tracking force precisely with a stylus gauge to avoid record damage and skipping.
- Combine stylus alignment, anti skate, and tracking force adjustments for comprehensive calibration.
- Regularly check and fine-tune calibration settings to maintain optimal sound and extend equipment lifespan.
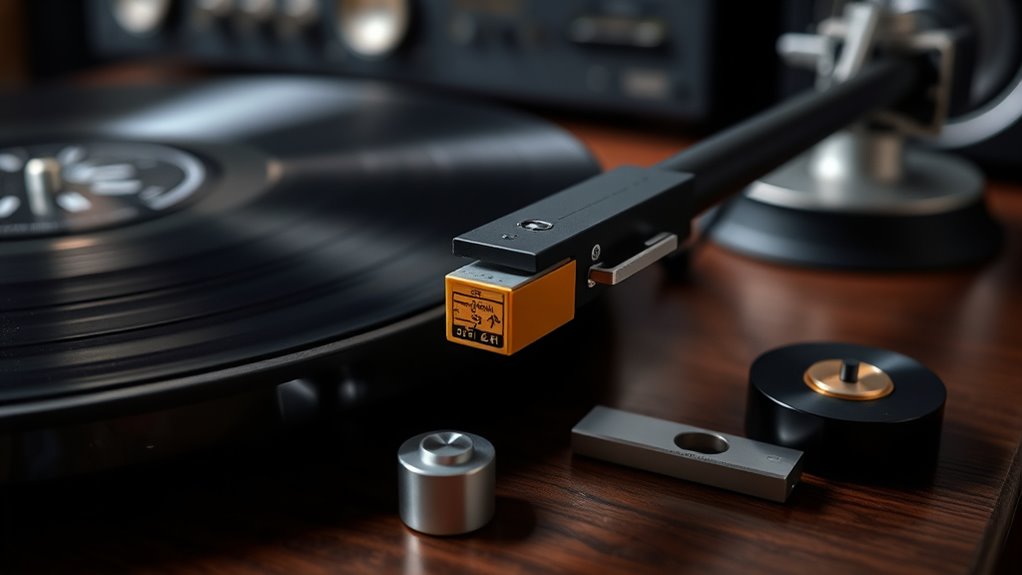
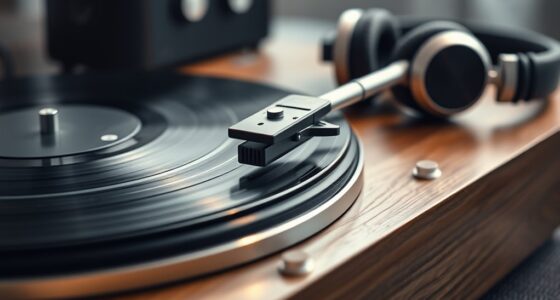
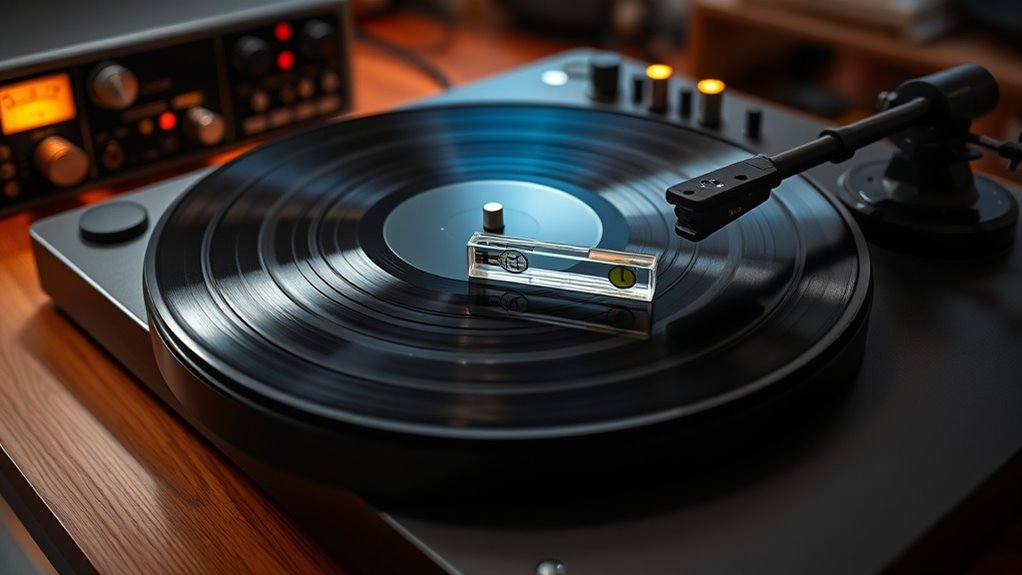
Calibrating your turntable is vital to ensuring your records sound their best and your equipment performs accurately. The first step is to focus on stylus alignment. If your stylus isn’t aligned properly, you’ll notice distorted sound, uneven wear on your records, and potential damage over time. To check alignment, place a protractor over your turntable’s platter and carefully position the tonearm so the stylus sits precisely within the alignment marks. You want the stylus tip to be centered over the cartridge’s stylus tip and to sit at the correct angle relative to the record grooves. Adjust the cartridge mount screws gently, ensuring the stylus remains aligned with the protractor’s markings. Don’t rush this process; precise alignment can considerably improve sound quality and prolong your records’ lifespan. Proper Free Floating design can also help reduce vibrations and improve overall sound clarity. Once you’ve aligned the stylus, turn your attention to anti skate adjustment. Anti skate is vital because it counteracts the natural inward pull of the tonearm as it tracks the record. If you neglect this adjustment, your stylus can favor one side of the groove, causing uneven wear and affecting sound quality. Most turntables have an anti skate control, often a dial or weight, which you can set to match the tracking force you’ve applied. To do this accurately, set your stylus tracking force first, using a stylus force gauge. Then, adjust the anti skate control to match that force, ensuring the tonearm stays centered in the groove during playback. If your turntable lacks a dedicated anti skate control, some models automatically compensate, but if it doesn’t, you might need to make manual adjustments or consider upgrading your equipment. Calibrating your turntable also involves checking the tracking force, which is the downward pressure your stylus applies to the record. Use a stylus force gauge to set this precisely. Too little force, and your stylus may skip or fail to track properly; too much, and you risk damaging your records. Once all these adjustments are set — stylus alignment, anti skate, and tracking force — you should notice a marked improvement in sound clarity, stereo separation, and overall playback stability. It’s worth regularly revisiting these calibrations, especially if you move your turntable or replace the cartridge. Taking the time to get these settings right ensures your records sound their best, your equipment performs efficiently, and your vinyl collection remains in pristine condition for years to come.
Top picks for "calibrate turntable perfect"
Open Amazon search results for this keyword.
As an affiliate, we earn on qualifying purchases.
Frequently Asked Questions
Can I Calibrate My Turntable Without Professional Tools?
Yes, you can calibrate your turntable without professional tools. Start by carefully checking needle alignment using a mirror or a straightedge, ensuring it’s properly aligned with the cartridge. Then, adjust the tonearm balance by gently setting the counterweight until the tonearm hovers level when released. These simple steps help improve sound quality without special equipment, making your listening experience much better with basic adjustments.
How Often Should I Recalibrate My Turntable?
Think of your turntable as a finely-tuned orchestra — it needs regular tuning to stay harmonious. You should recalibrate it every 6 to 12 months, depending on usage. Follow simple maintenance tips, like checking the alignment and tracking force, and troubleshoot steps if sound quality drops. Regular calibration keeps your vinyl music crisp and vibrant, ensuring every note hits the right pitch and your listening experience remains pure.
Will Calibration Improve Sound Quality on All Records?
Calibration can improve sound quality on all records, especially if you focus on record weight and stylus alignment. Properly setting the record weight ensures the stylus tracks accurately, reducing distortion. Aligning the stylus correctly helps prevent unnecessary wear and delivers clearer sound. While calibration makes a noticeable difference, some records may still sound different due to their condition or pressing quality. Regular checks keep your turntable sounding its best across your entire collection.
What Are the Signs of a Poorly Calibrated Turntable?
A stitch in time saves nine, and recognizing a poorly calibrated turntable preserves your records. Signs include inconsistent tone, muddled clarity, and uneven sound. You might notice skipping or distortion, which are common misconceptions about setup. If your playback lacks balance or seems off, it’s time to check the tonearm height and cartridge alignment. Proper calibration ensures your sound remains crisp, clear, and true to the original.
Is Calibration Necessary for Digital Turntables?
Calibration isn’t necessary for digital turntables if you’ve properly set up your digital system with accurate software adjustments. These devices often come with built-in software to help fine-tune pitch, tempo, and other settings, making manual calibration less critical. However, you should still check and adjust your digital setup periodically to guarantee ideal sound quality and seamless playback, especially after software updates or changes in your setup.
Conclusion
Now that you know how to calibrate your turntable, you’re on your way to experiencing sound so pure, it’ll feel like the music is coming from a celestial orchestra. Just remember, a perfectly calibrated turntable reveals the true magic hidden in every record. Don’t let anything stop you—keep adjusting, fine-tuning, and perfecting your setup. Before long, you’ll be spinning tunes on a machine so flawless, it’s practically a musical masterpiece in itself.