
When thrift shopping for vintage audio, look for reputable brands like Marantz, Pioneer, or Sansui, and check their serial numbers and labels for authenticity. Inspect the exterior for scratches, dents, or corrosion, and open the unit to examine internal components for signs of damage or overheating. Listen for clear, balanced sound without hums or crackles. Make sure connections work smoothly and match your gear. Want to uncover more tips? Keep exploring to become a pro at spotting hidden gems.
Key Takeaways
- Recognize reputable brands like Marantz, Pioneer, and Sansui, and verify authenticity through serial numbers and markings.
- Conduct a thorough physical inspection for signs of wear, corrosion, and ensure controls and ports function smoothly.
- Listen carefully for audio clarity, distortions, hums, or crackles to assess sound quality and internal condition.
- Test connectivity options (RCA, phono, wireless) to confirm compatibility and proper operation with your existing gear.
- Research market values and rare models beforehand to negotiate confidently and identify true hidden gems.
Top picks for "thrift shopp vintage"
Open Amazon search results for this keyword.
As an affiliate, we earn on qualifying purchases.
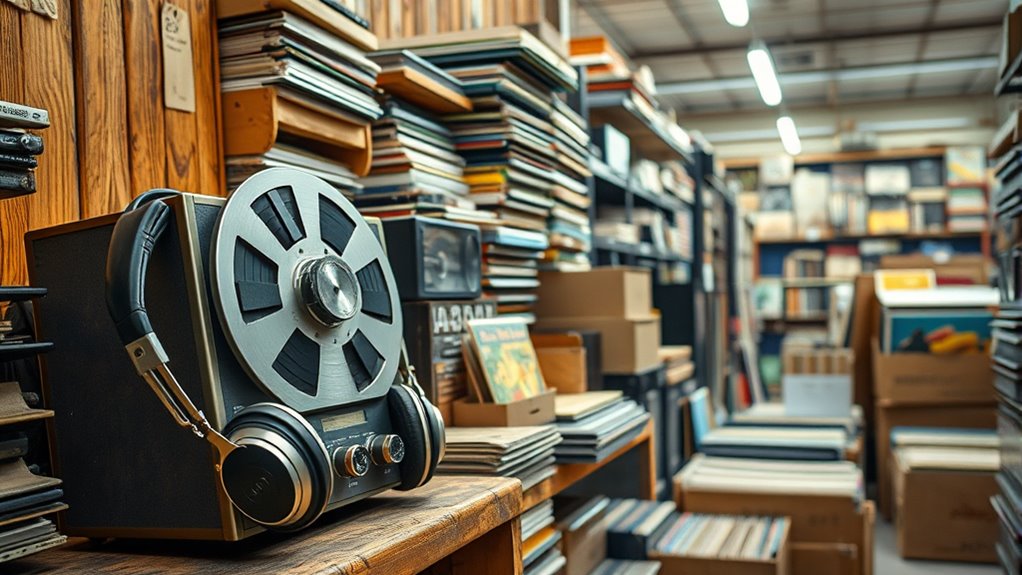
Understanding Classic Brands and Models

To make the most of your vintage audio thrift shopping, it’s essential to understand the classic brands and models that stand out for their quality and durability. Recognizing brand recognition helps you identify reputable manufacturers like Marantz, Pioneer, and Sansui, known for producing reliable, high-performance gear. Familiarize yourself with vintage terminology such as “receiver,” “turntable,”, and “amplifier,” so you can quickly assess items’ authenticity and value. Knowing the differences between brands and their signature features allows you to spot well-maintained, genuine units in thrift stores or online listings. Developing a brand recognition mindset can significantly improve your ability to identify authentic, high-quality vintage audio equipment. Additionally, understanding specific model histories can help you determine the value and potential upgrades for your vintage finds, ensuring you get the best possible deal. Exploring model-specific details can also reveal unique features or production quirks that set certain units apart from others. For example, learning about vintage audio terminology can help you better interpret product descriptions and assess the condition of potential buys. A deeper knowledge of audio equipment specifications can further enhance your ability to make informed purchasing decisions and recognize high-performance units at a glance.
Inspecting Physical Condition and Build Quality
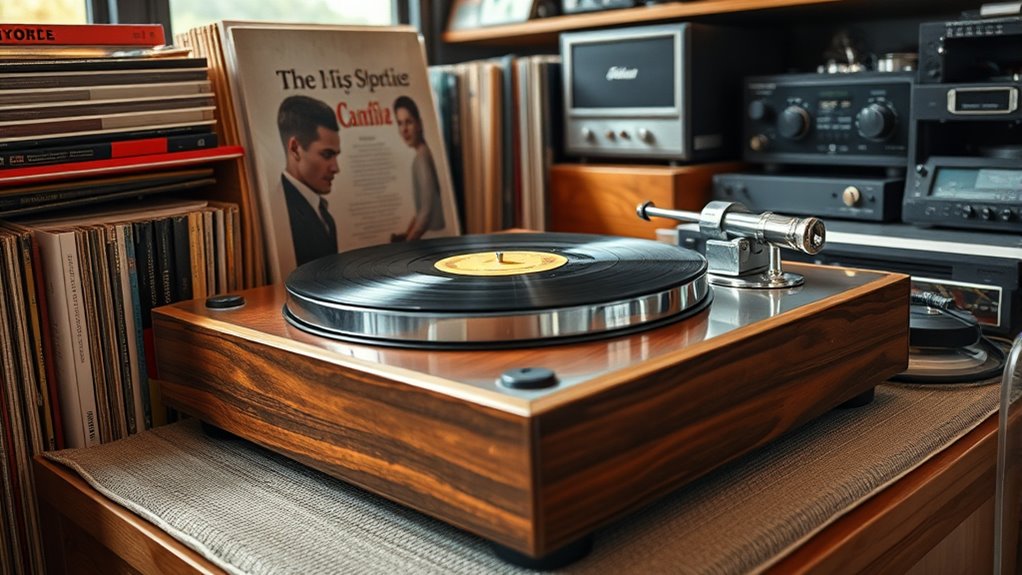
Regularly inspecting the physical condition and build quality of vintage audio gear is essential when thrift shopping. Look for signs of wear, such as scratches, dents, or corrosion, which can affect both aesthetics and functionality. Check the knobs, switches, and buttons to ensure they move smoothly and aren’t broken or missing. For vintage aesthetics, pay attention to the original finish and whether it’s intact or restored. A well-preserved or properly restored piece has greater collector’s appeal. Feel the weight and sturdiness of the unit—solid construction indicates quality. Avoid equipment with warped panels or loose parts. Remember, a clean, well-maintained exterior suggests careful handling and increases the likelihood of reliable performance, making your vintage find both beautiful and functional. Additionally, the materials used in the construction can influence durability and the overall look of the equipment. Being aware of the quality indicators can help you assess the long-term value of your thrifted audio gear. Recognizing physical wear signs can also provide insight into the history and usage of the item, helping you make a more informed decision.
Furthermore, paying attention to the connection ports and their condition can give clues about the usability and compatibility of the equipment with modern devices.
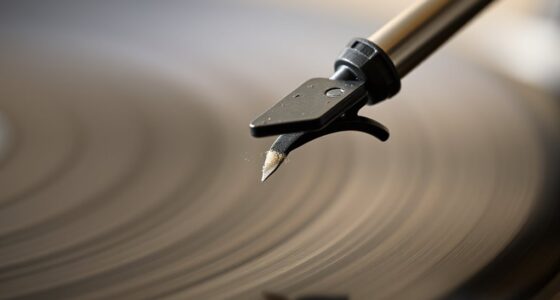
Listening for Sound Quality and Performance
When evaluating vintage audio equipment, it’s crucial to use auditory inspection techniques to assess sound quality. Set up your listening environment properly to detect nuances and identify any audio flaws. Pay attention to distortions, hums, or uneven sound to ensure the equipment performs well. Incorporating sound quality assessment methods can help you make more informed purchasing decisions and enjoy optimal performance. Additionally, understanding how system performance can influence sound clarity will aid in selecting equipment that delivers a richer listening experience. Being aware of the impact of audio equipment maintenance can also help preserve performance over time, ensuring you enjoy high-quality sound for years to come. Regularly inspecting and cleaning your equipment can prevent the buildup of dust and corrosion, further maintaining its long-term functionality.
Auditory Inspection Techniques
Listening carefully to a vintage audio component is essential for evaluating its sound quality and performance. Use tuning techniques to adjust controls and listen for clarity, balance, and distortion. Pay close attention to the sound signature, noting whether bass, mids, and treble are well-defined and harmonious. Check for any unusual noise, hum, or crackles that might indicate internal issues. Engage in sound signature analysis by comparing how different genres or recordings sound through the equipment. Trust your ears to detect subtle differences in tone and resonance. If possible, listen to familiar tracks to gauge overall performance. This auditory inspection helps you identify hidden flaws and guarantees your vintage find delivers the audio quality you’re seeking. Additionally, consider audio components and their specifications to better understand the expected performance and compatibility. Conducting a thorough listening assessment can reveal subtle signs of wear or damage that may not be obvious visually. Incorporating testing procedures, such as frequency sweeps and impedance checks, can further enhance your evaluation process. Remember that understanding the local market conditions can also help you gauge whether a vintage piece is fairly priced or a potential bargain. Being aware of the condition of internal parts can also improve your ability to predict longevity and future maintenance needs.
Listening Environment Setup
Setting up your listening environment properly is essential for accurately evaluating the sound quality and performance of vintage audio equipment. Start by considering room acoustics; a space with minimal echo and balanced sound reflections helps you hear the equipment’s true character. HEPA filtration can be an analogy here, as it captures fine details and nuances, similar to how good acoustics reveal subtle sound qualities. Position your speakers carefully, ideally placing them at ear level and forming an equal distance from your listening position. Avoid placing speakers too close to walls or corners, as this can cause bass distortion. Clear the area of clutter that might interfere with sound clarity. Use a stable, level surface to prevent vibrations. Adjusting speaker placement and refining room acoustics allow you to detect subtle nuances and ensure you’re truly experiencing the equipment’s capabilities. A well-prepared environment also involves proper equipment placement, which can significantly influence sound performance.
Recognizing Audio Flaws
After optimizing your listening environment, the next step is to develop a keen ear for identifying audio flaws. Pay close attention to sound quality and performance by evaluating speaker placement; improper positioning can cause distorted sound or weak bass. Listen for hums, crackles, or static that indicate electrical issues or damaged components. Check for muffled or overly bright audio, which might signal internal problems or worn-out parts. Good cable management is essential—loose or tangled cables can cause intermittent sound or noise. When testing vintage gear, ensure all connections are secure and cables are in excellent condition. Developing this awareness helps you detect flaws early, ensuring you invest in a vintage piece that offers authentic sound without hidden defects.
Checking for Authenticity and Original Parts

When evaluating vintage audio equipment, verifying that parts are authentic and original is vital, as this greatly impacts both value and performance. Authenticity verification helps guarantee you’re not buying a heavily modified or counterfeit piece. To do this effectively, focus on these steps:
Authenticity verification preserves value and performance in vintage audio gear.
- Examine serial numbers and labels for consistency with the manufacturer’s markings.
- Look for original part identification, such as specific component markings or date codes.
- Compare the internal components with known authentic parts, referencing manufacturer schematics or collector guides.
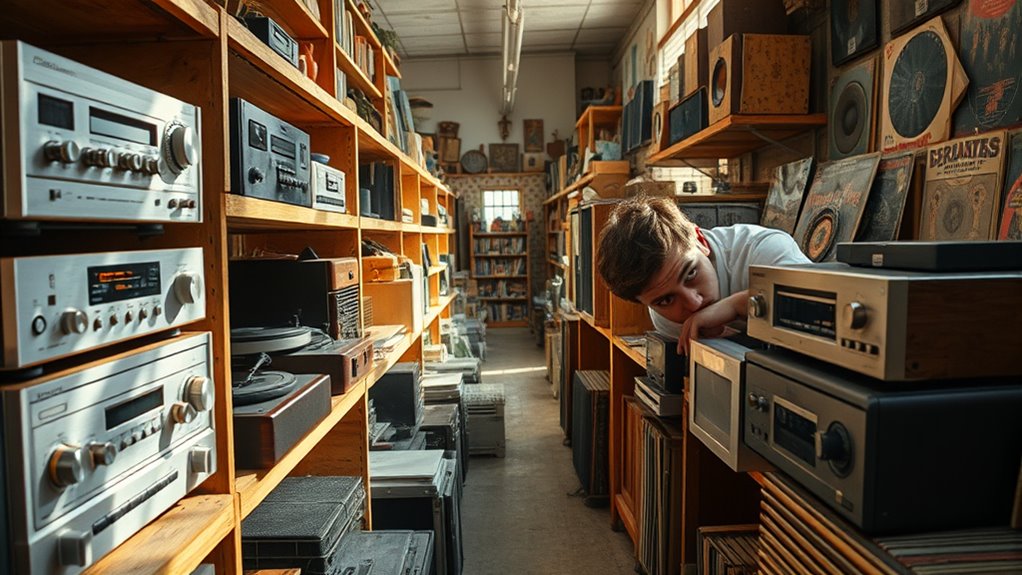
Recognizing Signs of Wear and Damage

When inspecting vintage audio equipment, look carefully for surface scratches that might indicate past mishandling. Don’t forget to check internal components for signs of rust, corrosion, or damage, as these can affect performance. Being thorough helps guarantee you’re investing in gear that’s both functional and worth the price.
Inspect Surface Scratches Carefully
Surface scratches on vintage audio equipment can reveal a lot about its history and condition. When inspecting, pay close attention to how the finish imperfections appear. Here are three key points:
- Depth of scratches: Light surface scratches usually don’t affect performance, but deep gouges might indicate rough handling or damage.
- Uniformity: Consistent finish imperfections suggest normal wear, while irregular scratches could signal mishandling.
- Location: Scratches on high-touch areas, like knobs or buttons, are common, but damage on critical parts may impair function or reduce value.
Check Internal Components Thoroughly
After inspecting the exterior, it’s important to open up the equipment and examine the internal components. Look for signs of wear or damage on the circuit board and internal wiring. Frayed or brittle wiring indicates aging and potential failure. Inspect solder joints for cracks or corrosion, which can cause poor connections. Check for burnt components or discoloration, signaling overheating. Use the table below to identify common issues:
| Issue | What to Look For | Potential Impact |
|---|---|---|
| Frayed wiring | Visible wear or exposed strands | Short circuits or noise |
| Corrosion | Rust or greenish deposits | Signal loss or failure |
| Burn marks | Discoloration or burnt areas | Device malfunction |
Being thorough now saves headaches later, ensuring you spot true vintage gems.
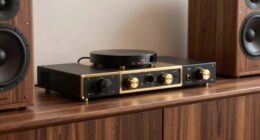
Evaluating Connectivity and Compatibility

Before purchasing vintage audio gear, it’s vital to verify its connectivity options and guarantee they match your existing setup. Check if the device supports wireless connectivity if you prefer a cable-free setup. Make certain the input compatibility aligns with your current equipment to avoid needing adapters or converters. Here are three key points to consider:
- Confirm the device has the necessary input options (e.g., RCA, phono, AUX) for your existing components.
- Verify that any wireless connectivity features are compatible with your home network or streaming devices.
- Test the compatibility of any digital or analog connections to prevent issues with sound quality or functionality.
Researching Market Value and Rarity
Researching the market value and rarity of vintage audio gear helps you make informed purchasing decisions and avoid overpaying. By staying aware of current market trends, you can identify which items are in high demand and which are more common. Price fluctuation plays a big role here; prices can vary considerably depending on rarity, condition, and collector interest. Use online marketplaces, vintage audio forums, and price guides to track trends and compare prices. Recognizing rare models or limited editions can give you an edge when negotiating or spotting a true hidden gem. Remember, a thorough understanding of these factors prevents you from paying too much for common gear or missing out on valuable finds. Knowledge of market value ensures you build a balanced, worthwhile vintage audio collection.
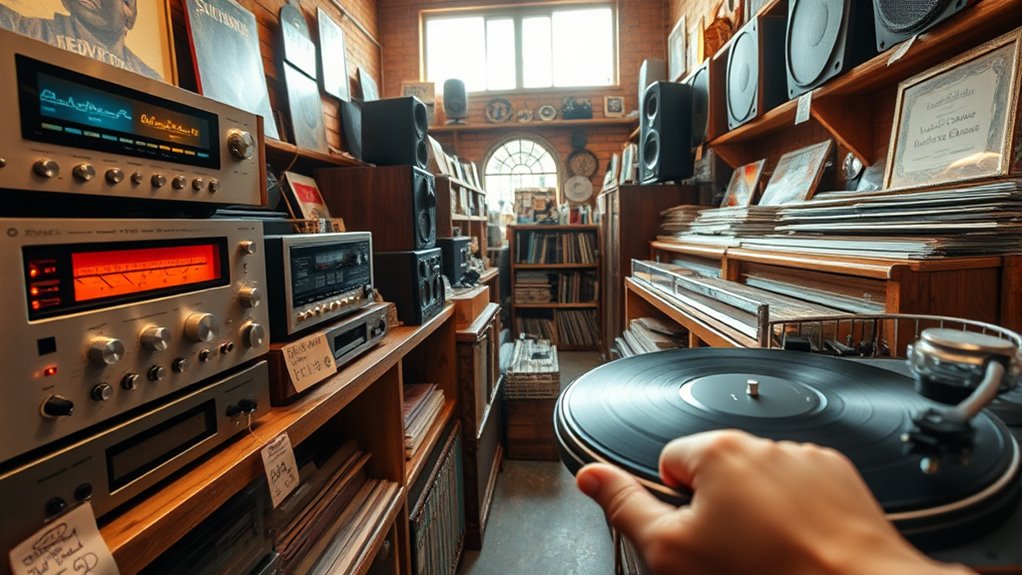
Testing Functionality Before Purchase

Testing the functionality of vintage audio gear is essential to guarantee you’re making a sound investment. First, check the power supply by plugging in the device and listening for consistent power-up sounds without crackles or hums. Next, test remote controls if available—ensure they respond smoothly and control all functions properly. Finally, verify that all features work as intended: tune stations, adjust volume, and test inputs for clarity. Pay close attention to the condition of internal components that could affect performance, like tubes or capacitors. If something doesn’t respond or sounds off, ask for a demonstration or consider passing. These steps help prevent costly surprises and ensure your vintage find is as functional as it is charming.
Tips for Negotiating and Securing Deals

Negotiating a good deal on vintage audio gear requires confidence and a clear strategy. Approach each encounter with a positive mindset and be prepared to walk away if the price isn’t right. Start by researching the item’s fair market value so you can make informed offers. Don’t hesitate to ask about bundle deals—they often lead to better prices when buying multiple pieces. Be friendly but firm, showing genuine interest while negotiating. Remember, patience pays off; sellers may be willing to lower prices if you show you’re serious. Use this table to gauge your confidence and leverage during negotiations:
| Confidence Level | Negotiation Tactics | Potential Outcomes |
|---|---|---|
| Low | Offer low, ready to compromise | Higher chance of rejection |
| Moderate | Point out comparable prices | Fair deal secured |
| High | Insist on value, bundle deals | Best possible price |
| Very High | Walk away if needed | Respect from seller, better deals |
Frequently Asked Questions
How Can I Identify Counterfeit Vintage Audio Equipment?
To identify counterfeit vintage audio equipment, check for counterfeit labels and fake serial numbers. Examine the serial number for inconsistencies or poor engraving, and verify it with the manufacturer’s database if possible. Look closely at logos, fonts, and build quality, as fakes often have cheap finishes or incorrect markings. Trust your instincts—if something seems off or too good to be true, it’s best to research further or consult an expert before buying.
What Are Common Signs of Internal Electrical Issues?
When it comes to internal electrical issues, look out for signs like internal corrosion and wiring faults—these are red flags. If you notice burning smells, buzzing sounds, or inconsistent performance, it’s a sign something’s amiss. Don’t ignore these clues; they can lead to bigger problems down the line. Regular inspections help, because sometimes, a little preventive maintenance can keep your vintage gear singing like a bird.
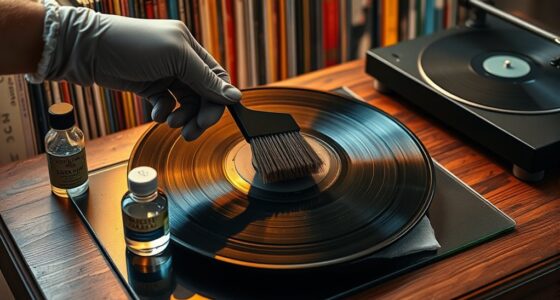
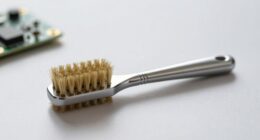
Are There Specific Cleaning Methods for Vintage Components?
You should use gentle cleaning techniques to preserve vintage components. Avoid harsh chemicals; instead, opt for a soft, lint-free cloth slightly dampened with distilled water or isopropyl alcohol. Use a small brush to remove dust from delicate parts. Regularly maintain with preservation methods like avoiding moisture and extreme temperatures. Proper cleaning not only keeps your vintage audio equipment looking great but also guarantees ideal performance over time.
How Do I Verify the Authenticity of Branded Markings?
Verifying the authenticity of branded markings is like decoding a secret message. You should first examine the markings closely, looking for consistent font, logo placement, and quality that matches official branding. Cross-reference these details with trusted sources or manufacturer websites. If in doubt, consult vintage audio experts or use online forums. Authentic markings will be clear, precise, and free of counterfeit signs, ensuring your vintage piece is genuine.
What Accessories or Spare Parts Should I Look For?
You should look for accessories or spare parts that match serial numbers and come with original packaging. Items like replacement cables, styluses, or belts that have matching serial numbers guarantee authenticity and compatibility. Original packaging adds value and confirms authenticity, so keep an eye out for intact boxes or manuals. These details help verify the item’s originality and ensure you’re getting genuine, well-maintained vintage audio gear.
Conclusion
By honing your eye for hidden gems, you turn thrift shopping into a treasure hunt, uncovering vintage audio that sings like a well-kept secret. Every find is a note in your personal symphony of nostalgia, waiting to be played again. Trust your instincts, stay curious, and remember—great sound isn’t just found in pristine condition, but in the stories and soul it holds. Keep searching, and let your vintage collection be your melody.