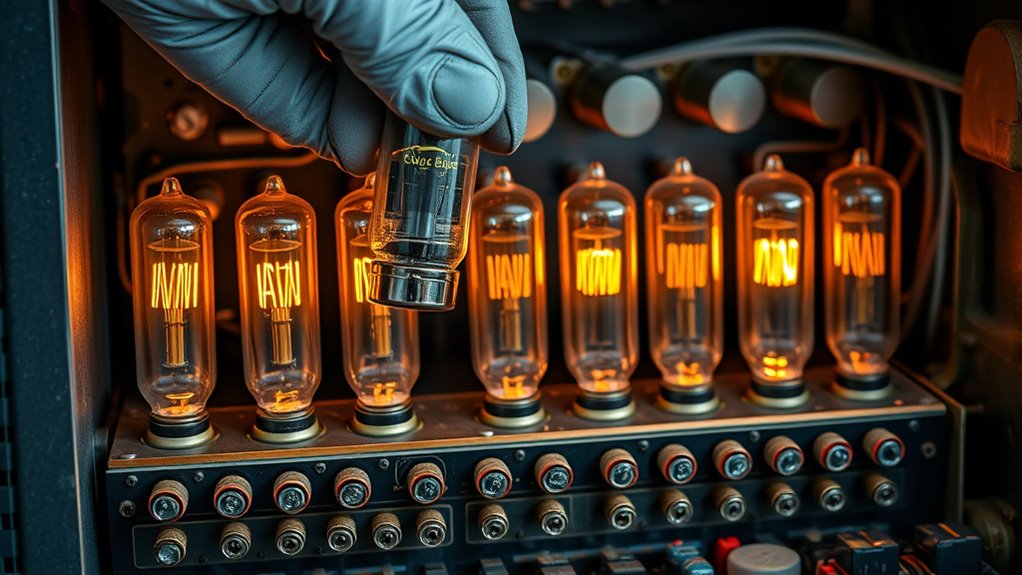

To find and replace vintage vacuum tubes in your amp, first, power off and unplug the equipment. Gently remove the tubes by wiggling them free, then test each with a good tube tester to identify any that are failing. Clean the sockets with contact cleaner, carefully seat your new tubes, and make certain they are fully connected. Regular testing and clean connections help maintain ideal sound quality, and staying attentive to best practices will help you get the most from your amp.
Key Takeaways
- Identify the correct tube types and specifications for your amp using the user manual or existing tubes.
- Source vintage tubes from reputable suppliers, vintage shops, or online marketplaces specializing in tube equipment.
- Test used or new tubes with a good tube tester to ensure they are functional before installation.
- Power off and unplug the amp, then carefully remove old tubes, cleaning sockets if needed.
- Insert and seat new tubes properly, ensuring good contact, then power on and verify proper operation.
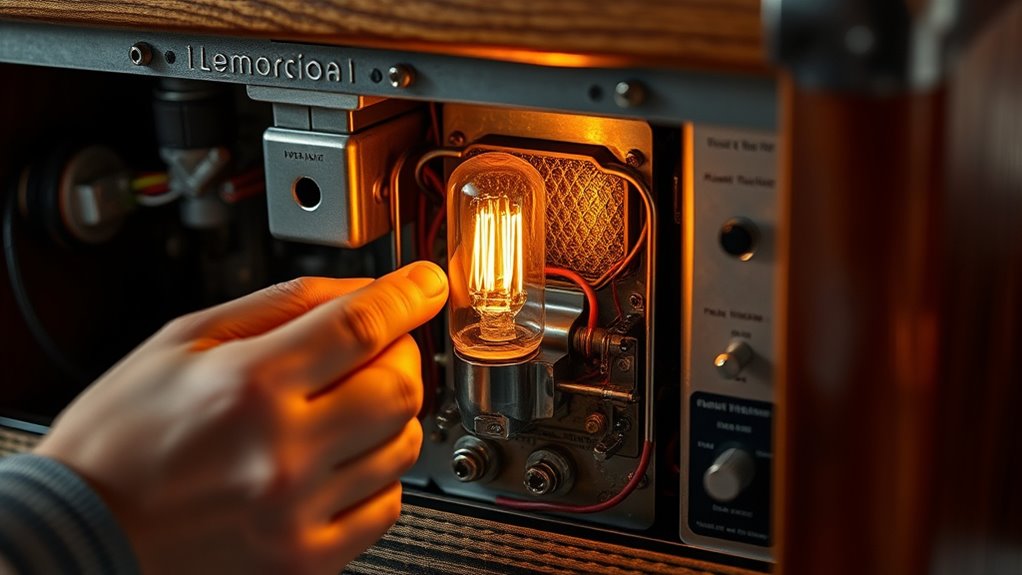
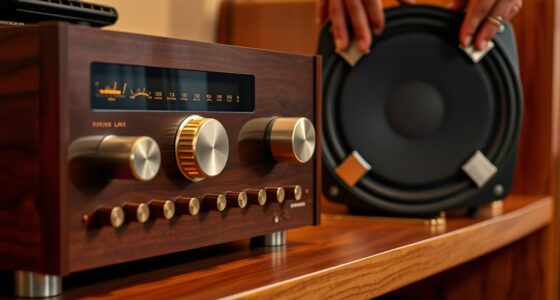
If you’re restoring vintage audio equipment or radio receivers, finding and replacing vacuum tubes is a critical step to guarantee peak performance. The first move is to identify which tubes need attention, and that’s where tube testing comes into play. You’ll want to use a good tube tester to assess the condition of each vacuum tube. This device measures parameters like mutual conductance, emission, and shorts, helping you determine if a tube is still functional or needs replacing. Don’t rely solely on visual inspection—sometimes, tubes can look fine but still underperform. Testing provides an objective measure, making sure you don’t replace tubes unnecessarily or keep faulty ones in your gear.
Once you’ve identified the tubes that need replacing, it’s essential to handle them carefully during removal. Before removing any vacuum tube, power off the equipment and unplug it. Gently grasp the tube and wiggle it slightly to loosen it from the socket without applying excessive force. When inserting new tubes, make sure they seat fully into the socket to guarantee good electrical contact. Proper seating is crucial for maximum performance and to prevent issues like microphonics or noise.
An often-overlooked step is tube socket cleaning. Over time, sockets can accumulate dirt, corrosion, or oxidation, which hampers electrical contact. Use a contact cleaner or a specialized socket cleaning tool to scrub the socket contacts. Turn the equipment off and unplug it, then carefully spray or insert a cleaning pin into each contact point, twisting gently to remove any debris. After cleaning, allow the sockets to dry and then reinsert the tubes, ensuring a snug fit. Good contact points promote better conductivity, reduce noise, and extend the lifespan of your tubes.
Replacing vintage vacuum tubes isn’t just about swapping out old for new; it’s about ensuring your amplifier or receiver performs at its best. Regular tube testing helps you catch failing tubes before they cause damage or degrade sound quality. Coupled with thorough tube socket cleaning, you’ll maintain a clean, reliable connection that supports maximum operation. Proper handling during installation is essential, as mishandling can damage delicate filaments or introduce contaminants. Additionally, understanding the role of color accuracy in maintaining visual fidelity can be useful if your equipment includes visual indicators or displays. Remember to handle tubes with care during installation, and always verify that the new tubes are compatible with your equipment. With these steps, you’ll enjoy better sound clarity, longer tube life, and a more satisfying listening experience.
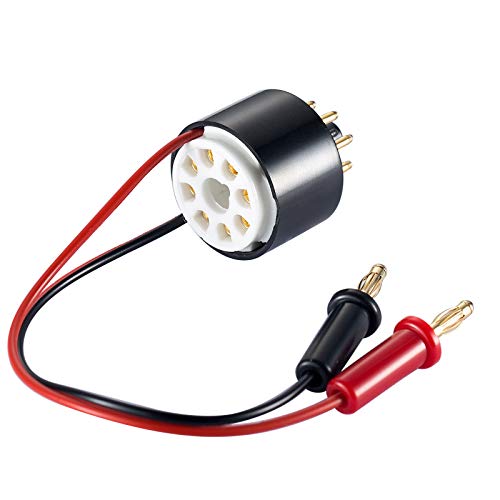
Douk Audio Nobsound Vacuum Tube Amp Amplifier Plate Bias Current Probe Tester 8 Pin Socket for EL34, KT88, 6L6, 6V6, 5881, 6550, KT66, KT100, KT120, 7027 (CT1-P, Plate Current)
Universal Compatibility: Designed to test plate current in a wide range of vacuum tubes including EL34, KT88, 6L6,…
As an affiliate, we earn on qualifying purchases.
As an affiliate, we earn on qualifying purchases.
Frequently Asked Questions
How Do I Identify Compatible Replacement Tubes?
To identify compatible replacement tubes, first check the tube pin configurations and make certain they match your amp’s tube socket types. Look at the tube’s label for the model number, then verify it matches the manufacturer’s specifications. Consulting your amp’s manual or a trusted tech can help confirm compatibility. Always double-check pinouts and socket types before installing new tubes to avoid damage or performance issues.
What Safety Precautions Are Necessary When Replacing Tubes?
Before beginning, be mindful of your safety. Always disconnect the amp from power to prevent potential shocks during tube replacement. Follow handling precautions by wearing insulated gloves and avoiding contact with electrical components. Exercise extreme caution with electrical safety—discharge capacitors and work in a dry, static-free environment. Prioritize personal protection to prevent injury, ensuring your process is safe, sound, and successful while swapping vintage vacuum tubes.
Can Modern Tubes Be Used as Substitutes?
Yes, modern tubes can often be used as substitutes, thanks to improved modern compatibility and tube interchangeability. You should check the tube’s specifications to verify it matches your amp’s requirements, especially regarding voltage and pin configuration. Keep in mind that some vintage tones may be affected, so test the replacement thoroughly. When in doubt, consult your amp’s manual or a tube specialist to ensure a proper and safe fit.
How Do I Test Vintage Tubes Before Installation?
Think of tube testing as a health check-up for your vintage tubes. You’ll need a tube tester to evaluate their condition, checking for shorts, emissions, and mutual conductance. Follow the replacement procedures carefully, verifying each tube is functioning properly before installation. If a tube shows weak readings or inconsistencies, it’s best to replace it, safeguarding your amp’s tone and longevity. Proper testing ensures your vintage treasures perform at their peak.
What Are Signs of a Failing Vacuum Tube?
You’ll notice a failing vacuum tube if its lifespan has been exceeded or during a visual inspection you see cracks, cloudiness, or white spots inside. You might also hear a faint or distorted sound, increased noise, or experience a sudden loss of tone quality. Regularly checking your tubes helps catch issues early, ensuring your amp stays in top shape and prevents unexpected breakdowns.

Vacuum Tube Amp Amplifier Analog Audio Electron Valve Guitar T-Shirt
Get this Vacuum tube Amp Amplifier Analog Audio Electron Valve Guitar outfit
As an affiliate, we earn on qualifying purchases.
As an affiliate, we earn on qualifying purchases.
Conclusion
Replacing vintage vacuum tubes can breathe new life into your amp, opening richer tones and deeper warmth. While it might seem like a delicate dance, handling these precious components with care guarantees your amp continues to sing beautifully. Think of it as nurturing a treasured instrument—patience and attention reward you with a sound that truly resonates. Embrace the process, and you’ll find your gear’s soulful character shines brighter than ever.
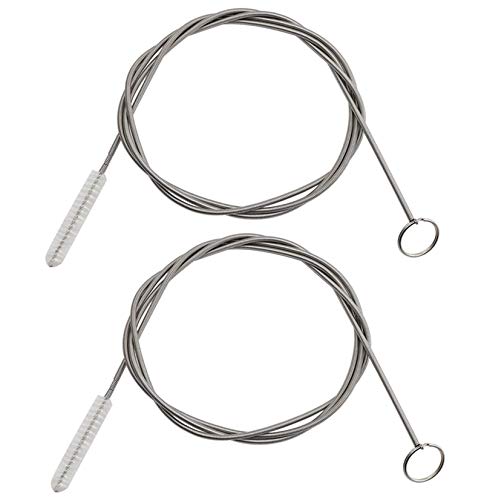
ICEYLI 2 Pack 60 Inch Long Flexible Tube Cleaning Brush, Stainless Steel and Nylon Bristles, Suitable for Home Kitchen, Fish Tank, Water Pump Accessories, and More
This tube cleaner brush is made from stainless steel and nylon bristles head,which can softly scrub away buildup…
As an affiliate, we earn on qualifying purchases.
As an affiliate, we earn on qualifying purchases.

Pair of JJ EL84/6BQ5 Power Vacuum Tube
As an affiliate, we earn on qualifying purchases.
As an affiliate, we earn on qualifying purchases.