To calibrate your turntable for ideal sound, start by gathering your tools and ensuring a clean, level workspace. Check that the turntable is perfectly level using a spirit level. Adjust the tonearm height and counterweight for proper balance, then set the correct tracking force with a calibration gauge. Align the cartridge and stylus carefully, adjusting anti-skate accordingly. Finally, verify the turntable’s speed with a strobe disc or app. Following these steps helps you achieve the best sound quality, and more details await if you continue.
Key Takeaways
- Ensure your workspace is clean, organized, and the turntable is placed on a level surface using a spirit level.
- Adjust the turntable’s level and vibration isolation to prevent sound distortion and uneven stylus tracking.
- Balance the tonearm and set the correct tracking force using a calibration gauge to protect records and stylus.
- Align the cartridge and stylus accurately with an alignment protractor, and set anti-skate to maintain proper groove tracking.
- Verify and calibrate turntable speed with a strobe disc or app, adjusting as necessary for consistent, high-fidelity playback.
Gather Your Tools and Prepare Your Workspace
Before you begin calibrating your turntable, it’s essential to gather all the necessary tools and create a clean, organized workspace. Start by collecting a stylus replacement, in case your current stylus needs changing, and a record cleaning brush or cloth to keep your vinyls in top condition. Having these tools ready guarantees you won’t interrupt the process later. Clear your workspace of clutter to prevent accidents and make everything easily accessible. Use a soft cloth to wipe down your turntable and nearby surfaces. A well-prepared area reduces distractions and helps you focus on precise adjustments. By organizing your tools beforehand, you streamline the calibration process and protect your equipment from potential damage during handling.
Check and Set the Turntable’s Level

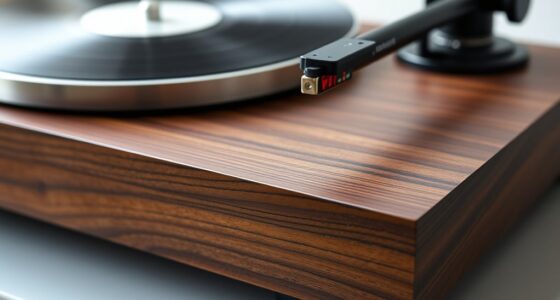
Once your workspace is organized and your tools are ready, it’s time to check that your turntable is perfectly level. Use a spirit level on the plinth, ensuring vibration isolation isn’t compromised. A stable, level surface prevents unwanted vibrations that distort sound. To visualize, imagine this table:
| Surface Type | Vibration Isolation | Dust Management |
|---|---|---|
| Wooden Table | Absorbs shocks | Easy to clean |
| Glass Stand | Reflects vibrations | Dust settles quickly |
| Metal Shelf | Conducts vibrations | Needs frequent dusting |
| Audio Stand | Designed to dampen vibrations | Keeps dust at bay |
Maintaining a level setup guarantees ideal sound quality and prevents dust from settling on your components, which can affect performance. Proper alignment of your turntable components also contributes to optimal sound reproduction. Regularly checking the levelness helps maintain consistent performance over time. Additionally, understanding the vibration isolation properties of your stand can further enhance sound clarity. Ensuring your stand is appropriately designed to dampen vibrations can significantly improve your listening experience. Properly calibrated equipment can also benefit from accurate leveling to ensure the best possible sound output.
Adjust the Tonearm Height and Counterweight

To get the best sound, you need to set the tonearm height correctly. Next, you’ll balance the counterweight so the tonearm floats level without applying too much or too little pressure. Properly adjusting these guarantees your stylus tracks the record accurately and minimizes wear. Ensuring your setup adheres to proper legal procedures can also prevent issues that might affect your equipment or sound quality. Additionally, regularly checking the alignment and tracking force helps maintain optimal performance over time. Incorporating emotional support strategies, such as patience and careful handling during setup, can reduce frustration and promote a more satisfying experience. Remember that proper maintenance and awareness of toilet disposal practices can also contribute to the longevity of your equipment and prevent unexpected disruptions.
Setting Proper Tonearm Height
Adjusting the tonearm height is essential for guaranteeing proper tracking and minimizing record wear. When set correctly, it helps maintain the right stylus pressure, preventing excessive force that could damage your records or stylus. To start, carefully raise or lower the tonearm so the stylus tip aligns parallel to the record surface when playing. Check your tonearm alignment to ensure it’s balanced and not angled, which can cause uneven stylus pressure. An incorrectly set tonearm height can lead to skipping, distortion, or increased record wear. Use a tonearm height gauge if available, or reference your turntable’s manual for precise measurements. Proper height adjustment ensures the stylus makes maximum contact, delivering clear sound while preserving your records’ longevity. Additionally, regularly inspecting and calibrating your tonearm setup as part of your turntable maintenance routine helps maintain optimal sound quality. Ensuring your turntable’s technological setup is accurate also contributes to consistent performance, and paying attention to proper calibration techniques can help prevent common setup mistakes. Regularly verifying your setup with measurement tools helps ensure ongoing accuracy and optimal playback.
Balancing the Counterweight
After setting the tonearm height, the next step is balancing the counterweight to guarantee proper tracking force. Begin by gently holding the tonearm and moving the counterweight until the tonearm remains level and floats horizontally. This is the initial step in achieving tonearm balance. Use the table below to understand key adjustments:
| Step | Action | Result |
|---|---|---|
| 1 | Remove the counterweight lock | Free movement of the counterweight |
| 2 | Gently rotate counterweight | Balance tonearm horizontally |
| 3 | Lock the counterweight | Secure the adjustment |
| 4 | Verify tracking force | Ensure proper contact with the record |
Proper counterweight adjustment prevents record and stylus damage, ensuring ideal sound quality through precise tonearm balance. Additionally, regularly assessing and adjusting the counterweight can help maintain optimal performance over time. Monitoring the tracking force periodically is essential for preserving your equipment and audio fidelity. To achieve the best results, consider using a tracking force gauge for precise calibration. Regular calibration ensures that the counterweight balance remains accurate, which is crucial for long-term record health.
Set the Tracking Force Accurately
To set the tracking force correctly, start by finding the recommended weight for your cartridge. Then, use a calibration gauge to make sure you’re applying the right amount of pressure. Properly calibrated tracking force helps protect your records and improves sound quality. Being aware of the cartridge specifications can also guide you in achieving optimal setup. Additionally, maintaining the correct tracking force can prevent unnecessary wear on your records and stylus. Considering AI’s role in cybersecurity can help safeguard your equipment from digital threats.
Find the Recommended Weight
Setting the correct tracking force is essential for your turntable’s performance and your records’ longevity. To find the recommended weight, consult your turntable or cartridge manual, which specifies the ideal tracking force. This weight ensures your stylus pressure is just right—too light, and the stylus may skip or mistrack; too heavy, and it could damage your records or stylus. Use a small scale or the manufacturer’s guidelines to determine the proper tracking force. Adjust the counterweight on your tonearm until it matches the recommended setting. Correct tracking force optimizes stylus pressure, providing better sound quality and reducing wear on your records and stylus. Always verify this weight periodically, especially after moving or servicing your turntable.
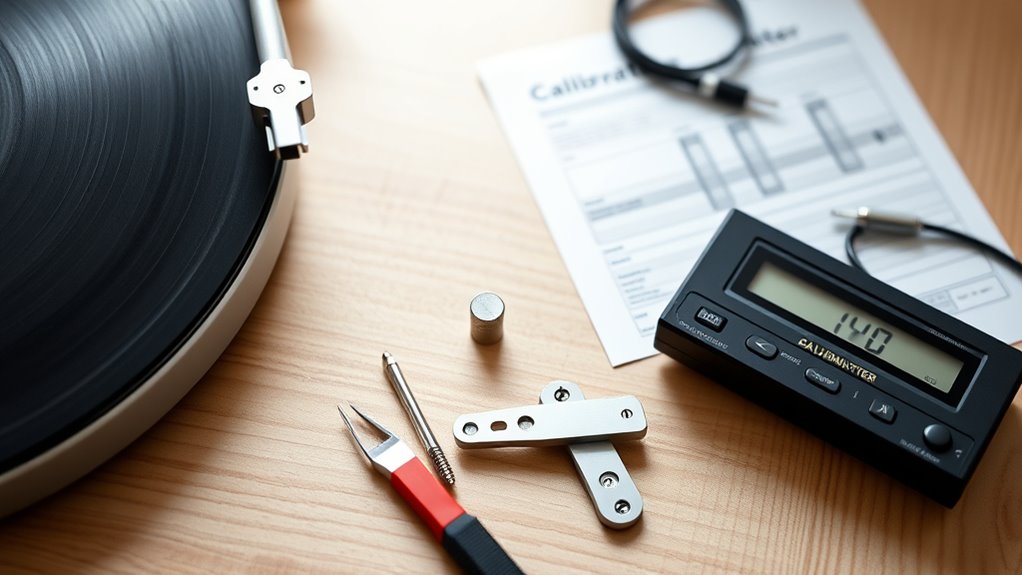
Use a Calibration Gauge
Using a calibration gauge guarantees you set the correct tracking force with precision. This guarantees your stylus tracks the record groove properly, reducing wear and distortion. To maximize sound quality, combine your calibration with proper vinyl cleaning and ideal speaker placement. Here’s a quick reference:
| Aspect | Recommended Practice | Impact on Sound |
|---|---|---|
| Tracking Force | Use a calibration gauge for accuracy | Prevents record damage, improves clarity |
| Vinyl Cleaning | Regularly clean records | Eliminates dust, enhances fidelity |
| Speaker Placement | Position speakers for balanced sound | Creates a richer, immersive experience |
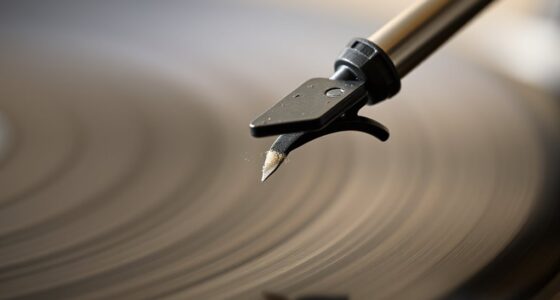
Align the Cartridge and Stylus

Have you ever wondered why proper cartridge and stylus alignment matters so much? Correct cartridge alignment ensures your stylus tracks the record groove accurately, preventing unnecessary wear and distortion. To attain ideal stylus positioning, carefully adjust the cartridge so it’s parallel to the record surface and aligned with the tonearm.
Proper cartridge and stylus alignment protect your records and ensure high-fidelity sound.
Key points to contemplate:
- Use a alignment protractor to check your cartridge’s position.
- Ensure the stylus points directly at the record’s center without tilt.
- Maintain consistent stylus tracking angle for clear, detailed sound.
Proper cartridge alignment isn’t just about setup; it’s about preserving your records and enjoying true audio fidelity. Take your time to get the stylus positioning right, and you’ll notice a significant improvement in sound quality.
Adjust the Anti-Skate Settings
After aligning your cartridge and stylus, it’s important to fine-tune the anti-skate setting to guarantee proper tracking. Anti skate adjustment helps balance the force pulling the tonearm toward the center of the record, preventing uneven stylus tracking. To set it correctly, start with the anti-skate knob at zero, then play a test record or a familiar track. Observe the stylus tracking; if it skews inward or outward, adjust the anti-skate accordingly. For even stylus tracking, increase or decrease the anti-skate until the stylus maintains a steady position in the groove. Proper anti-skate adjustment reduces distortion and record wear, ensuring your stylus tracks accurately and your sound remains clear. Fine-tuning this setting is essential for ideal turntable performance.
Verify the Turntable Speed and Make Corrections

To make certain your turntable plays records at the correct speed, you need to verify its RPM (revolutions per minute) accuracy. Using calibration tools like a strobe disc or app, check if the record speed matches standard settings of 33 1/3, 45, or 78 RPM. If your turntable runs too fast or slow, you can correct it by adjusting the pitch control or belt tension, depending on your model. Keep these tips in mind:
- Use a strobe disc to visually confirm RPM accuracy
- Adjust the pitch control for fine-tuning speed
- Check calibration tools regularly for consistent performance
Verifying the record speed ensures your music sounds true to the original, preserving audio fidelity and enjoyment.
Test Playback and Fine-Tune as Needed
Once you’ve adjusted your turntable for accurate speed, it’s essential to test its playback to guarantee everything sounds right. Play a familiar record and listen carefully to the audio fidelity. If you notice any distortions or inconsistencies, fine-tune the tracking force or cartridge alignment as needed. Pay attention to how the sound interacts with your speaker placement—proper positioning enhances clarity and bass response. Adjust your speakers to optimize soundstage and minimize unwanted vibrations or echo. Take notes on any issues you hear and make small tweaks until the playback is smooth and balanced. This process assures you’re getting the best possible sound from your setup, allowing you to enjoy your records with clarity and richness.
Frequently Asked Questions
How Often Should I Recalibrate My Turntable?
You should recalibrate your turntable every 6 to 12 months, depending on usage and environment. Regular maintenance tips, like checking the tonearm balance and stylus condition, help maintain sound quality. If you notice skipping, uneven sound, or tracking issues, it’s time for a calibration. Frequent use or changes in temperature and humidity can affect calibration, so keep an eye on these factors for peak performance.
Can I Calibrate My Turntable Without Professional Tools?
Did you know that improper calibration can reduce your turntable’s sound quality by up to 30%? You can definitely do DIY adjustments without professional calibration tools. Use simple items like a ruler or a mirror to check tracking and alignment. While specialized tools offer precision, careful eyeing and patience can get you pretty close, ensuring your records sound great without needing costly equipment.
What Signs Indicate My Turntable Needs Realignment?
If your tone quality sounds distorted or dull, or you notice tracking issues like skipping or excessive wear on your records, it’s a sign your turntable needs realignment. Check if the tonearm is properly balanced and if the cartridge is aligned correctly. These signs indicate that your turntable may be out of calibration, and realigning it can restore sound quality and prevent further damage.
How Does Room Temperature Affect Turntable Calibration?
Room temperature affects your turntable calibration because environmental factors like temperature stability can cause components to expand or contract slightly. Sudden temperature changes can lead to misalignment or tracking issues. To maintain ideal sound, keep your turntable in a place with consistent temperature, avoiding direct sunlight or drafts. This ensures the components stay stable, helping your turntable perform accurately and preserving your audio quality over time.
Is It Necessary to Regularly Replace the Stylus During Calibration?
You should regularly replace the stylus because its lifespan varies, typically around 500-1000 hours of playtime. Frequent use or poor tracking can shorten this. Keep an eye on replacement frequency to maintain ideal sound quality and prevent damage to your records. If you notice skipping, distortion, or wear, it’s time for a new stylus. Regular replacements ensure your turntable stays calibrated and sounds its best.
Conclusion
Think of calibrating your turntable like tuning a fine instrument—every small adjustment brings out richer, clearer sound. When I first set mine up, I felt like I was opening a secret world of audio clarity. With patience and attention, you’ll transform your listening experience from decent to exceptional. Remember, a well-calibrated turntable is like a perfectly pitched note—simple, yet profoundly satisfying. Enjoy your improved sound and rediscover your favorite records anew.