
To design the ultimate vintage listening room, start with a space that has high ceilings, thick walls, and minimal windows to improve acoustics. Use vintage furniture, acoustic panels, diffusers, and bass traps to control sound reflections and add warmth. Arrange your authentic gear carefully at ear level, pairing it with retro décor and warm lighting for atmosphere. Focus on optimizing wiring and personalizing your space — explore further to create your perfect nostalgic audiophile haven.
Key Takeaways
- Prioritize room acoustics with high ceilings, sound-absorbing treatments, and strategic panel placement to ensure clear, balanced sound.
- Arrange vintage audio equipment thoughtfully, considering optimal speaker positioning, proper wiring, and dedicated, clutter-free space.
- Incorporate vintage furniture and warm color palettes with ambient lighting to enhance nostalgic atmosphere and visual comfort.
- Use acoustic treatments like diffusers, bass traps, and reflection point panels to control reverberation and improve sound clarity.
- Select a dedicated, quiet space with natural acoustics, minimal external noise, and personalized decor for an immersive, authentic listening experience.
Selecting the Ideal Space for Your Vintage Sanctuary
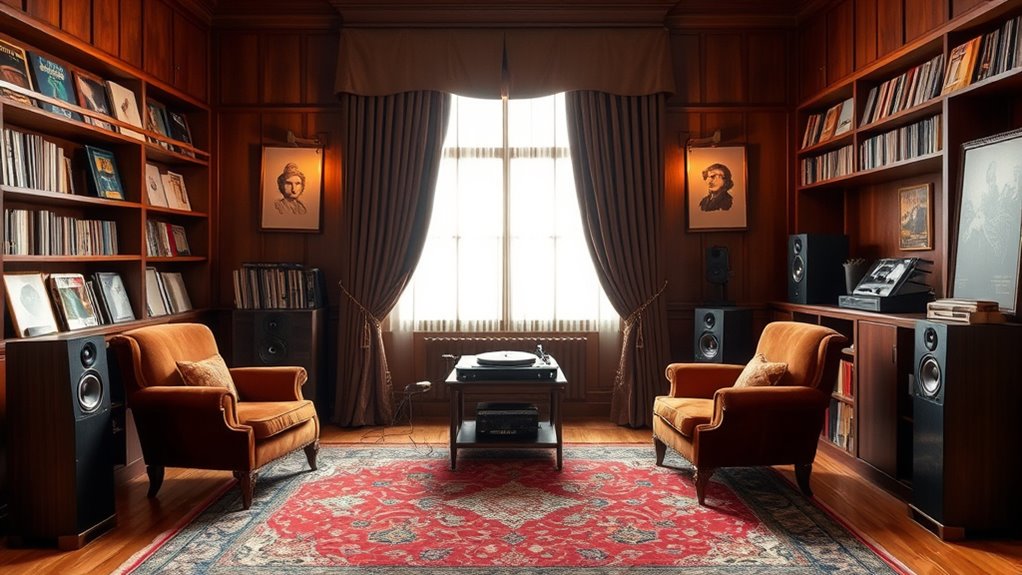
Choosing the right space is the essential first step in creating your vintage listening room. You need to factor in the architectural features that influence sound quality, like high ceilings, thick walls, and minimal windows, which help reduce unwanted noise and echoes. Room dimensions are equally important; a square or symmetrical layout often works best, providing even sound distribution. Avoid spaces that are too small or overly large, as these can distort audio or create excessive reverberation. Look for a dedicated area that’s away from busy or noisy parts of your home, ensuring a quiet environment to enjoy your vintage equipment. The ideal room combines good architectural features with appropriate dimensions, setting a solid foundation for exceptional sound. Additionally, incorporating sound-absorbing materials such as curtains, carpets, or acoustic panels can further enhance acoustics and prevent sound reflections. To optimize your space further, consider the emotional support that a comfortable and personalized environment can provide, fostering a relaxing and enjoyable listening experience. Implementing protective styling benefits like acoustic treatments can also help maintain sound clarity over time. Moreover, selecting a space with good natural acoustics can significantly improve your listening experience without extensive modifications. Incorporating appropriate furnishings and decor can also influence the room’s acoustics and comfort, making your vintage sanctuary more inviting.
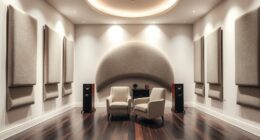
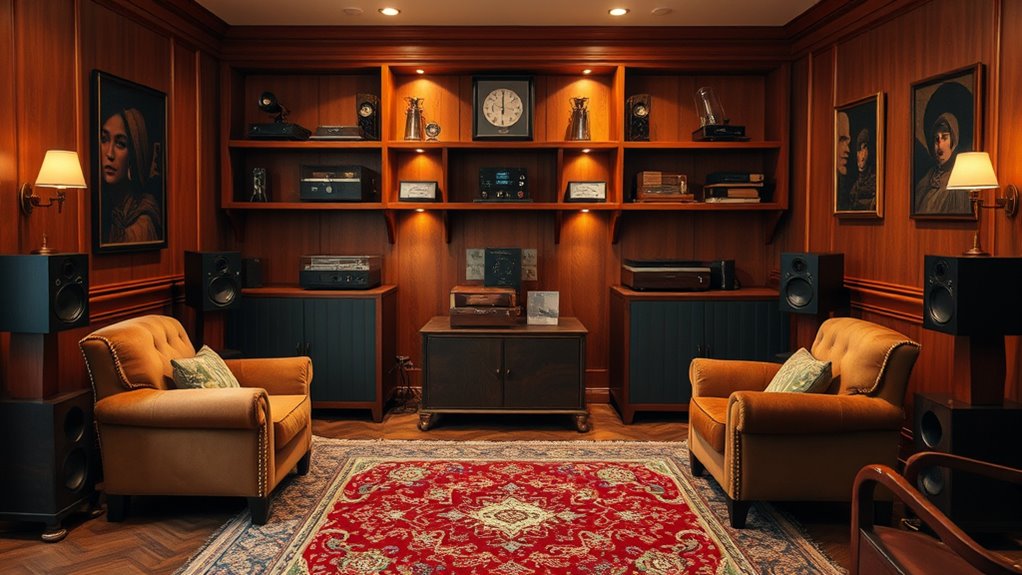
Acoustic Treatments to Enhance Sound Quality

To improve your vintage listening room’s sound, you need to carefully position acoustic panels where sound reflections are strongest. Incorporating diffusers helps create a balanced soundscape, preventing harsh echoes. Additionally, optimizing bass traps in corners guarantees tight, accurate low frequencies for a richer listening experience. Embracing attention in creative practice can also help you focus on fine-tuning your acoustic treatment setup for optimal results. Recognizing the importance of conflict resolution skills can aid in addressing acoustic issues collaboratively with others involved in the space. Utilizing the appropriate headphone jacks can ensure seamless connectivity with your audio equipment, further enhancing your listening environment. Exploring navigation and mapping concepts can assist in designing a room layout that minimizes sound distortions and optimizes acoustic flow. Considering the use of unique and wicked planters, such decor elements can also influence the room’s ambiance and acoustic reflections, contributing to a more immersive listening experience.
Strategic Placement of Panels
Strategically placing acoustic panels is essential for optimizing the sound quality in your vintage listening room. Effective panel placement strategies help control reflections and reduce unwanted echoes, ensuring a clearer, more natural sound. Start by identifying primary reflection points, such as the walls behind and beside your listening position, and place panels there to absorb sound waves. Incorporate soundproofing techniques by positioning panels to prevent sound from escaping or entering the room, improving overall acoustics. Remember, the goal isn’t just to block sound but to balance reflections and improve clarity. Pay attention to symmetry and spacing, which can considerably influence how sound interacts within the space. With thoughtful panel placement, your vintage setup will deliver richer, more authentic listening experiences.
Diffusers for Sound Balance
Have you considered how diffusers can enhance the sound balance in your vintage listening room? Proper diffuser placement is key to achieving smooth sound diffusion, which prevents harsh reflections and minimizes dead spots. By scattering sound waves evenly across the room, diffusers help create a more natural and immersive listening experience. Position them strategically behind your seating area or along side walls where sound tends to reflect most. Avoid placing diffusers directly in front of speakers, as this can interfere with sound clarity. Instead, focus on areas where sound diffusion can break up standing waves and balance reverberation. When used correctly, diffusers subtly blend reflected sound with direct sound, enriching your audio environment without dulling the clarity or warmth of your vintage gear. Additionally, understanding how contrast ratio impacts image quality can inform your choices in acoustic treatment to optimize sound clarity and depth. Considering room acoustics and proper placement can significantly improve your listening experience, making your vintage system sound even more exceptional. Furthermore, incorporating diffuser materials that complement your room’s aesthetic can enhance both acoustics and visual appeal. Incorporating eye patches into your routine can also provide a refreshed and relaxed environment, which may enhance your overall listening mood.
Bass Traps Optimization
Optimizing your bass traps is essential for achieving a balanced and clear sound in your vintage listening room. Proper bass trap placement targets low-frequency resonances that can muddy your audio. Place bass traps in the corners, where low-frequency energy tends to gather, ensuring effective acoustic absorption. Use thick, dense materials like mineral wool or foam designed for bass absorption to maximize their effectiveness. Don’t forget to contemplate room dimensions and speaker placement during installation; this helps prevent bass buildup and null points. Regularly evaluate your room’s acoustics with a sound level meter or spectrum analyzer to identify problem areas. Fine-tuning your bass trap placement ensures a tight, natural bass response, making your vintage audio experience more immersive and true to the original recordings. Additionally, understanding expert advice can guide you in selecting the right materials and placement strategies for optimal sound quality.
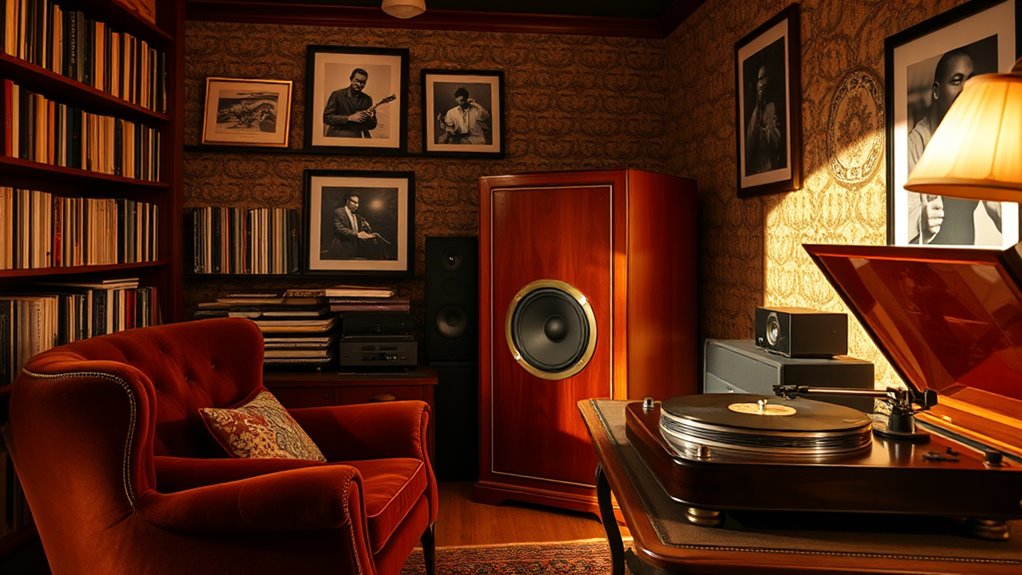
Choosing Authentic Vintage Audio Equipment
Choosing authentic vintage audio equipment is essential to capturing the true spirit of a classic listening room. Your goal is to find gear that delivers warm, rich sound, emphasizing the unique qualities of vinyl records and tube amplifiers. Focus on reputable sources to verify authenticity and quality. Vintage tube amplifiers add character and depth, making your listening experience more immersive. Look for well-maintained turntables with classic tonearms that faithfully reproduce vinyl. Prioritize equipment that matches your room size and acoustic profile for the best results.
- Seek reputable dealers or collectors for genuine pieces
- Test gear thoroughly before purchasing
- Prioritize condition and original parts
- Consider matching components for a cohesive sound signature
Arranging Your Gear for Optimal Listening Experience
Once you’ve selected authentic vintage equipment, arranging your gear thoughtfully can make a significant difference in your listening experience. Proper speaker positioning is essential; place your speakers at ear level and form an equilateral triangle with your listening spot to optimize soundstage and clarity. Experiment with angles and distances to find the sweet spot. Good cable management keeps your setup tidy and prevents accidental disconnections or signal interference. Use cable ties or clips to route wires neatly along furniture or walls, reducing clutter and acoustic reflections. Avoid crossing cables unnecessarily, which can cause noise. Additionally, maintaining proper equipment organization can help prevent damage and make future adjustments easier. Incorporating soundproofing techniques, such as adding rugs or wall panels, can further improve acoustic quality by reducing unwanted echoes and noise. Be mindful that room acoustics play a crucial role in your listening environment and may require ongoing adjustments. Regularly updating your setup with acoustic treatments tailored to your space can significantly enhance sound quality. Take your time adjusting speaker placement and organizing cables; small changes can dramatically improve stereo imaging, bass response, and overall sound quality, ensuring you enjoy your vintage setup to the fullest.
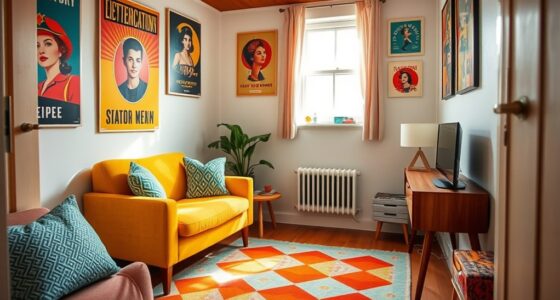
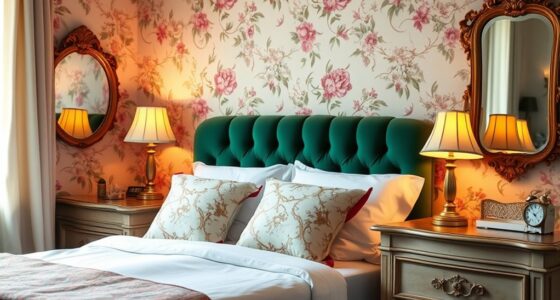
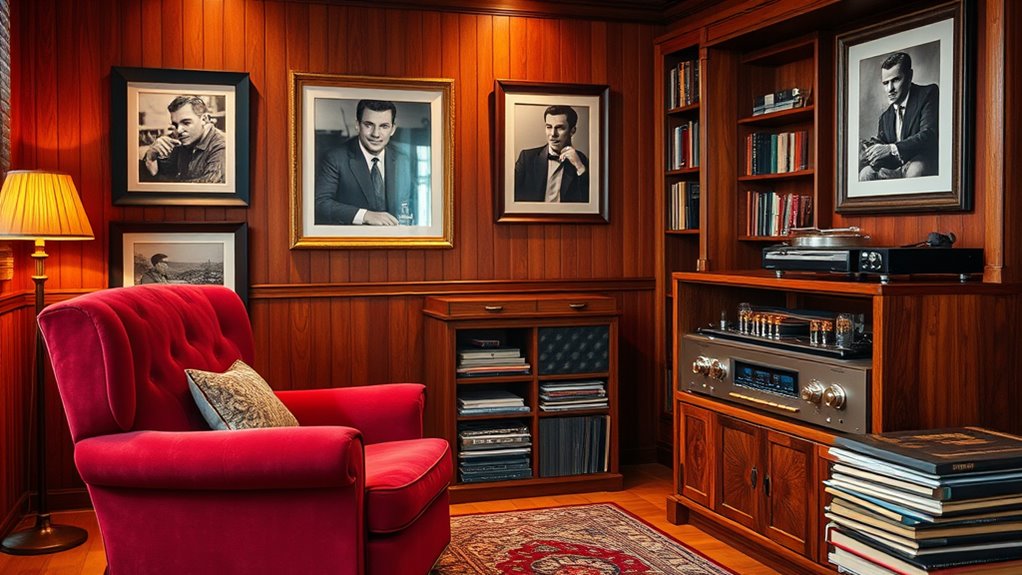
Incorporating Retro Furnishings and Décor
Choosing the right vintage furniture can instantly set the mood in your listening room. Opt for pieces that reflect the era you love, and don’t be afraid to mix textures and styles. Complement these with retro color palettes to create a cohesive, nostalgic atmosphere.
Vintage Furniture Selection
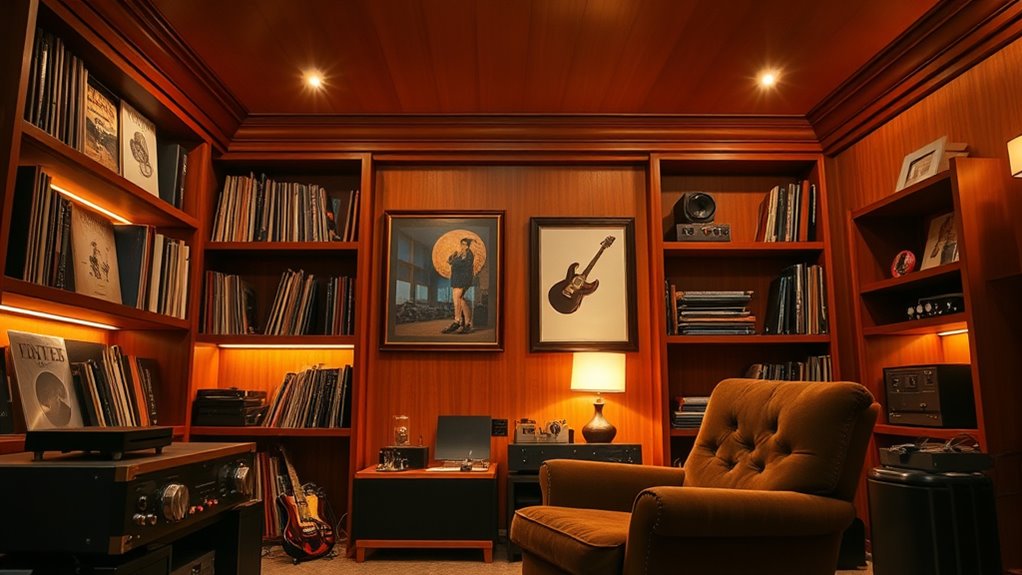
Selecting the right vintage furniture is essential to capturing the authentic retro vibe of your listening room. Focus on pieces that reflect mid century modern design, with clean lines and functional form. Incorporate antique accents to add character and depth, such as vintage record cabinets or retro lamps. These elements create a warm, inviting atmosphere that complements your audio setup.
Consider including:
- Mid century modern armchairs or sofas
- Vintage record storage units
- Antique side tables or coffee tables
- Retro lighting fixtures
Mixing these styles ensures your space feels cohesive yet dynamic. Remember, the furniture should enhance sound quality without overwhelming the room’s vintage charm. Thoughtfully selecting these pieces helps craft a listening environment that’s both stylish and acoustically optimized.
Retro Color Palettes
A well-curated retro color palette can instantly evoke the nostalgic charm of vintage listening rooms. Focus on achieving color harmony by selecting hues that complement each other, creating a cohesive atmosphere. Palette inspiration can come from classic designs, such as warm browns, muted teals, burnt oranges, and soft yellows, which reflect the era’s aesthetic. Incorporate these shades into your furnishings and décor to reinforce the vintage vibe. Balance bold accents with subtle neutrals to avoid overwhelming the space. Remember, the right palette sets the mood and highlights your collection of vintage gear. When you thoughtfully combine colors, your listening room becomes a seamless blend of style and nostalgia, making every listening session feel like a trip back in time.
Lighting and Ambience to Create Nostalgic Atmosphere
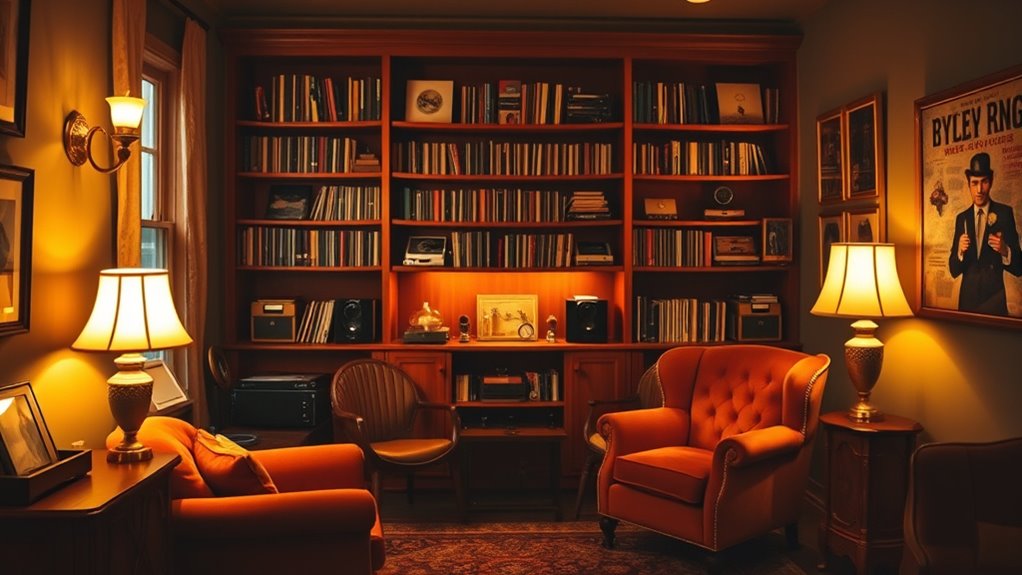
Creating the right mood in your vintage listening room starts with lighting and ambience that evoke nostalgia. Soft, warm lighting enhances the vintage vibe and sets a relaxed tone for your listening sessions. Use LED strips along shelves or behind furniture to add subtle ambient lighting that mimics the glow of classic radios or record players. Dimmable fixtures allow you to adjust the mood easily, creating intimacy or brightness as needed. Incorporate vintage-style lamps or Edison bulbs for authentic charm. Consider color gels or filters to add a nostalgic hue, like amber or sepia tones. By thoughtfully selecting lighting sources and focusing on ambient lighting, you craft an environment that transports you back to a bygone era, enriching your vintage listening experience.
Wiring, Power, and Maintenance Considerations
To guarantee your vintage listening room functions smoothly and safely, paying attention to wiring, power supply, and maintenance is essential. Proper grounding techniques help eliminate hum and noise, ensuring clean audio signals. Use dedicated circuits for your audio equipment to prevent power fluctuations from affecting performance. Installing surge protection safeguards your vintage gear against voltage spikes and power surges, extending its lifespan. Regularly inspect and maintain wiring connections to prevent deterioration and potential hazards. Keep all cables organized and away from moisture or heat sources. Label power outlets and circuits for easy troubleshooting. By prioritizing these considerations, you create a stable environment that preserves your equipment’s integrity and delivers ideal sound quality.
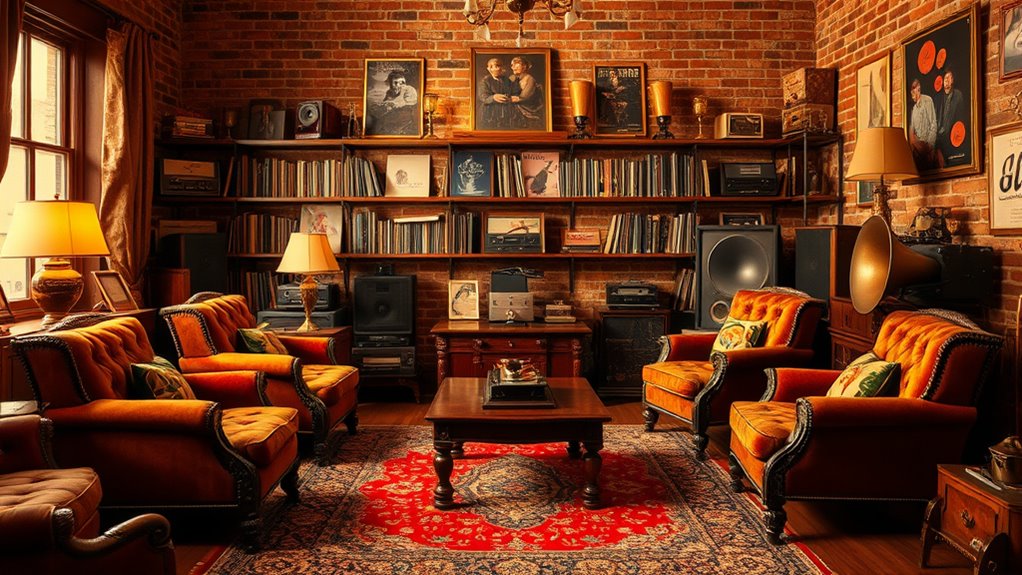
Personalizing Your Vintage Listening Environment

Personalizing your vintage listening environment allows you to craft a space that reflects your unique style and enhances your listening experience. Incorporate elements that inspire you, like displaying your vinyl collection prominently or adding vintage magazines that capture the era’s nostalgia. These touches create a cozy, authentic atmosphere that encourages you to spend hours immersed in sound. Consider framing classic album covers or vintage magazine pages as wall art to add visual interest. Arranging your vinyl collection by genre or era makes browsing enjoyable and functional. Incorporate small decor items like retro lamps or period-specific furniture to complete the vibe. Personal touches like these make your listening room a true reflection of your passion for vintage sound and style.
Frequently Asked Questions
How Do I Prevent Vintage Equipment From Deteriorating Over Time?
You can prevent vintage equipment from deteriorating by establishing regular maintenance routines like cleaning contacts and checking tubes. Additionally, control the environment with stable temperature and humidity levels, avoiding direct sunlight and dust exposure. Using air purifiers and dehumidifiers helps maintain ideal conditions. By staying proactive with maintenance routines and implementing proper environmental controls, you guarantee your vintage gear stays in excellent condition and delivers first-rate sound quality over time.
What Are the Best Sources for Authentic Vintage Audio Gear?
Looking for authentic vintage audio gear? You’ll want to hit up collector shops and online auctions—they’re treasure troves for rare finds. Skip the fake or overhyped items and focus on reputable sources. Collector shops often have knowledgeable staff, while online auctions let you bid directly from enthusiasts worldwide. Just remember, patience and a keen eye will land you the true vintage gems that’ll make your listening room legendary.
How Can I Improve Soundproofing Without Sacrificing Style?
You can improve soundproofing without sacrificing style by blending soundproof decor with aesthetic appeal. Use attractive acoustic treatments like vintage-inspired wall panels, stylish bass traps, or decorative diffusers that complement your room’s decor. Incorporate soundproof curtains or thick rugs with vintage patterns. These options enhance sound isolation while adding visual charm, ensuring your space stays both functional and visually appealing without compromising your room’s vintage style.
What Safety Measures Are Needed for Vintage Audio Setups?
You should prioritize grounding safety by ensuring all vintage equipment is properly grounded to prevent electrical shocks. Regularly inspect wiring for wear or damage, and use surge protectors to mitigate power surges. For fire prevention, keep fire extinguishers nearby and avoid overloading circuits. Also, check that your setup has proper ventilation to prevent overheating. These measures protect you while preserving the vintage charm of your listening room.
How Do I Balance Modern Technology With Vintage Aesthetics?
To balance modern technology with vintage aesthetics, you should focus on seamless modern integration that complements your classic style. Use sleek, discreet devices that blend into your vintage decor, avoiding clutter. Choose equipment with retro-inspired designs or subtle finishes to maintain aesthetic cohesion. Incorporate hidden wiring and modern accessories thoughtfully, so tech enhancements enhance your listening experience without overpowering the nostalgic charm of your vintage setup.
Conclusion
Now that you’ve uncovered the secrets to crafting your perfect vintage listening room, imagine the moments when every detail comes together—sound, style, and atmosphere—all tailored to your soul. But what if there’s one final touch that transforms your space into a true haven for audiophiles? The future of your vintage sanctuary holds surprises you haven’t even considered yet. Are you ready to take that next bold step and make your dream room a reality?