To digitize your old VHS tapes, gather your tapes, a compatible VCR, and an analog-to-digital converter or capture card. Connect your VCR to your computer using the right cables, then use reliable software to record and save the footage in a digital format. Once captured, you can edit, enhance, and back up your videos to make sure your memories are preserved for years. Keep exploring for detailed steps to get the best results.
Key Takeaways
- Carefully organize and label tapes, handle them gently, and store in a cool, dry environment to preserve quality.
- Set up compatible VCRs and high-quality capture devices with proper cables for clear signal transfer.
- Use user-friendly software to configure settings, ensuring high-resolution recording and format compatibility.
- Edit and enhance digital files by correcting colors, cleaning audio, and trimming for a polished look.
- Store backups on external drives and cloud services, and regularly verify files for long-term preservation.
Gathering Necessary Equipment and Supplies
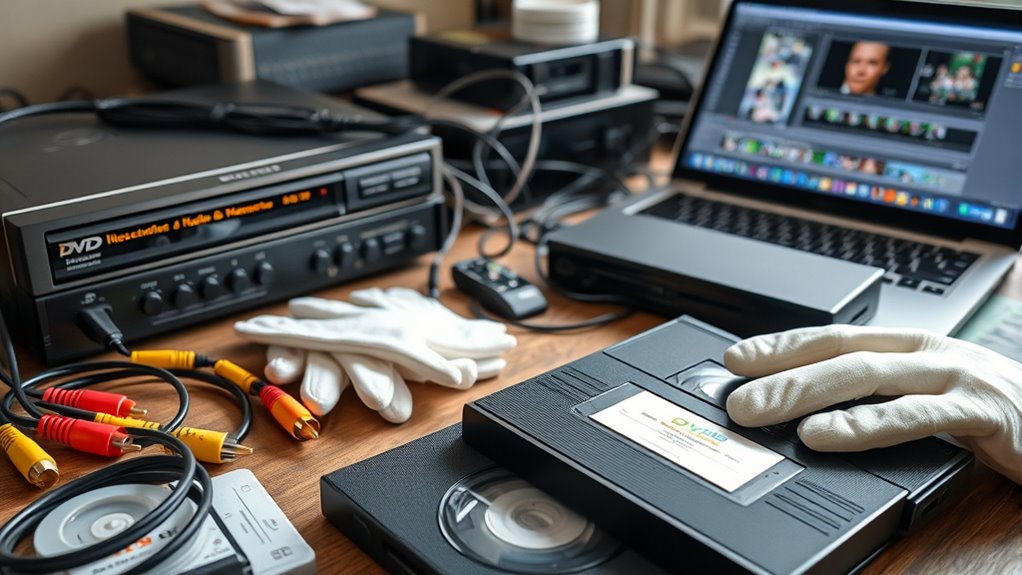
To digitize your old VHS tapes, you first need to gather the right equipment and supplies. Start by collecting your VHS tape labels to identify each tape’s content easily. You’ll also need a reliable VHS player or camcorder that can connect to your computer or capture device. Confirm you have a good quality analog-to-digital converter or capture card to transfer the footage smoothly. Don’t forget to organize your magnetic tape storage; keeping tapes in a cool, dry place prevents deterioration. Sharp, clearly labeled tapes help you avoid confusion during digitization. Having all these supplies ready ensures a seamless process, saving you time and frustration. Proper organization and quality equipment are key to preserving your memories effectively and maintaining the integrity of your tapes. Additionally, understanding the importance of color accuracy in the digitization process can help you achieve a more authentic and vibrant digital copy of your retro videos. Ensuring proper handling techniques during the process minimizes the risk of damaging delicate tapes and preserves their quality for years to come. Moreover, using appropriate cleaning methods can help extend the lifespan of your tapes and improve the overall quality of your digital copies. Being aware of the tape condition can further assist in troubleshooting potential issues during transfer, ensuring a better final result. Also, considering the use of proper storage conditions can significantly prolong the life of your tapes and maintain their quality over time.
Preparing Your VHS Tapes and Workspace
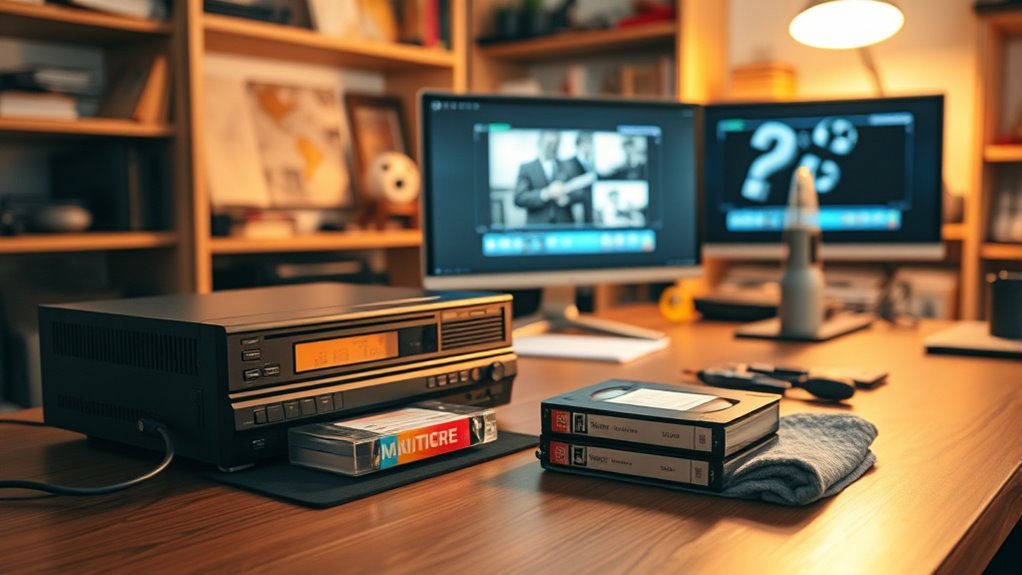
Before you start digitizing, it’s essential to prepare your VHS tapes and workspace to guarantee a smooth process. Check your VHS tapes for proper labels, as VHS tape labels help you identify content and avoid confusion later. Handle tapes carefully, especially since they are made of delicate analog magnetic tape, which can be easily damaged. Clean your workspace, removing dust and static that could interfere with playback. Ensure your tapes are stored upright and in a cool, dry environment to prevent deterioration. Remove any tapes with obvious damage or mold. Organize your tapes systematically, so you know which ones you’ve digitized. Proper preparation minimizes interruptions and preserves the quality of your tapes, making the digitizing process more efficient and effective. Additionally, understanding the importance of cloud security can help protect your digital copies once digitized. Being aware of cookie categories and managing your consent preferences can also enhance your online privacy while researching or storing digital files.
It is also beneficial to use proper storage techniques for your digital files to ensure long-term preservation and easy access later.
Connecting Your VCR or Video Player to a Computer
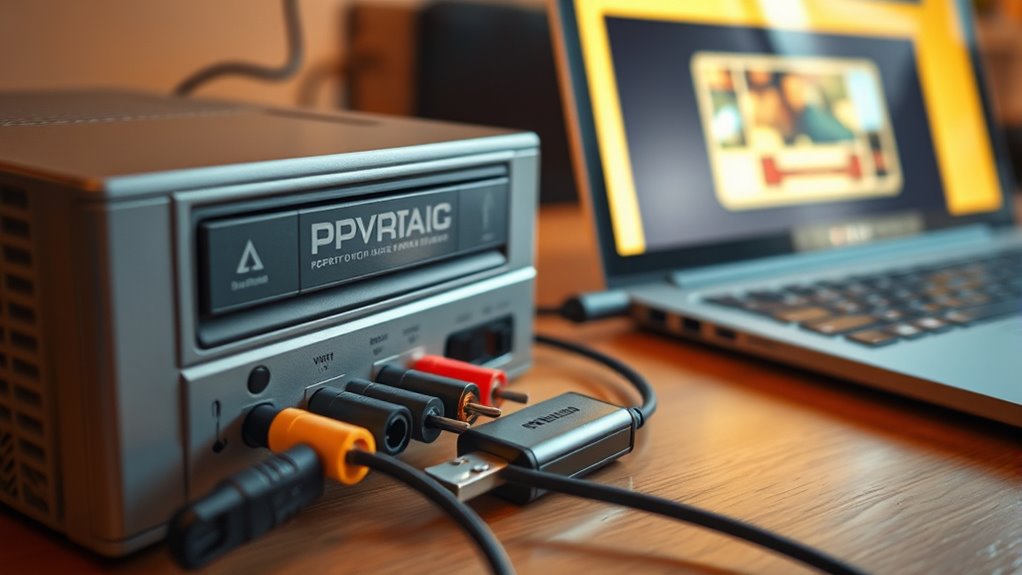
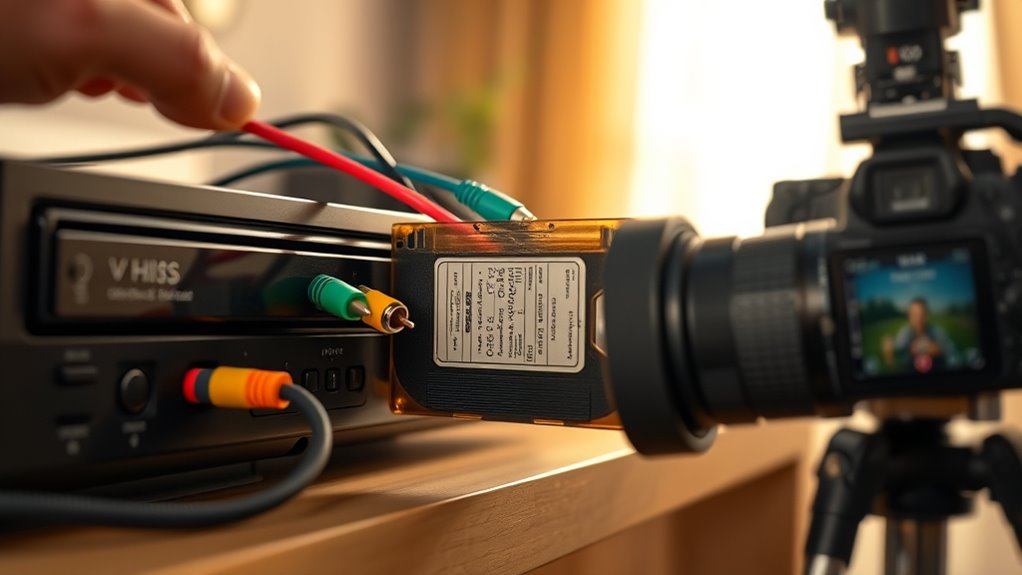
To connect your VCR or video player to your computer, you’ll need the right cables and a compatible video capture device. Make sure you understand which connections your equipment supports and select the proper setup. Once connected, you’ll need to configure your software to start digitizing your tapes efficiently. Additionally, selecting a high-quality capture device can significantly improve the clarity and resolution of your digitized videos.
Necessary Connecting Cables
Connecting your VCR or video player to a computer requires the right cables to guarantee a smooth transfer of footage. Choosing the correct video connector types assures compatibility and quality. Consider cable length options to prevent signal loss or interference, especially if your devices are far apart. The right cables help maintain clear picture and sound during transfer, reducing frustration. Additionally, using ergonomic setup and proper positioning can help prevent strain during extended digitization sessions. For optimal results, ensure that your devices support Kia Tuning features, which can sometimes include specific video output options.
Compatible Video Capture Devices
Choosing the right video capture device is essential for converting your VHS tapes smoothly and with high quality. You need a device that supports various digital video formats, guaranteeing compatibility with your computer and preferred editing software. Look for devices that connect easily to your VCR via composite, S-video, or RCA cables, and that are compatible with your operating system. Device compatibility is key—some capture cards work better with Windows, others with Mac. Ensure the device offers reliable driver support and can handle the resolution you want, typically 480p or higher. Investing in a quality capture device minimizes signal loss and ensures your recordings maintain their original clarity. With the right hardware, you’ll simplify the process of digitizing your tapes and preserving your retro memories. Proper device selection is crucial to achieving high-quality digitization and avoiding frustration during the transfer process. Additionally, considering compatibility with your operating system can save you time and technical headaches later on. For optimal results, focus on devices that provide high-resolution output to preserve the quality of your videos during the transfer process. Furthermore, choosing a device that supports digital video formats ensures broader compatibility and better future-proofing for your digitized memories. To further enhance your digitization process, selecting a capture device with reliable driver support can ensure smooth operation across different software and system updates.
Setup and Configuration
Setting up your VCR or video player to connect with a computer involves identifying the right cables and ports. You’ll need the appropriate analog connections, like RCA or S-Video, to guarantee quality transfer. Be mindful of tape degradation, which can cause static or loss of detail during digitization. Proper setup minimizes these issues, capturing more of the original analog nostalgia.
Remember these key points:
- Check your VCR’s output options to match your capture device
- Use high-quality cables to prevent signal loss
- Adjust settings for ideal video quality
- Handle tapes carefully to avoid further degradation
This process helps preserve retro memories and ensures you capture the true essence of your vintage tapes for future enjoyment.
Choosing the Right Software for Video Capture

When selecting software for video capture, make sure it’s compatible with your device to avoid technical issues. A user-friendly interface helps you navigate the process quickly and with less frustration. Prioritizing these points guarantees a smoother and more efficient digitization of your VHS tapes. Incorporating features that support passive voice detection can also enhance your understanding of the process and troubleshoot effectively if problems arise.
Compatibility With Devices
Since your VHS player and computer may have different connection ports, making sure compatibility between your device and the video capture software is essential. You need to verify device compatibility to avoid connection issues. Additionally, check for file format support to ensure your videos can be saved and played back easily later. When selecting software, consider angel number soulmate meanings to find programs that align with your goal of preserving sentimental memories. Moreover, understanding the storage formats supported can help prevent issues with playback on various devices. Consider these factors:
- Supported connection types (USB, HDMI, RCA)
- Compatibility with your operating system
- File formats the software can export (MP4, AVI, MOV)
- Hardware requirements for smooth operation
Matching your hardware setup with software capabilities prevents frustration and ensures smooth digitization. Taking the time to confirm device compatibility and file format support guarantees your retro memories are preserved accurately and efficiently.
User-Friendly Interface
Choosing the right video capture software with a user-friendly interface can make the digitization process much smoother. Look for software that offers intuitive navigation, so you don’t get lost in complicated menus. A user-friendly interface helps you start recording quickly, without a steep learning curve. Clear buttons, straightforward options, and minimal clutter make the process easier, especially if you’re new to digital conversion. Good software guides you step-by-step, reducing errors and frustration. You want to focus on preserving your memories, not wrestling with confusing controls. By selecting software with an intuitive layout, you’ll save time and ensure a smoother experience. Ultimately, a user-friendly interface empowers you to digitize your VHS tapes efficiently and confidently, keeping your retro memories safe for years to come.
Recording and Saving Your VHS Content Digitally
To digitize your VHS content effectively, you’ll need the right equipment to transfer analog recordings into digital files. This involves selecting quality capture devices, connecting your VCR properly, and choosing reliable digital conversion techniques. As you record, consider how nostalgia trends influence your choices—aiming for authenticity or modern enhancements. Focus on preserving the quality by monitoring the transfer process and avoiding interruptions. Keep in mind:
- Use high-quality cables for clear signal transmission
- Adjust settings for bestresolution and sound
- Save files in widely compatible formats like MP4 or AVI
- Regularly back up your digital copies to prevent loss
Editing and Enhancing Your Digital Files
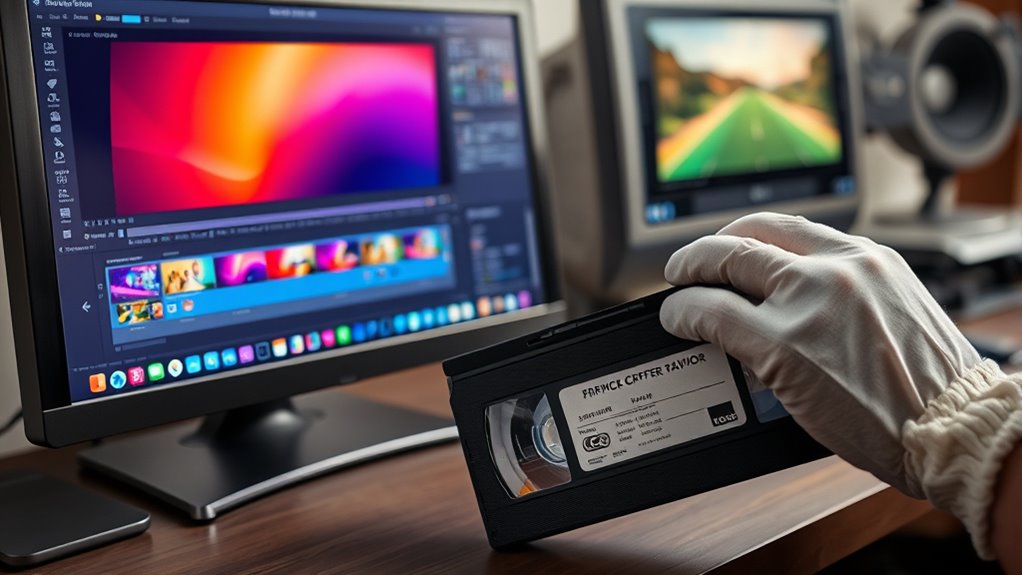
Once you have your digital files safely stored, the next step is editing and enhancing them to improve quality and customize the footage. Start with video color correction to restore faded or discolored images, making your footage look more vibrant and true to life. Next, focus on audio enhancement—removing background noise, balancing levels, and improving clarity—to ensure your memories sound as good as they look. Use user-friendly editing software to trim unnecessary parts, add titles, or apply filters for a personalized touch. These adjustments not only improve the visual and audio quality but also preserve the nostalgic feel of your original tapes. Taking the time to refine your digital files guarantees a more polished and enjoyable viewing experience for years to come.
Backing Up and Storing Your Preserved Memories
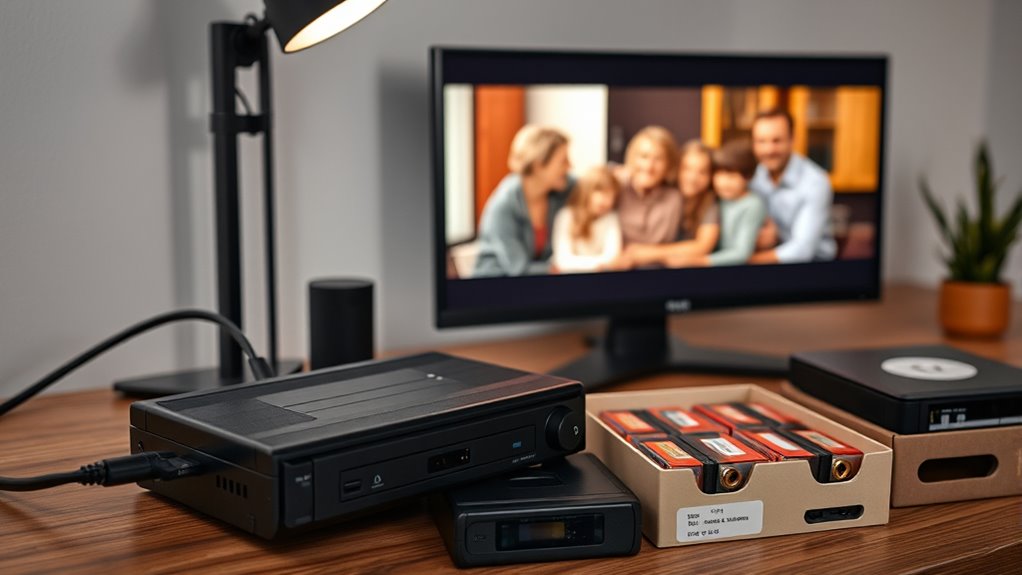
After you’ve digitized and enhanced your videos, it’s essential to back up and store your memories securely. Relying on a single storage method risks losing priceless moments. Consider using cloud storage for easy access and automatic backups, ensuring your files are protected from hardware failures. Digital archiving offers long-term preservation, keeping your videos safe for years to come. To maximize security, diversify your storage options.
Secure your memories with multiple backups—use cloud storage, external drives, and regular updates for long-term safety.
- Use external hard drives for quick, local access
- Store copies on cloud platforms for remote safety
- Create multiple backups to prevent data loss
- Regularly update and verify your archives
Frequently Asked Questions
How Long Does the Entire VHS Digitization Process Typically Take?
The entire VHS digitization process usually takes between a few hours to a day, depending on the tape length and quality. You should consider the VHS tape lifespan, as older tapes may be more fragile and require careful handling. The digital conversion timeline also involves setup and playback time, but overall, plan for a few hours to guarantee your memories are preserved properly without rushing.
Can I Digitize Multiple Tapes Simultaneously?
Yes, you can digitize multiple tapes simultaneously through batch processing if your equipment supports it. Many modern VHS digitizers and software allow you to load several tapes at once, saving time and effort. Keep in mind, though, that batch processing might require more storage space and system resources. verify your setup is compatible with multiple tapes to streamline the digitization process and preserve your retro memories efficiently.
What Are the Common Issues Faced During VHS to Digital Conversion?
You face common issues like VHS tape degradation, where tapes become brittle or sticky, and equipment compatibility problems, which can hinder smooth conversion. You might encounter distorted or blurry images, audio sync issues, or difficulty connecting outdated players to modern devices. To overcome these, regularly clean tapes, use compatible equipment, and perform test runs. Staying aware of these challenges helps you guarantee a smoother, more successful VHS to digital conversion process.
How Do I Ensure the Quality Remains High After Digitization?
To keep your digital videos high quality, start with a reliable capture device and use good cables. After digitizing, use video editing software to enhance your footage, focusing on color correction to restore faded hues. Avoid compression during saving, and always save copies in high-resolution formats. This way, your memories stay vibrant, clear, and true to the original, ensuring lasting quality for years to come.
Is There a Recommended Storage Format for Long-Term Preservation?
Think of your digital files like a treasure chest, needing a sturdy lock. For long-term preservation, use recommended storage formats like MP4 or MOV for video, as they balance quality and compatibility. Employ preservation strategies like backing up on multiple drives and using reliable cloud storage. These formats and strategies guarantee your memories stay safe, just like a treasure chest protects precious jewels for generations to come.
Conclusion
Think of digitizing your VHS tapes as planting seeds in a digital garden. With patience and care, you transform faded memories into vibrant, everlasting blooms. Each step—connecting, capturing, editing—waters your efforts, helping your stories flourish. As you back up your files, you’re safeguarding this garden for future generations. Soon, your cherished moments will grow strong and colorful, ready to be enjoyed again and again, forever preserved in the digital landscape.