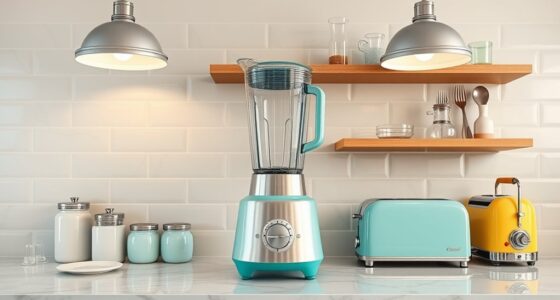
To give your appliances a retro makeover, start by thoroughly cleaning and sanding the surfaces to guarantee paint adhesion. Choose high-quality, durable appliance paint suitable for your material and apply a compatible primer first. Use thin coats of vibrant or pastel shades for a bold look, then allow sufficient curing time in a controlled environment. For tips on achieving a smooth finish and maintaining your transformation, explore the rest of the guide.
Key Takeaways
- Thoroughly clean and sand the appliance surface to ensure proper paint adhesion and remove imperfections.
- Choose high-quality, compatible primer and vibrant, durable appliance paint suited for retro styling.
- Apply thin, even coats of paint and primer, following manufacturer instructions for optimal coverage and finish.
- Cure the painted surface in a dust-free, well-ventilated environment at 70-80°F for at least 24 hours before use.
- Handle and maintain the appliance gently, using gentle cleaners, to preserve the retro look and extend the paint’s longevity.

Rust-Oleum 7881830 Specialty Appliance Epoxy Spray Paint, 12 oz, White
Ideal for refinishing exterior metal surfaces including refrigerators, dishwashers, laundry machines and more
As an affiliate, we earn on qualifying purchases.
As an affiliate, we earn on qualifying purchases.
Preparing Your Appliances for Painting
Before you start painting your appliances, it is essential to prepare their surfaces properly. Start by cleaning them thoroughly to remove grease, dust, and grime, ensuring the paint adheres well. Use a gentle cleaner and a soft cloth for best results. Next, sand the surfaces lightly with fine-grit sandpaper to create a smooth, even base that enhances paint adhesion. If your appliance has an old or chipped finish, sanding helps remove imperfections. Wipe away any dust with a damp cloth and let it dry completely. When choosing an appliance color for your retro style makeover, consider bold, vibrant hues or pastel shades that evoke nostalgia. Proper prep guarantees a sleek, professional-looking finish that highlights your appliance’s new look and enhances your vintage-inspired decor. Additionally, remote hackathons can inspire creative ideas and innovative solutions for your project. To ensure long-lasting results, selecting the right type of appliance paint formulated for your specific surface will improve durability and appearance. Using surface preparation techniques aligned with best practices will maximize the durability and visual appeal of your painted appliances. It is also helpful to understand air purifier maintenance to keep your environment clean and healthy, which can be an inspiring aspect of your overall project.
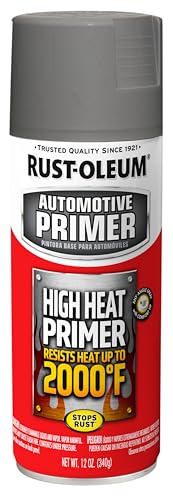
Rust-Oleum 249340 Automotive 12-Ounce High Heat Primer Spray Paint, Gray
High heat primer spray paint is designed for use on metal surfaces such as automotive engines, mufflers and…
As an affiliate, we earn on qualifying purchases.
As an affiliate, we earn on qualifying purchases.
Selecting the Right Paint and Supplies

Choosing the right paint and supplies sets the foundation for a smooth and long-lasting finish on your appliances. Start by considering hardware compatibility—verify your paint is suitable for the appliance’s material and existing hardware. For example, appliances with metal parts may need specific types of paint to prevent chipping or rust. When selecting paint color, think about your retro theme and how the shade complements your decor. Opt for high-quality, durable paints designed for appliances, such as spray paints or specialty appliance paints, to achieve a sleek look. Gather supplies like painter’s tape, brushes, or rollers, and make sure they’re compatible with your chosen paint. Properly selecting your paint and supplies minimizes issues during application and ensures your retro makeover stands the test of time. Additionally, understanding color accuracy can help you choose shades that truly match your desired retro aesthetic. Using electric bike knowledge, such as the types of finishes that resist wear, can also guide your choice of durable paint options. To ensure longevity, consider the material compatibility of your paint to prevent peeling or damage over time. Incorporating sound design principles like choosing the right tools and techniques can improve your overall finishing process and durability. Furthermore, researching the best application methods can lead to a more professional appearance and longer-lasting results.

24PCS 3 x 4 Inch Sanding Sponge Set, 120-3000 Grit Soft Foam Hand Sander Block, Hook & Loop Wet Dry Sanding Sponges for Metal Wooden Furniture Drywall Sheetrock and Model Polishing
ASSORTED GRIT SANDING BLOCKS: Each set includes 12 different grit sizes (20 mesh, 180 mesh, 240 mesh, 320…
As an affiliate, we earn on qualifying purchases.
As an affiliate, we earn on qualifying purchases.
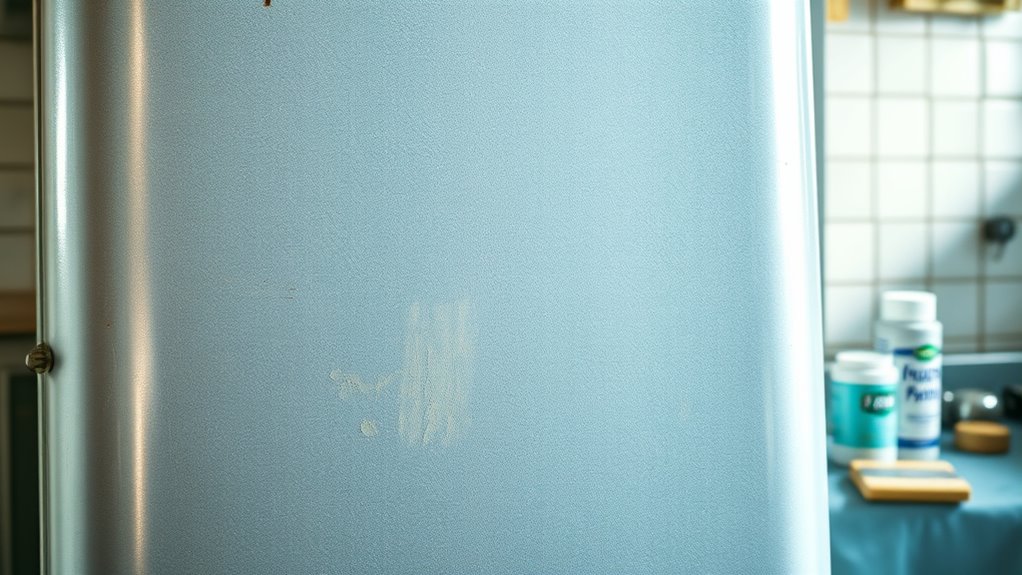
Cleaning and Prepping the Surface

Before you start painting, make sure to clean the surface thoroughly using appropriate techniques to remove dirt, grease, and residue. Once it’s clean, lightly sand the area to create a smooth, receptive surface for the new paint. Proper surface prep guarantees your finish looks professional and lasts longer. Additionally, understanding data privacy challenges can help you recognize signs from the universe that your retro makeover is on the right track, ensuring a more effective transformation. Recognizing trust issues in relationships can also be a metaphor for understanding the importance of a solid, well-prepared surface before applying new layers. Incorporating self watering plant pots concepts, such as ensuring the surface is properly prepared, can help you achieve a more even and durable finish.
Surface Cleaning Techniques
Have you ever wondered why proper surface cleaning is essential before repainting appliances? It’s because a clean surface guarantees the new paint adheres correctly and lasts longer. To start, focus on stain removal by using a gentle abrasive cleaner or a mixture of baking soda and water. This helps lift stubborn stains without damaging the surface. Next, eliminate grease thoroughly, especially around knobs and handles, with a degreasing cleaner or a vinegar solution. Use a soft cloth or sponge to wipe everything down, making sure no residues remain. Proper cleaning removes oils, dirt, and grime that can cause paint to peel or bubble. Additionally, understanding surface preparation techniques can help you choose the best methods for surface preparation when working on automotive appliances or parts. Once the surface is spotless and dry, you’re ready to move on to the next step in your retro makeover.
Sanding and Surface Prep
After cleaning the surface, the next step is to prepare it properly for paint by sanding. Proper sanding guarantees good metal bonding and a smooth finish. Choose the right sanding grit options: coarse grit (80-120) for removing old paint or rust, and fine grit (220-320) for smoothing. Use a sanding block or orbital sander for even coverage. Be sure to sand in a circular motion to avoid gouges. Here’s a quick guide:
| Grit Option | Purpose |
|---|---|
| 80-120 | Remove old paint or rust |
| 220-320 | Smooth surface |
| 400+ | Final prep for perfect finish |
This prep increases adhesion and helps your retro makeover last. For optimal results, consider asset division strategies to ensure your project stays on budget and within your plans.

4 Rolls Premium Painters Tape, Blue Tape, Masking Tape, Paint Tape for Multi-Purpose, Painting, Painter's, DIY Crafts Arts (88yd =0.94IN*22yd*4) Decoration Labeling No Residue, Easy Removal
Professional Mask Tape – Multi-Surface adhesive tape made of high quality blue crepe paper not easy to lift…
As an affiliate, we earn on qualifying purchases.
As an affiliate, we earn on qualifying purchases.
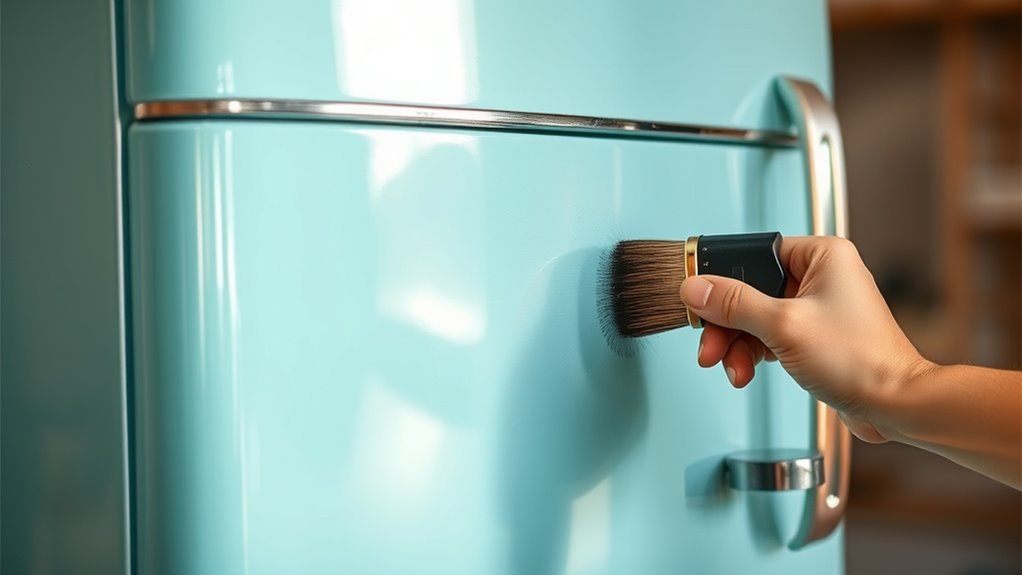
Applying Primer and Paint
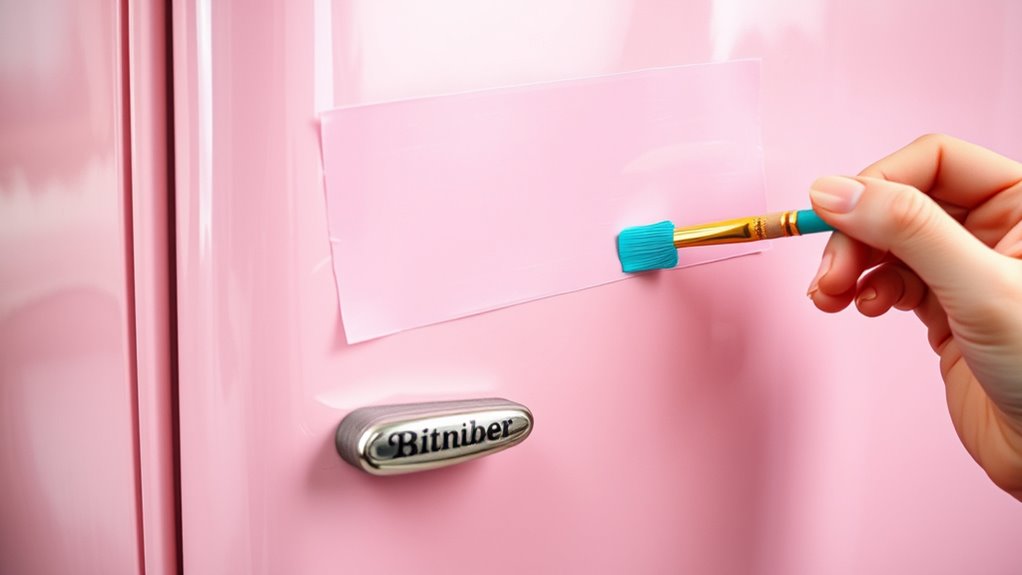
Applying primer and paint is a crucial step in repainting appliances because it guarantees a smooth, durable finish. Start by choosing a primer suited for your appliance’s surface and color matching your desired retro look. Apply the primer evenly using a brush or spray, ensuring complete coverage without drips. Once dry, proceed with paint application, using thin, even coats to prevent runs and achieve a professional look. Keep your paint consistent in color and finish by following manufacturer instructions carefully. Take your time between coats, allowing proper drying. Proper application ensures the paint adheres well and resists chipping, giving your appliance a fresh, vibrant, retro appearance that lasts.
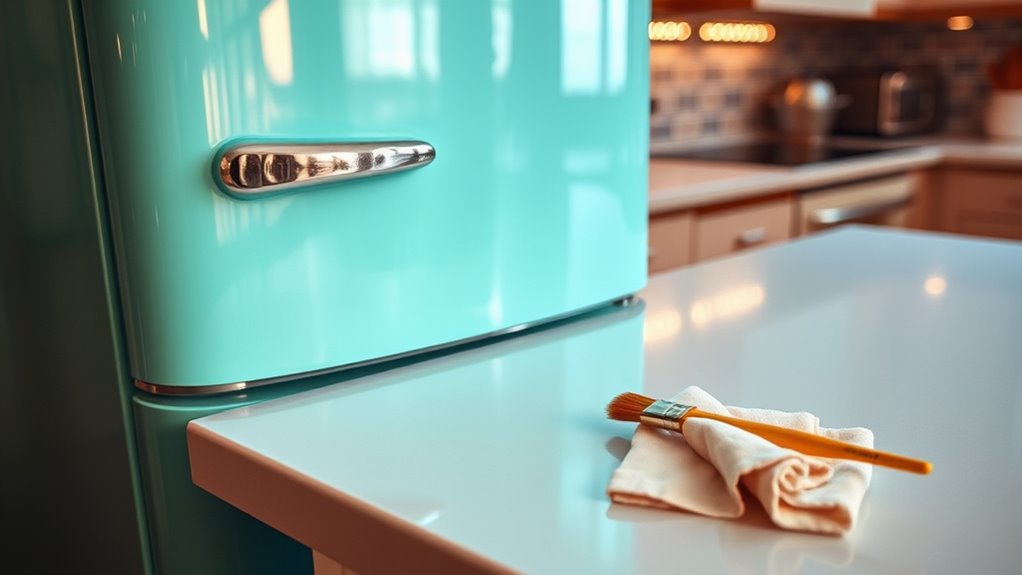
Achieving a Smooth and Durable Finish
Once you’ve applied the paint in thin, even coats and allowed proper drying time, focus on achieving a smooth, durable finish that lasts. To guarantee a sleek look, gently sand any imperfections with fine-grit sandpaper and remove dust before proceeding. Proper color matching helps your retro makeover look authentic, so review your paint choices carefully. For lasting results, use high-quality paint designed for appliance surfaces, as paint durability is key to preventing chips and scratches. Applying multiple thin coats rather than one thick layer promotes a smoother finish and reduces the risk of uneven texture. Once dried, lightly buff the surface to enhance gloss and smoothness. This careful approach assures your appliances maintain their vibrant retro appeal over time.
Curing and Maintaining Your Refinished Appliances
To guarantee your appliance’s new finish lasts, proper curing is essential; follow the recommended drying times and avoid using it too soon. After curing, maintaining your appliance with gentle cleaning and avoiding harsh chemicals will keep the paint looking fresh. By adopting these long-term tips, you’ll protect your investment and enjoy your refinished appliance for years to come.
Proper Curing Techniques
After you’ve finished repainting your appliances, proper curing is vital to guarantee the new finish hardens correctly and lasts. Pay close attention to temperature considerations, as ideal curing occurs in a controlled environment with consistent warmth, typically between 70-80°F. Too cold, and the paint may not cure properly; too hot, and it could crack or bubble. Curing time varies depending on the paint type, but generally, you should allow at least 24 hours before handling or exposing your appliances to moisture. Avoid rushing this process, as inadequate curing can cause peeling or uneven finishes later. Keep the appliances in a dust-free, well-ventilated area during this period to ensure an even, durable finish that maintains its retro appeal.
Long-term Maintenance Tips
Maintaining your refinished appliances requires ongoing care to preserve their appearance and durability. Establish regular cleaning routines using gentle, non-abrasive cleaners to prevent buildup and protect the new finish. Avoid harsh chemicals that can damage the paint or coating. Additionally, perform routine appliance inspections to identify any chips, scratches, or signs of wear early on. Addressing minor issues promptly prevents larger problems and helps extend the lifespan of your makeover. Keep handles, knobs, and surfaces free of grime, which can cause deterioration over time. By combining consistent cleaning routines with periodic inspections, you ensure your appliances stay vibrant and functional for years. Proper maintenance not only preserves your retro look but also keeps your appliances operating smoothly.
Frequently Asked Questions
Can I Repaint Appliances That Are Still Operational?
Yes, you can repaint appliances that are still operational. Just make certain the appliance’s durability isn’t compromised and that the paint will adhere properly. Clean the surface thoroughly, remove any grease or dirt, and sand it lightly for better paint adhesion. Using high-quality, appliance-specific paint helps achieve a smooth, lasting finish. With proper prep and the right paint, your appliance will look retro and fresh without losing functionality.
How Long Will the New Paint Job Last?
Your painted appliances can last up to 5-7 years if you follow proper maintenance tips. To maximize paint durability, avoid harsh abrasives and excessive moisture, and always clean with gentle products. Regularly inspect for chips or scratches, and touch up as needed to keep your retro makeover looking fresh. Proper care guarantees your repaint stays vibrant and durable, giving your appliances a stylish, long-lasting new look.
Are There Eco-Friendly Paint Options for Appliances?
Imagine giving your appliances a green thumb—yes, eco-friendly finishes exist! You can choose sustainable paints that are low-VOC and free from harmful chemicals, making your retro makeover both stylish and kind to the planet. These paints not only reduce environmental impact but also guarantee safety for your home. Look for brands specializing in eco-friendly finishes to achieve your vintage look while supporting sustainability.
Is Professional Help Required for Small Appliances?
You don’t need professional help for small appliance repainting, but prioritize appliance safety by following manufacturer instructions. With proper prep and high-quality paint, you’ll achieve good paint durability and a smooth finish. Use eco-friendly, appliance-safe paints to avoid hazards. If you’re unsure about your skills, consider consulting a professional to ensure the job’s done correctly and safely, especially for appliances that involve electrical components or delicate surfaces.
Can I Change the Color of Appliances Without Sanding?
You can change the color of appliances without sanding by using a high-quality primer designed for appliance stripping, which helps improve paint adhesion. Clean the surface thoroughly, remove any grease or dirt, and apply the primer evenly. This step guarantees the paint sticks well, even without sanding. Choose the right appliance paint and follow the manufacturer’s instructions for a smooth, durable finish that gives your appliances a retro look.
Conclusion
With patience and the right techniques, you can transform your appliances into stylish retro pieces without breaking the bank. Some might worry about durability, but using quality paint and proper curing guarantees long-lasting results. Don’t be afraid to try it—you’ll be amazed at how a simple repaint can breathe new life into your appliances and give your space a fun, vintage vibe. Just follow the steps, and you’ll achieve professional-looking results in no time.