To refurbish a vintage stove or oven, start by evaluating its overall condition, checking for rust, damage, or outdated wiring. Carefully disassemble parts, then clean and inspect each component for wear. Replace or restore worn-out parts, and refinish the exterior with heat-resistant paint for a fresh look. Finally, reassemble the appliance, test for leaks, proper heating, and safety features. If you’re curious about detailed steps, you’ll find useful tips to guide your project.
Key Takeaways
- Assess the stove’s condition, checking for rust, corrosion, and safety hazards before planning restoration steps.
- Carefully disassemble components, clean thoroughly, and inspect parts for wear or damage.
- Replace or upgrade worn or outdated parts, ensuring compatibility and safety compliance.
- Refinish surfaces with heat-resistant, durable paint for a smooth, attractive finish.
- Reassemble, test for leaks and proper function, and verify safety before regular use.
Assessing the Condition of Your Vintage Stove or Oven
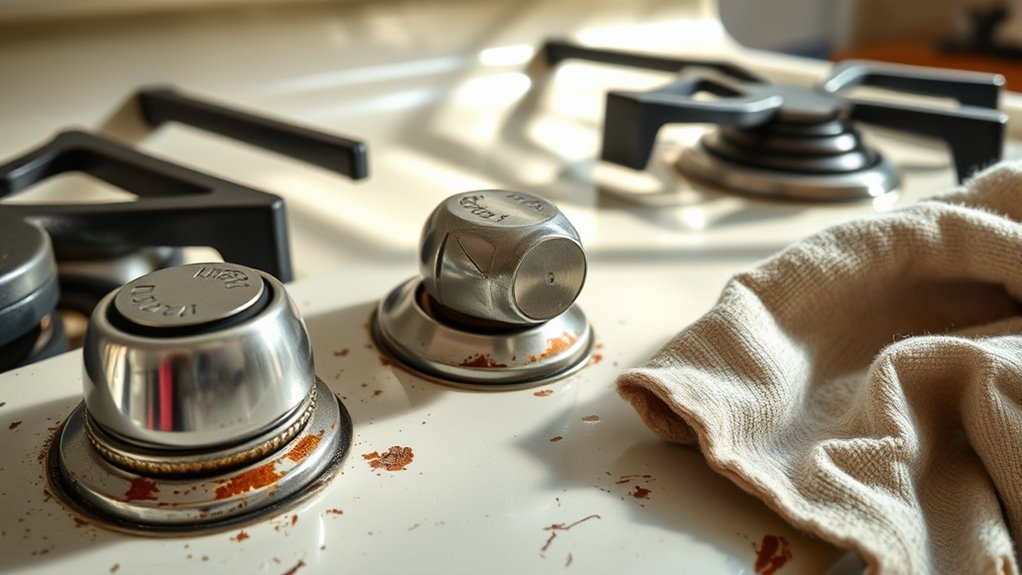
Before beginning any refurbishment, evaluating the current condition of your vintage stove or oven is vital. You want to identify any rust, corrosion, or worn components that could affect its safety or appearance. Check the structural integrity, paying close attention to the burners, knobs, and surfaces, making sure they retain their vintage charm without compromising safety. Look for signs of damage or outdated wiring that may pose hazards. Consider the stove’s overall functionality—does it heat evenly? Are there any leaks or broken parts? This evaluation helps you determine whether you can preserve its authentic look while updating safety features, or if more extensive repairs are needed. Prioritizing this step ensures your refurbished stove will combine vintage appeal with modern safety standards. Additionally, inspecting the best modern toilet options can help ensure your bathroom upgrades are cohesive and functional. Incorporating wall organization systems can also help keep your workspace clean and accessible during refurbishment projects. Understanding the importance of regular outings and socialization for your dog can also inform your refurbishment process, especially if you’re considering installing new safety features or protective covers to accommodate active pets. Moreover, consulting with a professional technician can provide valuable insights into electrical safety and ensure compliance with current regulations.
Gathering the Necessary Tools and Materials

To effectively refurbish your vintage stove, you need to gather all the essential tools and materials upfront. This ensures a smooth process and preserves its historical significance. Start with a sturdy set of screwdrivers, a wire brush, and high-quality cleaning supplies. These tools help you safely disassemble and meticulously clean every part. Next, consider decorative accessories like vintage knobs or decorative trims to enhance its charm. Finally, gather specialized paints or finishes that match the original color scheme to maintain authenticity. By assembling these items early, you’ll feel more confident tackling each step, knowing you’re respecting its history and enhancing its beauty. Proper preparation makes all the difference in transforming your vintage stove into a stunning, timeless centerpiece. Additionally, understanding the emotional support needed during restoration can help maintain patience and motivation throughout the project. Being aware of couples’ shared experiences can also inspire collaborative efforts and shared pride in the refurbishment process. Incorporating knowledge about battery technologies can further inform any electrical or modern updates you might consider, ensuring safe and effective upgrades. Moreover, exploring sound healing science can provide calming inspiration during the more detailed or challenging stages of your refurbishment journey. Recognizing the importance of vetted safety practices can help prevent common hazards associated with older appliances and tools.
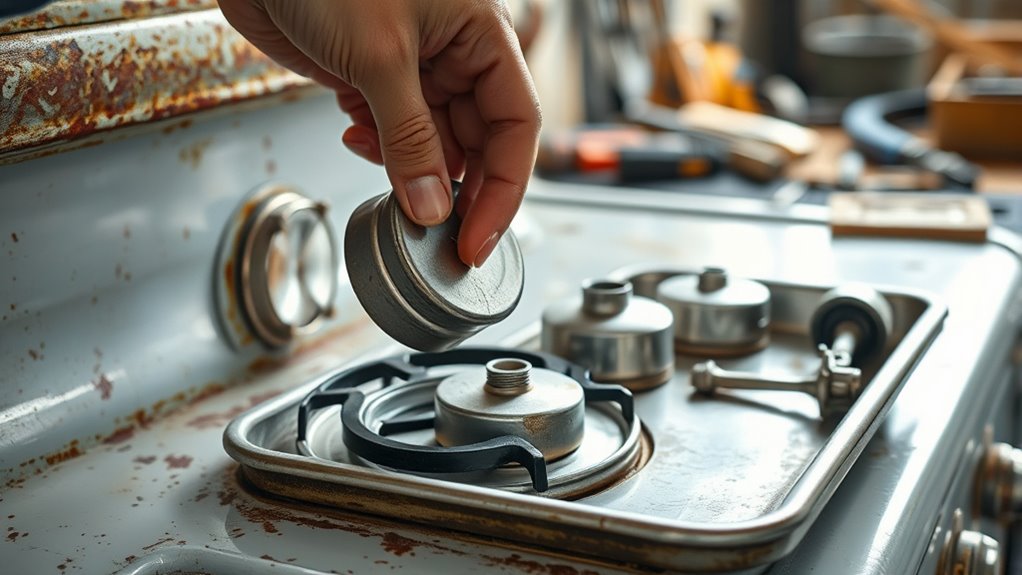
Disassembling and Cleaning the Appliance
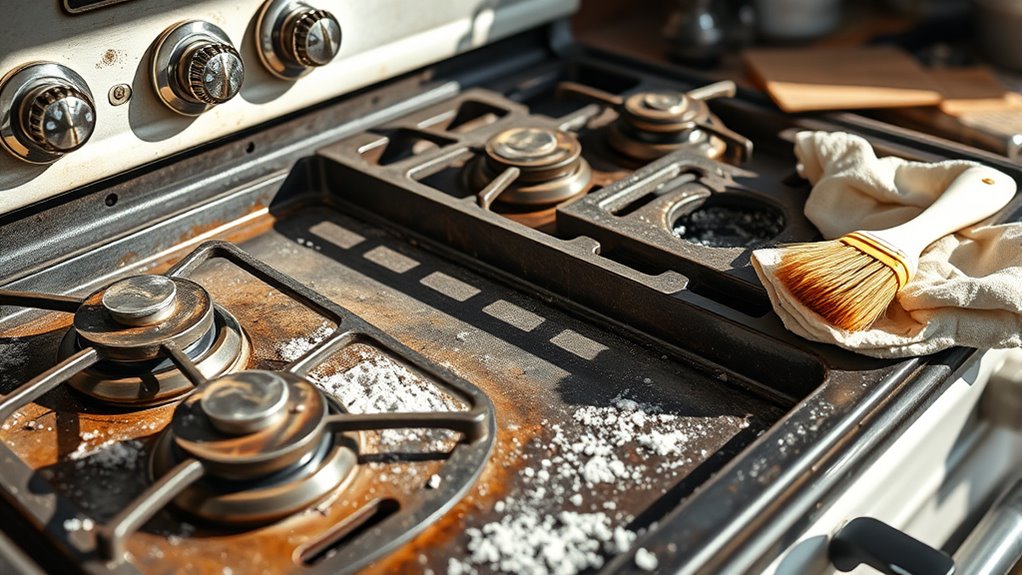
Disassembling your vintage stove is a crucial step that allows you to access all its components for thorough cleaning. Start by gathering your disassembly tools, such as screwdrivers, pliers, and gloves. Carefully remove burners, grates, and knobs, keeping track of each part. Use your cleaning tips to scrub away grease, grime, and rust from each piece, paying special attention to hard-to-reach areas. Be gentle but thorough, avoiding damage to delicate parts. As you disassemble, check for any signs of wear or corrosion that might need further attention later. Remember to label or organize small parts to simplify reassembly. Proper disassembly techniques can prevent damage and make reassembly easier. Additionally, inspecting internal components during disassembly allows you to identify potential issues early. Applying proper cleaning methods ensures the longevity and safety of your restored stove. Disassembling and cleaning your vintage stove with proper tools and techniques ensures it will look great and function safely once restored. Incorporating quality sleep into your routine can also help maintain your energy and focus during this project.
Restoring or Replacing Worn-Out Parts
When restoring your vintage stove, identifying and addressing worn-out or damaged parts is essential to guarantee safe and efficient operation. Replacing worn-out components not only restores functionality but also boosts safety. Consider these steps: 1. Assess each part carefully to find rusted, cracked, or malfunctioning elements that need replacing. 2. Replace worn-out components like burners, knobs, or gaskets to ensure peak performance. 3. Upgrade outdated features when possible, such as installing modern safety valves or energy-efficient parts, to improve usability without compromising the vintage charm. Additionally, incorporating proper maintenance practices can prolong the lifespan of your refurbished stove. Ensuring that your stove is compatible with modern safety standards can further enhance safety and efficiency during operation. Regular cleaning and inspection of the stove’s components can help prevent future issues and keep it operating smoothly. Paying attention to technological advancements can also aid in selecting suitable upgrades that preserve the vintage aesthetic while improving safety and performance. Moreover, understanding mammography guidelines can help in early detection and safety, similar to how maintaining your stove’s parts ensures optimal functioning.
Refinishing the Exterior for a Fresh Look
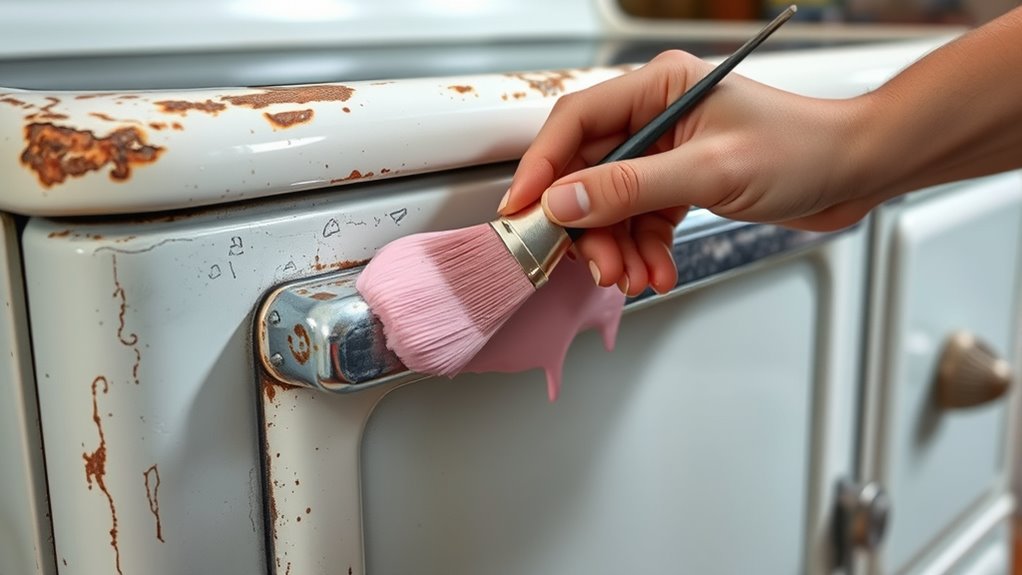
To give your vintage stove a fresh look, start with proper surface preparation to guarantee the new finish adheres well. Next, choose a durable, heat-resistant paint designed for appliances to withstand daily use. Paying attention to these steps will result in a smooth, lasting finish that revives your stove’s appearance. For optimal results, consider applying a heat-resistant coating, ensuring your refinished stove can handle high temperatures without damage. Additionally, selecting a high-quality paint formulated specifically for appliances can further enhance durability and aesthetic appeal. Staying informed about AI safety measures can also help prevent issues related to technology failures during your project.
Surface Preparation Techniques
Before you begin refinishing the exterior of your vintage stove, it is vital to properly prepare the surface. Start by inspecting the metal surface for rust, grime, or old paint. Use effective cleaning techniques to remove grease and dirt, such as a degreaser or mild detergent. Once clean, follow these essential steps:
- Sand the surface lightly to create a smooth, even base for paint.
- Remove any loose paint or rust with a wire brush or sandpaper.
- Wipe the surface with a damp cloth to eliminate dust and debris.
These steps ensure your refinishing effort adheres well and results in a sleek, fresh appearance. Proper surface prep not only enhances durability but also makes your vintage stove look stunning for years to come.
Choosing Durable Paint
After thoroughly cleaning and preparing the surface, selecting the right paint becomes key to achieving a long-lasting, attractive finish. You need paint with excellent durability to withstand daily use and cleaning. Look for options specifically designed for appliances or high-heat environments, ensuring strong heat resistance. This type of paint will prevent chipping, cracking, or peeling over time. Choose a high-quality, heat-resistant enamel or appliance paint that adheres well to metal surfaces. Applying a durable, heat-resistant paint not only enhances the stove’s appearance but also protects it from rust and damage. Be sure to follow the manufacturer’s instructions for proper application and curing. With the right paint, your vintage stove will look fresh and withstand the test of time.
Ensuring Safety and Functionality
Before using your vintage stove, you need to prioritize safety by inspecting the electrical and gas lines. You should verify there are no leaks, cracks, or damaged wires that could cause hazards. Taking these precautions helps keep you safe and guarantees the stove functions properly.
Safety Precautions First
Ensuring safety and functionality is the essential first step when refurbishing vintage stoves. You need to stay alert to potential fire hazards and prioritize chemical safety to prevent accidents. Here are three critical precautions:
- Disconnect power and gas supplies before starting work, eliminating risks of sparks or leaks.
- Inspect for old, flammable materials or residues that could ignite, and remove them carefully.
- Wear protective gear like gloves and masks to avoid exposure to hazardous chemicals or fumes during cleaning and repairs.
Taking these steps guarantees you avoid dangerous fire hazards and chemical exposure. Safety isn’t just about avoiding injury; it’s about protecting your home and future use of the stove. Stay cautious, and never rush through safety measures.
Check Electrical and Gas Lines
Since faulty electrical or gas lines can pose serious safety risks, it’s crucial to thoroughly check them before proceeding with any refurbishment. Inspect the electrical wiring for cracked insulation, loose connections, or signs of wear. For the gas line, look for corrosion, leaks, or damage. Use a soapy solution on gas connections to detect leaks—bubbles indicate a problem. Ensure all components meet safety standards before reconnecting. Here’s a quick overview:
| Component | Issue to Watch For | Action Needed |
|---|---|---|
| Electrical wiring | Frayed insulation, loose connections | Replace or repair wiring |
| Gas line | Corrosion, leaks | Replace damaged sections, test for leaks |
| Connectors | Cracks, corrosion | Tighten or replace |
| Valves | Sticking, damage | Lubricate or replace |
| Safety shut-off | Malfunctioning | Test functionality, replace if needed |
Always prioritize safety to prevent hazards.
Reassembling and Testing the Appliance

Once you’ve carefully reassembled all the components, it’s time to test the vintage stove to guarantee everything functions correctly. This moment is exciting because you’re bringing history back to life, allowing you to explore authentic cooking techniques. To assure safety and performance, follow these steps:
- Turn on the stove and check for any gas leaks or electrical issues.
- Light each burner and oven to verify even heat distribution.
- Test cooking a simple dish to experience firsthand how your restored appliance performs.
This process connects you to the rich history of vintage appliances, making each cooking session a tribute to traditional techniques. Proper testing guarantees your stove’s reliability and helps preserve its story for years to come.
Maintaining Your Refurbished Vintage Stove or Oven

To keep your vintage stove or oven functioning beautifully for years to come, regular maintenance is essential. Start by cleaning spills immediately to prevent buildup and preserve the original finish, which also helps when trying out vintage recipes. Check burners, knobs, and connections periodically to ensure they’re secure and working efficiently. Using proper cooking tips, you can prevent damage caused by high heat or improper cookware. Regularly inspecting and cleaning the oven’s interior maintains even heat distribution, making your vintage recipes turn out perfect every time. Keep the stovetop dry and free of debris, and consider occasional lubrication of moving parts. With consistent care, your vintage appliance will continue to deliver reliable performance and add nostalgic charm to your kitchen for years ahead.
Frequently Asked Questions
How Do I Identify the Manufacturer and Model of My Vintage Stove?
To identify your vintage stove’s manufacturer and model, start by inspecting the appliance for any labels, plates, or stamps typically found on the frame, door, or inside compartments. Look for serial numbers or unique markings that can aid in manufacturer identification. You can also check for logos or brand names. If you’re still unsure, take clear photos and research online or consult vintage appliance experts for model recognition assistance.
What Are Common Hidden Damages Not Visible During Initial Inspection?
Did you know that up to 30% of vintage stoves have hidden damages? You should check for hidden cracks and internal corrosion, as these aren’t always visible during initial inspection. These issues can compromise safety and functionality. Carefully examine internal components, listen for unusual noises, and look for rust or corrosion inside. Addressing hidden cracks and internal corrosion early helps make sure your stove’s longevity and safe operation.
How Do I Restore Vintage Stove Logos or Decals Without Damage?
To restore vintage stove logos or decals without damage, you should use gentle restoration techniques focused on decal preservation. Carefully clean the area with a soft cloth and mild solvent, avoiding harsh chemicals. For delicate decals, consider applying a clear adhesive or sealant designed for preservation. If necessary, consult a professional restorer to ensure your decals stay intact while enhancing their appearance. Patience and gentle handling are key to successful restoration.
Can I Upgrade Parts While Maintaining the Original Vintage Look?
You can definitely upgrade parts while maintaining the vintage look by carefully selecting restoration techniques that preserve vintage branding. Many believe that replacing original parts ruins authenticity, but if you choose period-appropriate replacements and keep original decals or logos intact, you retain authenticity. Focus on subtle upgrades, ensuring they blend seamlessly with the vintage aesthetic, and always prioritize preservation techniques that protect the original branding during the process.
What Are the Best Methods to Prevent Future Rust or Corrosion?
You can prevent future rust or corrosion by applying a high-quality protective coating designed for vintage appliances. Regularly clean and dry your stove, especially after use, to reduce moisture buildup. Keep the environment controlled by avoiding excessive humidity and temperature fluctuations, which accelerate corrosion. Consider using desiccants or dehumidifiers in your storage area. These steps help preserve your stove’s vintage charm while safeguarding it from rust and corrosion over time.
Conclusion
Now that you’ve brought your vintage stove or oven back to life, you’ve literally saved a piece of history! With your skill and dedication, you’ve transformed outdated metal into a shining masterpiece that could outlast modern appliances. Every time you cook or bake, you’ll feel like a time traveler, marveling at how you turned forgotten rust into a stunning showstopper. Your vintage gem isn’t just restored — it’s a legend reborn, ready to dazzle for generations!